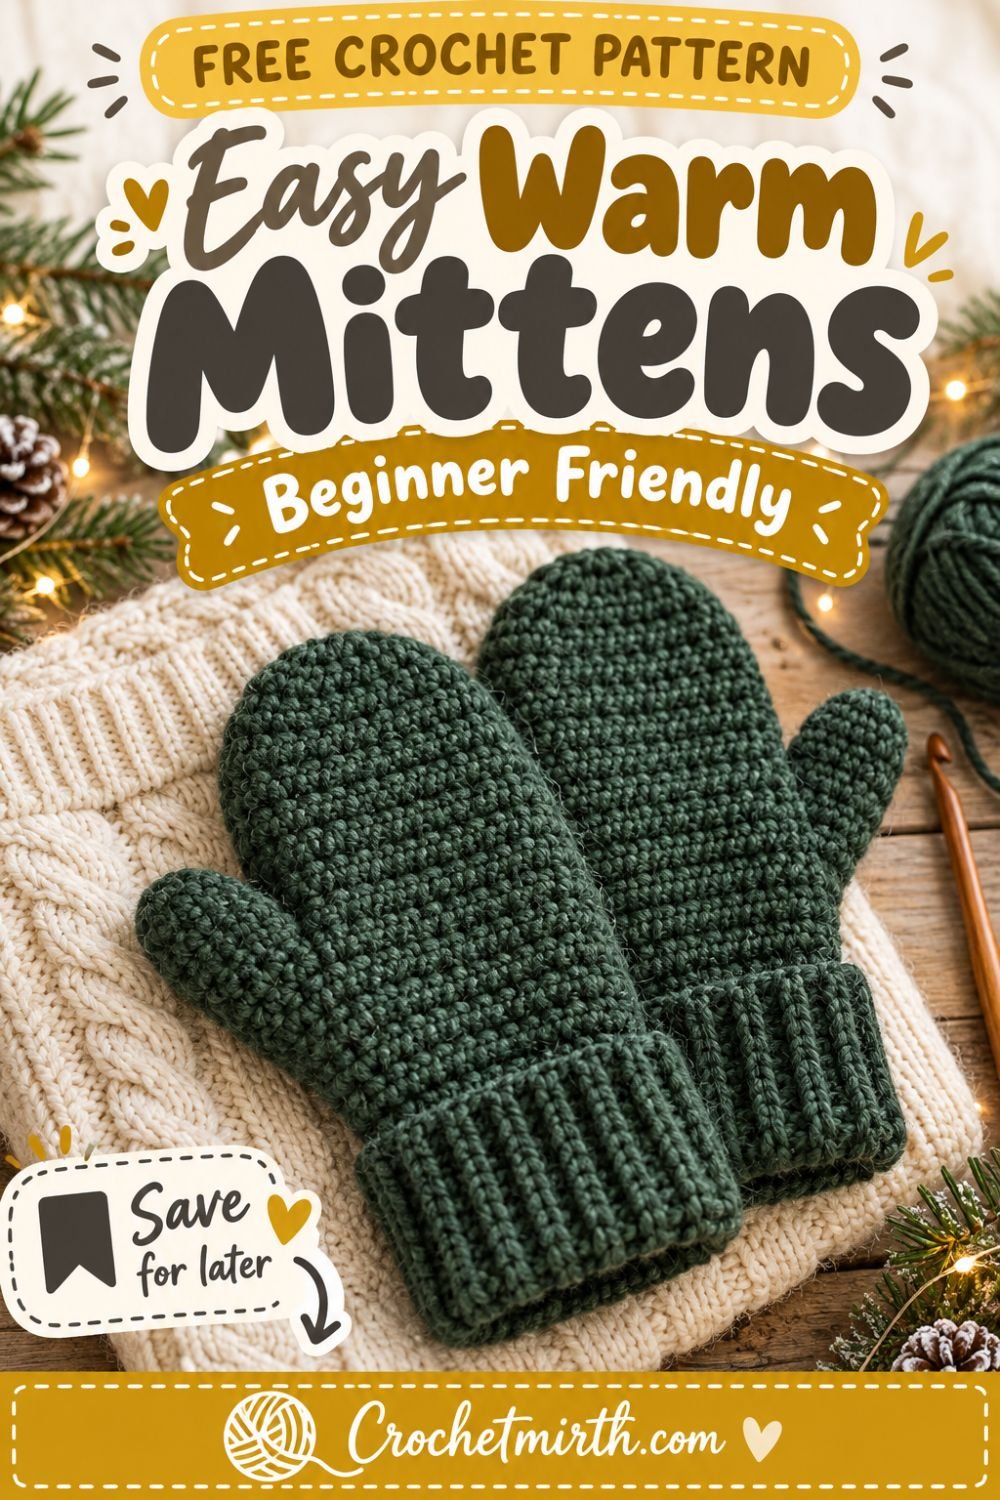
Crochet Mittens Pattern – Easy Warm Mittens for Beginners
If you’ve never crocheted mittens before, this easy crochet mittens pattern is a great first project.
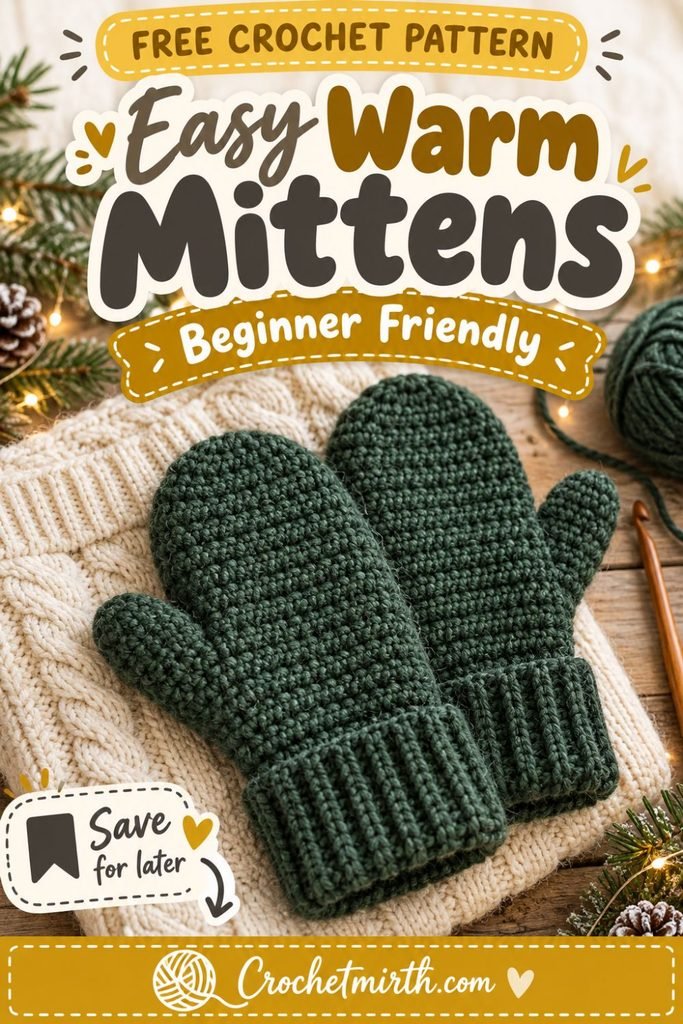
These cozy mittens are designed with beginners in mind. They start with a stretchy ribbed cuff, followed by a simple mitten body worked in joined rounds. An easy chain opening creates space for the thumb, so you don’t need complicated thumb-gusset shaping.
The result is a classic pair of warm crochet mittens that are practical, comfortable, and perfect for winter.
Make them in a neutral shade for everyday wear or choose a rich winter color for a handmade Christmas gift.
Why You’ll Love These Crochet Mittens
These mittens are:
- Beginner-friendly
- Warm and practical
- Made mostly with half double crochet
- Designed with a stretchy ribbed cuff
- Worked with simple joined rounds
- Made with an easy thumb opening
- Quick compared with many wearable projects
- Easy to customize
- Great for handmade winter gifts
Once you understand the first mitten, the second one follows exactly the same pattern.
Skill Level
Easy / Beginner
You should be comfortable with:
- Chain stitches
- Single crochet
- Half double crochet
- Back loop only crochet
- Slip stitches
- Half double crochet decreases
- Working in joined rounds
- Fastening off
- Weaving in ends
Materials
Yarn
Approximately 180–220 yards of worsted or Aran weight yarn for one adult pair.
Choose a yarn that feels comfortable against the skin.
Good options include:
- Acrylic
- Wool
- Wool blends
- Acrylic/wool blends
For everyday washable mittens, a soft machine-washable yarn can be especially practical.
Crochet Hook
5.0 mm crochet hook
Adjust the hook size if needed to obtain the correct gauge.
Other Supplies
- Yarn needle
- Scissors
- Measuring tape
- Stitch marker
- Optional removable stitch markers
Crochet Abbreviations
This pattern uses US crochet terminology.
ch – chain
sc – single crochet
hdc – half double crochet
hdc2tog – half double crochet 2 stitches together
sl st – slip stitch
st – stitch
sts – stitches
BLO – back loop only
rnd – round
Finished Size
This pattern is written for an approximate Adult Medium.
Finished measurements will vary slightly depending on your yarn and tension.
Approximate finished measurements:
Hand circumference: 7½–8 inches
Total mitten length: approximately 10–10½ inches
Cuff length: approximately 2½ inches
The fabric has some stretch.
Gauge
Approximately:
13 hdc = 4 inches
Check your gauge before beginning, especially because mittens need to fit closely enough to stay warm.
If your stitches are too large, use a smaller hook.
If they’re too small, use a larger hook.
Construction Overview
Each mitten is made in three main sections:
- Ribbed cuff
- Hand and finger section
- Thumb
The cuff is crocheted flat in rows.
The two ends are joined to create a ring.
You’ll then crochet around the edge of the cuff and continue working the hand in joined rounds.
A chain space creates the thumb opening.
After the main mitten is finished, you’ll return to that opening and crochet the thumb.
Part 1: Crochet the Ribbed Cuff
Ch 11.
Row 1
Sc in the second chain from the hook.
Sc across.
10 sts
Ch 1 and turn.
Row 2
Working in the back loop only, sc across.
10 sts
Ch 1 and turn.
Rows 3–24
Repeat Row 2.
You should now have a stretchy ribbed rectangle.
Do not fasten off.
Join the Cuff
Bring the first and last rows together.
Make sure the rectangle is not twisted.
Slip stitch through corresponding stitches of both edges to join them.
You now have a ribbed cuff ring.
Turn the seam toward the inside.
Part 2: Crochet Around the Cuff
Turn the cuff so you’ll be working around one long edge.
Round 1
Ch 1.
Work 24 hdc evenly around the cuff edge.
Join with a sl st to the first hdc.
24 sts
Try to distribute the stitches evenly.
Round 2
Ch 1.
Hdc in each stitch around.
Join.
24 sts
Rounds 3–5
Repeat Round 2.
24 sts each round
Your mitten should now extend upward from the ribbed wrist cuff.
Create the Thumb Opening
Round 6
Ch 1.
Hdc in the first 5 sts.
Ch 5.
Skip the next 5 sts.
Hdc in each of the remaining 14 sts.
Join with a sl st.
You now have an opening for the thumb.
The chain will form the upper edge of that opening.
Continue the Hand
Round 7
Ch 1.
Hdc in each stitch around, including 1 hdc in each of the 5 chains.
Join.
24 sts
Rounds 8–12
Ch 1.
Hdc in each stitch around.
Join.
24 sts
At this stage, try the mitten on if possible.
The fabric should reach approximately to the top of your little finger before you begin shaping the fingertips.
If your hands are longer, add another plain round.
If they’re shorter, begin decreasing earlier.
Shape the Top of the Mitten
Now we’ll gradually decrease the stitches to create a rounded fingertip.
Round 13
Ch 1.
Repeat around:
hdc2tog, hdc in next 4 sts
Join.
20 sts
Round 14
Ch 1.
Repeat around:
hdc2tog, hdc in next 3 sts
Join.
16 sts
Round 15
Ch 1.
Repeat around:
hdc2tog, hdc in next 2 sts
Join.
12 sts
Round 16
Ch 1.
Hdc2tog around.
Join.
6 sts
Fasten off, leaving a long tail.
Close the Top
Thread the yarn tail through a yarn needle.
Pass the needle through the remaining six stitches.
Pull gently but firmly.
The opening should close.
Secure the yarn with several small stitches.
Weave in the end on the inside.
Your mitten body is complete.
Part 3: Crochet the Thumb
Return to the thumb opening.
Join your yarn in one corner.
Thumb Round 1
Ch 1.
Work approximately 10 hdc evenly around the thumb opening.
This includes stitches along both the skipped stitches and the chain edge.
Join with a sl st.
10 sts
If you notice a small hole at either corner, you can pick up an extra stitch there and decrease it on the next round.
Thumb Rounds 2–4
Ch 1.
Hdc in each stitch around.
Join.
10 sts
Try the mitten on.
The thumb section should reach close to the tip of your thumb.
Add another plain round if needed.
Close the Thumb
Final Thumb Round
Ch 1.
Hdc2tog around.
You should have approximately:
5 sts
Fasten off, leaving a yarn tail.
Thread the tail through the remaining stitches.
Pull closed.
Secure and weave in the yarn.
Make the Second Mitten
Repeat the entire pattern.
Because the thumb opening is positioned in a simple symmetrical construction, the same instructions can be used for both mittens.
When finished, weave in all remaining ends.
You now have a complete pair.
How to Adjust the Wrist Size
The ribbed cuff is very easy to resize.
The number of rows determines the wrist circumference.
For a smaller wrist:
Make fewer ribbing rows.
For a larger wrist:
Add more ribbing rows.
Before joining the cuff, wrap it gently around the wrist.
It should feel comfortably snug because the ribbing will stretch.
How to Adjust the Mitten Length
Everyone’s hands are different.
The easiest way to customize these mittens is to try them on as you crochet.
Before the fingertip decreases, the mitten should reach approximately to the top of your little finger.
For shorter hands:
Work fewer plain rounds.
For longer hands:
Add one or more rounds before decreasing.
How to Make the Mittens Wider
If you need more width, increase the number of stitches worked around the cuff.
For example, instead of:
24 sts
you might use:
26 or 28 sts
You’ll then need to adjust the decrease spacing at the fingertip so the stitch count reduces evenly.
For your first pair, staying close to the original measurements is easiest.
Why Use a Ribbed Crochet Cuff?
The ribbed cuff isn’t just decorative.
Working single crochet in the back loop creates fabric that stretches more easily than ordinary single crochet.
That helps the mitten:
- Slide comfortably over the hand
- Fit closely around the wrist
- Keep cold air out
- Stay in place during wear
The ribbing also creates a cozy knit-like appearance.
Best Yarn for Warm Crochet Mittens
The yarn you choose matters for winter accessories.
Wool
Wool is naturally warm and works especially well for cold-weather projects.
Wool Blend
A wool blend combines warmth with other useful qualities such as softness, durability, or easier care.
Acrylic
Soft acrylic is affordable, widely available, and often easy to wash.
It can be a good option for everyday mittens or children’s accessories.
Whatever yarn you choose, make sure it feels comfortable against your hands.
Best Colors for Crochet Mittens
Classic winter colors work beautifully with this simple design.
Try:
- Forest green
- Burgundy
- Navy
- Charcoal
- Cream
- Camel
- Mustard
- Rust
- Sage
- Warm gray
Solid colors also make the crochet texture easier to see.
Make Two-Tone Mittens
Want to personalize the pattern?
Use one color for the cuff and another for the hand.
For example:
Cream cuff + forest-green mitten
Mustard cuff + charcoal mitten
Sage cuff + cream mitten
Burgundy cuff + warm-gray mitten
This is also a good way to use leftover yarn.
Add a Decorative Cuff
You can leave the cuff simple or embellish it after finishing.
Ideas include:
- A small wooden button
- Tiny embroidered snowflakes
- A leather-look tag
- Contrasting yarn edging
- A small crochet heart
Keep embellishments away from areas that could interfere with comfort.
Make Matching Winter Accessories
A pair of handmade mittens makes an even nicer gift when paired with another crochet item.
Use the same yarn to make:
- Ribbed crochet beanie
- Chunky scarf
- Crochet cowl
- Ear warmer
- Headband
Using the same color creates a coordinated winter set.
Why These Mittens Are Beginner Friendly
Some mitten patterns use a shaped thumb gusset with multiple increases and stitch markers.
This pattern keeps the construction simpler.
Instead, you:
- Crochet the cuff.
- Work a simple tube for the hand.
- Create a chain opening for the thumb.
- Finish the hand.
- Return and crochet the thumb separately.
This lets beginners practice basic shaping without too many complicated steps.
Common Beginner Mistakes
Making the Cuff Too Loose
The cuff should stretch around your wrist rather than hanging loosely.
Before joining it, test the fit.
Skipping the First Stitch
Joined rounds can sometimes make it difficult to identify the first stitch.
A stitch marker can help.
Place one in the first stitch of every round.
Losing Track of the Thumb Chains
When you reach the next round, remember to crochet into each chain.
You should return to the original stitch count.
Crocheting the Thumb Too Tightly
The thumb needs enough room to bend comfortably.
Keep your tension relaxed around the thumb opening.
Starting the Finger Decreases Too Early
Try the mitten on before decreasing.
If you start shaping too soon, the finished mitten may feel short.
How Long Does It Take to Crochet Mittens?
Crochet speed varies by experience.
A beginner may prefer to make one mitten at a time over several sessions.
Once you’re familiar with the construction, the second mitten usually feels much faster because you already understand each step.
Using worsted or Aran weight yarn also helps the fabric grow faster than very lightweight yarn.
Are Crochet Mittens Warm?
Yes, especially when they’re crocheted with reasonably dense stitches and a warm yarn.
Half double crochet creates a comfortable fabric without the very large holes that some taller crochet stitches can produce.
For colder climates, you can also:
- Use wool or a wool blend
- Choose slightly thicker yarn
- Use a smaller hook for denser fabric
- Add a fleece lining if desired
Can I Use Bulky Yarn?
Yes, but the stitch counts in this pattern would need to change.
Bulky yarn creates larger stitches and thicker fabric.
For the easiest result, use the recommended worsted/Aran yarn for your first pair.
Once you understand the construction, you can adapt it to different yarn weights.
Can I Make Fingerless Mittens Instead?
Yes.
One easy option is to stop the hand section before the fingertips.
Work a final round of single crochet around the top edge and fasten off.
Leave the thumb open or crochet a shorter thumb section.
This turns the same basic construction into fingerless mitts.
Washing Your Crochet Mittens
Always follow the care instructions printed on your yarn label.
In general:
- Wash gently.
- Avoid very hot water unless your yarn specifically allows it.
- Gently reshape the mittens.
- Allow them to dry completely before storing.
Wool yarn may require hand washing.
Many acrylic yarns are machine washable.
Frequently Asked Questions
Are crochet mittens difficult for beginners?
They require a little more shaping than a scarf or washcloth, but a simple construction like this is a good introduction to wearable crochet.
Are these mittens worked in the round?
The ribbed cuff is worked flat. The hand and thumb are then worked in joined rounds.
Can I make both mittens exactly the same?
Yes. This beginner construction is symmetrical, so you can repeat the same pattern for the second mitten.
What yarn is best?
A soft worsted or Aran weight yarn is a good starting point. Wool and wool blends offer excellent warmth, while washable acrylic can be convenient for everyday use.
How do I know when to start decreasing?
Try the mitten on. Begin the fingertip shaping when the straight section reaches roughly the top of your little finger.
Why does gauge matter?
Mittens are fitted accessories. Even a small difference in stitch size can noticeably affect the finished circumference and length.
Final Thoughts
Making your first pair of crochet mittens might look intimidating, but the construction becomes much easier when you break it into simple sections.
First, crochet a stretchy ribbed cuff.
Then work the hand upward using basic half double crochet.
Create a simple opening for the thumb.
Shape the fingertips with a few decrease rounds.
Finally, return to the thumb opening and finish the thumb.
Once you’ve completed the first mitten, you’ll already know exactly how to make the second.
This easy crochet mittens pattern is a cozy project for your own winter wardrobe and a thoughtful option for handmade Christmas gifts.
Choose your favorite warm yarn, grab your hook, and make a pair you’ll enjoy wearing all winter.
Save this beginner crochet mittens pattern for your next cozy winter project!
SEO
Primary keyword: crochet mittens pattern
Secondary keywords: easy crochet mittens, beginner crochet mittens, free crochet mittens pattern, warm crochet mittens, crochet winter accessories, crochet gloves pattern, handmade mittens, winter crochet pattern
Slug: easy-crochet-mittens-pattern
Meta description: Make cozy crochet mittens with this easy beginner pattern featuring a stretchy ribbed cuff, simple thumb opening, and warm classic design.