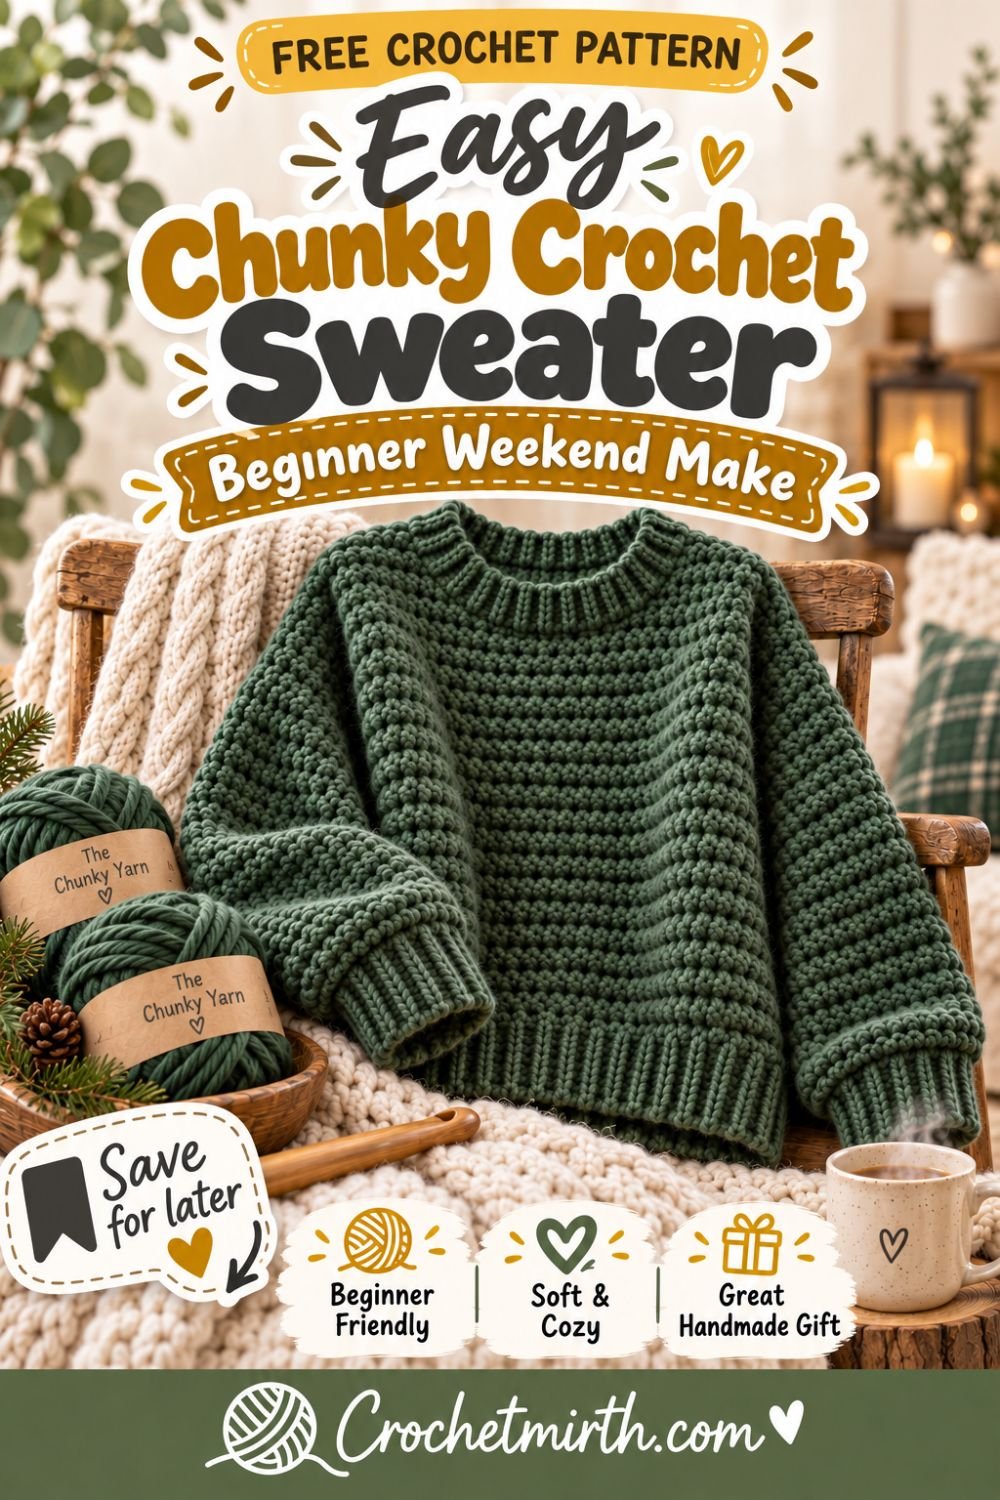
Chunky Crochet Sweater Pattern – Beginner-Friendly Weekend Make
If you’ve been wanting to crochet your first sweater but complicated shaping has been holding you back, this chunky crochet sweater pattern is a great place to start.
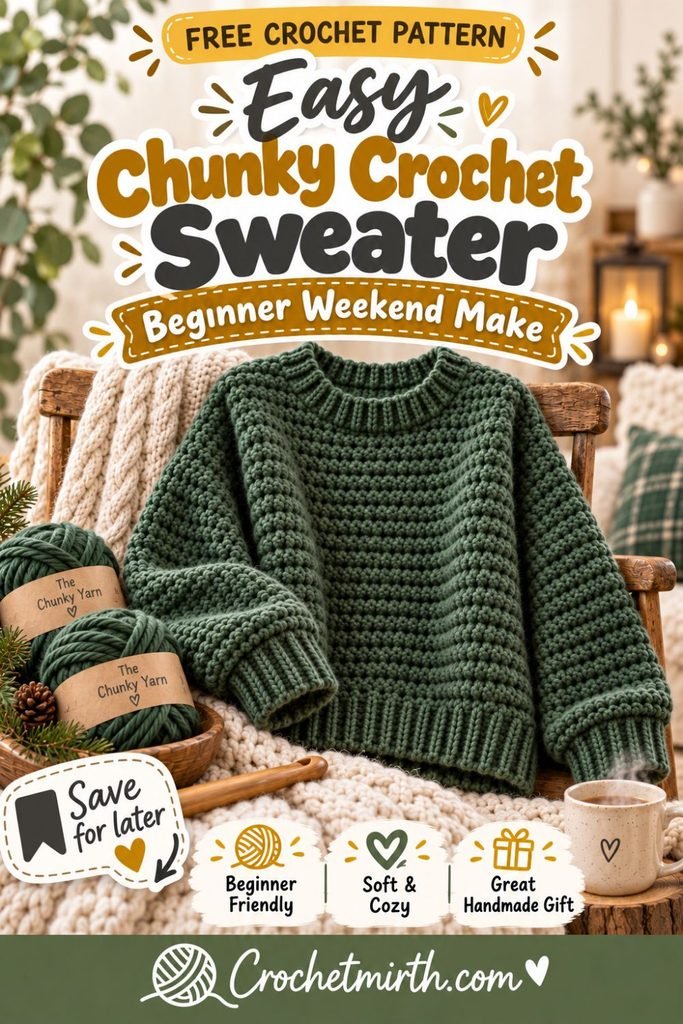
The sweater is built from simple pieces:
- Two body rectangles
- Two sleeve rectangles
- Easy ribbed cuffs
- A simple neckline
There are no complicated sleeve caps, waist decreases, or difficult shaping instructions.
Chunky yarn and a large crochet hook help the fabric grow quickly, while the relaxed drop-shoulder construction gives you plenty of room for a comfortable fit.
The finished sweater has a cozy oversized silhouette that’s perfect with jeans, leggings, or layered over a long-sleeve shirt through fall and winter.
Why You’ll Love This Chunky Crochet Sweater
This pattern is:
- Beginner-friendly
- Made mostly from rectangles
- Worked flat
- Made with chunky yarn
- Designed with relaxed drop shoulders
- Easy to resize
- Warm without complicated construction
- Great for a first sweater
- Perfect for fall and winter
- Faster than many lightweight crochet garments
Once you’ve finished one body panel, you’ll already understand most of the construction.
Skill Level
Beginner / Advanced Beginner
You should know how to:
- Chain
- Half double crochet
- Single crochet
- Work in the back loop only
- Turn your work
- Sew simple seams
- Work evenly around an edge
- Fasten off
- Weave in yarn ends
Materials
Yarn
Approximately 900–1,100 yards of Category 5 chunky yarn for the Adult Medium sample.
Larger sizes or a longer sweater will require more yarn.
Choose a yarn with enough softness and flexibility to create comfortable sweater fabric.
Good options include:
- Soft acrylic
- Wool
- Wool/acrylic blends
- Washable wool
- Soft alpaca blends
Crochet Hooks
8.0 mm crochet hook for the main sweater.
6.0 mm crochet hook for optional tighter ribbing.
A large hook helps keep chunky yarn from becoming overly stiff.
Other Supplies
- Yarn needle
- Scissors
- Measuring tape
- Stitch markers
- Blocking mats and pins, optional
Crochet Abbreviations
This pattern uses US terminology.
ch – chain
hdc – half double crochet
sc – single crochet
sl st – slip stitch
st – stitch
sts – stitches
BLO – back loop only
Finished Size
The written sample is approximately an Adult Medium with an oversized fit.
Approximate finished measurements:
Bust circumference: 44 inches
Body width laid flat: 22 inches
Sweater length: approximately 23½ inches
Sleeve length from cuff to shoulder: approximately 18 inches
Upper sleeve circumference: approximately 16 inches
The drop-shoulder shape gives the sweater generous ease.
Gauge
Approximately:
10 hdc = 4 inches
7 rows = 4 inches
Make a gauge swatch before beginning.
Garment gauge matters because even a small difference can add several inches across the finished sweater.
Choosing Your Size
For a cozy chunky sweater, aim for approximately:
6–10 inches of positive ease
Positive ease means the finished sweater circumference is larger than your actual bust.
For example:
Actual bust = 36 inches
Finished sweater = approximately 42–46 inches
For a closer fit, use less ease.
For an extra oversized fit, add more.
Simple Size Guide
Use this as a starting point.
| Size | Approx. Body Bust | Suggested Finished Bust |
|---|---|---|
| XS | 30–32 in | 38 in |
| S | 34–36 in | 42 in |
| M | 38–40 in | 46 in |
| L | 42–44 in | 50 in |
| XL | 46–48 in | 54 in |
| 2XL | 50–52 in | 58 in |
For the easiest custom fit, work from measurements instead of relying only on size labels.
Construction Overview
You’ll make:
- Front panel
- Back panel
- Two sleeves
- Two ribbed cuffs
Then you’ll:
- Seam the shoulders
- Attach the sleeves
- Seam the sleeves and body sides
- Attach the cuffs
- Finish the neckline
That’s the entire basic sweater.
Main Stitch
The sweater uses half double crochet.
Hdc is especially useful with chunky yarn because:
- It is easy to learn
- It creates fabric quickly
- It is denser than double crochet
- It still has comfortable drape
FRONT PANEL
Ch 57.
Row 1
Hdc in the second chain from the hook.
Hdc across.
56 sts
Ch 1 and turn.
Row 2
Hdc in every stitch across.
56 sts
Ch 1 and turn.
Continue
Repeat Row 2 until the panel measures approximately:
23½ inches long
At the sample gauge, this may be around 41 rows.
Fasten off.
BACK PANEL
Make a second panel exactly the same as the front.
You should now have two rectangles approximately:
22 inches wide × 23½ inches long
Optional Textured Version
Want a little more texture?
Instead of regular hdc, work:
hdc BLO
in every row after Row 1.
This creates subtle horizontal ridges across the sweater.
The construction remains exactly the same.
Block the Panels
Blocking before assembly can help:
- Straighten edges
- Relax stitches
- Match panel dimensions
Shape both panels to the same measurements.
Allow them to dry completely.
JOIN THE SHOULDERS
Place the front and back panels together.
Align:
- Bottom hems
- Side edges
- Top edges
Use stitch markers across the top.
Leave the Neck Opening
For the Adult Medium sample, leave approximately:
8 inches
open in the center.
This becomes the neckline.
That leaves approximately:
7 inches
for each shoulder seam.
Sew the Shoulders
Sew each shoulder using:
- Mattress stitch
- Whip stitch
- Slip stitch seam
Keep the seam flexible.
Do not pull the yarn too tightly.
CHECK THE NECK OPENING
Before continuing, gently try the body over your head.
The opening should fit comfortably.
If it feels too tight, undo part of each shoulder seam.
If it’s too wide, extend the seams slightly.
CROCHET THE SLEEVES
Make 2.
Ch 46.
Sleeve Row 1
Hdc in the second chain from the hook.
Hdc across.
45 sts
Ch 1 and turn.
Sleeve Row 2
Hdc across.
45 sts
Ch 1 and turn.
Continue
Repeat until the sleeve rectangle measures approximately:
16 inches wide
Your foundation edge should measure approximately:
18 inches long
Fasten off.
Make the second sleeve exactly the same.
Why Rectangle Sleeves?
Traditional fitted sweaters may require tapered sleeves and shaped sleeve caps.
For this beginner sweater, straight rectangles keep the construction much easier.
The fitted ribbed cuffs will gently gather the sleeves at the wrist.
ATTACH THE SLEEVES
Lay the sweater body open and flat.
The front and back should extend in opposite directions with the shoulder seams in the center.
Find the center of one long sleeve edge.
Mark it.
Match that marker to the shoulder seam.
Pin the Sleeve
Pin approximately:
8 inches
of sleeve edge down the front panel.
Then pin another:
8 inches
down the back panel.
Adjust if necessary.
Sew the sleeve securely to the body.
Repeat for the second sleeve.
SEAM THE SWEATER
Fold the sweater with the right sides together.
Match:
- Sleeve edges
- Underarm points
- Body side edges
Starting at one wrist:
Sew along the sleeve underside.
Continue through the underarm.
Then continue down the body side to the hem.
Repeat on the opposite side.
Turn the Sweater Right Side Out
You now have the basic sweater shape.
Try it on before adding the cuffs.
Check:
- Body width
- Shoulder fit
- Sleeve length
- Sweater length
Minor sleeve-length adjustments are still easy at this stage.
RIBBED CUFFS
Make 2.
Using the smaller 6 mm hook if desired:
Ch 9.
Cuff Row 1
Sc in the second chain from the hook.
Sc across.
8 sts
Ch 1 and turn.
Cuff Row 2
Working in the back loop only, sc across.
8 sts
Ch 1 and turn.
Continue
Repeat Row 2 until the strip stretches comfortably around your wrist.
Do not make it loose.
Join the Cuff
Bring the first and final rows together.
Slip stitch through both layers or sew them together.
You now have a ribbed cuff ring.
Repeat for the second cuff.
Attach the Cuffs
Place one cuff around the end of the sleeve.
Match the cuff seam to the sleeve seam.
The sleeve opening will probably be wider than the cuff.
That’s intentional.
Stretch the cuff gently as you sew it around the sleeve.
Distribute the sleeve fabric evenly.
Repeat for the other cuff.
OPTIONAL RIBBED HEM
You can leave the lower edge simple.
Or add ribbing for a more polished sweater.
Join yarn at one side seam.
Ch 7.
Sc in the second chain from hook and across.
Slip stitch into the next two body-edge stitches.
Turn.
Work sc BLO back across the ribbing.
Continue attaching ribbing around the entire lower edge.
This creates a stretchy fitted hem.
SIMPLE NECKLINE FINISH
Join yarn at one shoulder seam.
Round 1
Ch 1.
Work sc evenly around the neckline.
Join with a sl st.
Round 2
Ch 1.
Sc BLO in each stitch around.
Join.
Fasten off.
This creates a simple finished crew neck.
Make a Wider Neckline
For a more relaxed neckline, leave a wider gap between the shoulder seams.
Try:
9–10 inches
instead of 8.
Make a Smaller Neckline
Extend both shoulder seams slightly toward the center.
Always test whether the sweater still fits comfortably over your head.
Add a Mock Neck
Want an extra-cozy sweater?
Continue working rounds around the neckline.
Use:
sc BLO
for approximately:
2–3 inches
This creates a simple ribbed mock neck.
Add a Chunky Turtleneck
Continue the neckline until it measures approximately:
6–7 inches
Fold it outward.
This creates an extra-warm chunky turtleneck.
How to Make the Sweater Longer
Continue adding rows to both body panels.
For a longer sweater:
Aim for approximately:
26–28 inches
For tunic length:
Try:
30 inches or more
Remember to purchase additional yarn.
Make a Cropped Sweater
Stop both panels around:
18–20 inches
before seaming.
This creates a trendy cropped silhouette.
How to Make the Sweater Wider
Increase the foundation chain of both body panels.
The basic formula is:
Desired finished bust ÷ 2 = width of each body panel
Example:
Desired finished bust:
48 inches
Each panel should measure approximately:
24 inches wide
How to Make the Sweater Narrower
Use fewer foundation chains.
Make sure you still include enough positive ease for movement.
Chunky sweaters generally look and feel better with some extra room.
Custom Sizing Formula
Measure your bust.
Add your desired positive ease.
Then divide by two.
For example:
Bust = 38 inches
Desired ease = 8 inches
38 + 8 = 46 inches
46 ÷ 2 = 23 inches
Each front/back panel should measure approximately:
23 inches wide
Adjusting the Sleeve Width
Measure around the widest part of your upper arm.
Add approximately:
3–5 inches
of ease.
That becomes your approximate sleeve rectangle width.
Adjusting Sleeve Length
Measure from your dropped shoulder point to your wrist.
Remember that the cuff adds approximately:
2½–3 inches
to the finished sleeve.
Subtract the cuff depth from your desired sleeve length.
Make Balloon Sleeves
For extra-cozy balloon sleeves:
Make the sleeve rectangles wider.
Keep the cuff snug.
When you attach the cuff, the extra sleeve fabric will gather around the wrist.
Make Slimmer Sleeves
Reduce the number of sleeve rows.
Try the rectangle around your upper arm before attaching.
Make sure you can move comfortably.
Why Drop Shoulders Are Beginner-Friendly
A drop-shoulder sweater avoids complicated armhole shaping.
The body stays rectangular.
The sleeves attach directly along the side edges.
This eliminates techniques such as:
- Sleeve caps
- Armhole curves
- Raglan increases
- Complicated shoulder shaping
That’s why drop-shoulder construction is frequently used for beginner sweaters.
Best Yarn for a Chunky Sweater
Chunky Acrylic
A soft acrylic can be:
- Affordable
- Easy to wash
- Warm
- Available in many colors
It’s a practical choice for a first sweater.
Wool Blends
Wool blends provide:
- Warmth
- Elasticity
- Softness
- Cozy texture
They’re excellent for cold-weather garments.
Alpaca Blends
A small amount of alpaca can make the sweater:
- Softer
- Warmer
- More luxurious
Avoid yarn that’s extremely fuzzy if you’re still learning because it can make stitches harder to identify.
Cozy Color Ideas
Try:
- Forest green
- Cream
- Charcoal
- Camel
- Burgundy
- Navy
- Rust
- Mustard
- Sage
- Chocolate brown
Solid colors make chunky crochet stitches stand out beautifully.
Make a Two-Tone Sweater
Use one color for the body and another for:
- Cuffs
- Hem
- Neckline
Examples:
Forest green + cream
Charcoal + mustard
Cream + sage
Burgundy + warm gray
Color-Block Sweater
Make the front and back in one color.
Make the sleeves in a second color.
For example:
Cream body + forest-green sleeves.
Or:
Sage body + cream sleeves.
This creates a modern look without changing the basic pattern.
Striped Sweater
Change yarn every:
4–6 rows
on both front and back panels.
Make sure the stripes line up across both panels.
Wide chunky stripes work especially well with oversized sweaters.
Add Side Slits
Want a relaxed hem?
Stop sewing the side seams approximately:
2–4 inches
above the bottom edge.
This creates small side slits.
They’re especially useful for longer sweaters.
Make the Back Slightly Longer
Crochet the back panel:
2–4 rows longer
than the front.
This creates a subtle high-low hem.
Add Pockets
Make two simple rectangles approximately:
7 × 7 inches
using hdc.
Position them on the front.
Sew along:
- Left side
- Bottom
- Right side
Leave the top open.
Weekend Make: What Does That Really Mean?
Chunky yarn and a large hook make this sweater much faster than many lightweight garments.
However, crochet speed varies significantly.
An experienced crocheter may be able to complete a simple chunky sweater over a focused weekend.
A beginner may prefer to spread the project across several evenings.
The important advantage is that the construction is repetitive and easy to pick up again.
Why This Is a Good First Sweater
Many crochet sweaters involve:
- Complicated shaping
- Multiple increases
- Decreases
- Sleeve caps
- Fitted waist shaping
This design keeps those details to a minimum.
You mostly crochet rectangles.
Then you sew them together.
That allows you to focus on:
- Consistent stitches
- Measuring accurately
- Learning simple garment assembly
Common Beginner Mistakes
Skipping the Gauge Swatch
A scarf can be slightly wider without causing a problem.
A sweater can’t.
Always check your gauge before crocheting two full body panels.
Making Unequal Panels
Measure both body panels carefully.
Lay them on top of each other before seaming.
They should match.
Crocheting Too Tightly
Chunky yarn can become very stiff if your tension is tight.
Try:
- Relaxing your tension
- Going up a hook size
The sweater should have some drape.
Making the Neckline Too Small
Pin the shoulders first.
Test the opening over your head.
Only then make the permanent seams.
Making Sleeves Too Short
Remember that the drop shoulder changes where the sleeve begins.
Pin the sleeves to the body before deciding whether the length is correct.
Attaching the Sleeves Unevenly
Always mark the center of each sleeve.
Match that point to the shoulder seam.
This helps keep both sides symmetrical.
Blocking Your Chunky Sweater
Blocking can help:
- Relax the crochet fabric
- Straighten seams
- Improve drape
- Even out measurements
Use the method recommended for your yarn.
Avoid excessive heat on acrylic fibers.
How to Wash Your Crochet Sweater
Check your yarn label.
In general:
- Wash gently.
- Support the sweater when wet.
- Avoid hanging a saturated sweater.
- Reshape carefully.
- Lay flat to dry when recommended.
Chunky garments can become heavy when wet.
Supporting the fabric helps prevent stretching.
Frequently Asked Questions
Is this chunky sweater beginner-friendly?
Yes. The construction is primarily rectangles with simple drop shoulders and basic seaming.
Is it really possible to crochet a sweater over a weekend?
Chunky yarn and a large hook make the project relatively fast, but completion time depends on your experience and crochet speed.
What yarn weight should I use?
The written pattern uses Category 5 chunky yarn.
Can I use super bulky yarn?
Yes, but you’ll need fewer stitches and rows and a larger hook. Work from finished measurements rather than the written stitch counts.
Can I use worsted yarn?
Yes, but the project will require more stitches, more rows, and usually more crochet time.
Is the sweater oversized?
Yes. It’s designed with positive ease and relaxed drop shoulders.
Can I make it cropped?
Yes. Simply crochet fewer body rows.
Can I make a mock neck?
Yes. Add several rounds of ribbed crochet around the neckline.
Final Thoughts
Crocheting your first sweater doesn’t need to mean learning complicated shaping.
This chunky crochet sweater pattern uses a simple drop-shoulder construction that turns basic rectangles into a cozy wearable garment.
Chunky yarn helps the project grow quickly.
Half double crochet keeps the stitch pattern easy to remember.
And the oversized fit makes the sweater forgiving while you learn garment construction.
Keep it simple in forest green, cream, charcoal, or camel, or personalize it with stripes, contrast cuffs, balloon sleeves, pockets, or a mock neck.
Once you’ve completed this sweater, you’ll have learned the basic skills you need to tackle many other crochet garments.
Save this beginner-friendly chunky crochet sweater pattern for your next cozy weekend make!