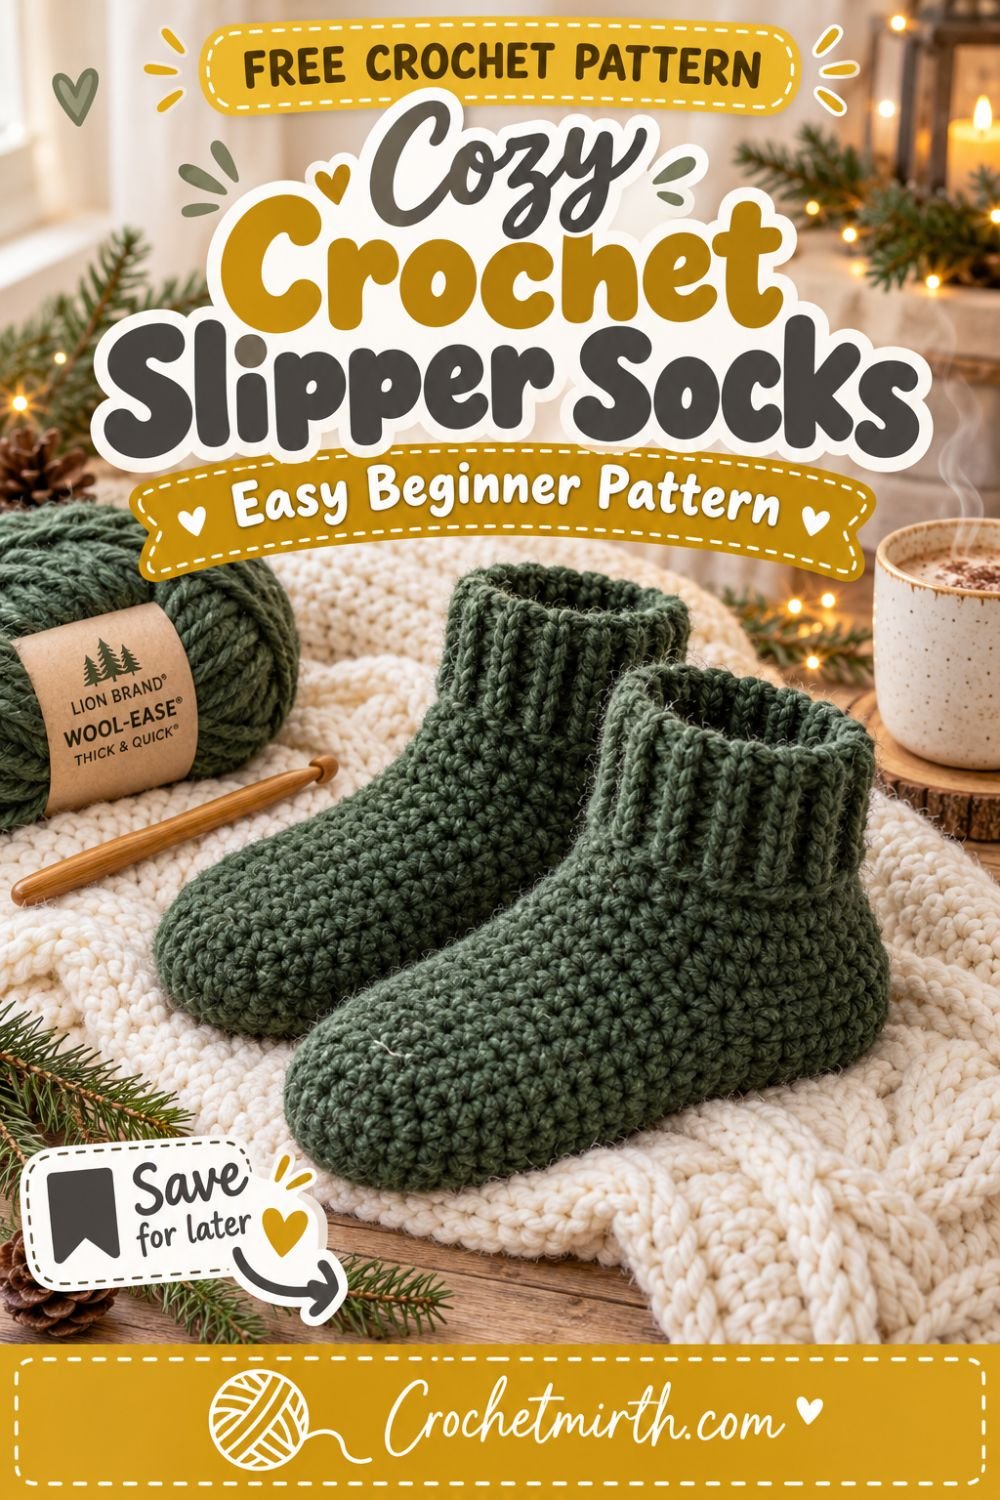
Crochet Socks Pattern – Cozy Beginner Slipper Socks
Cold floors and chilly evenings call for something extra cozy.
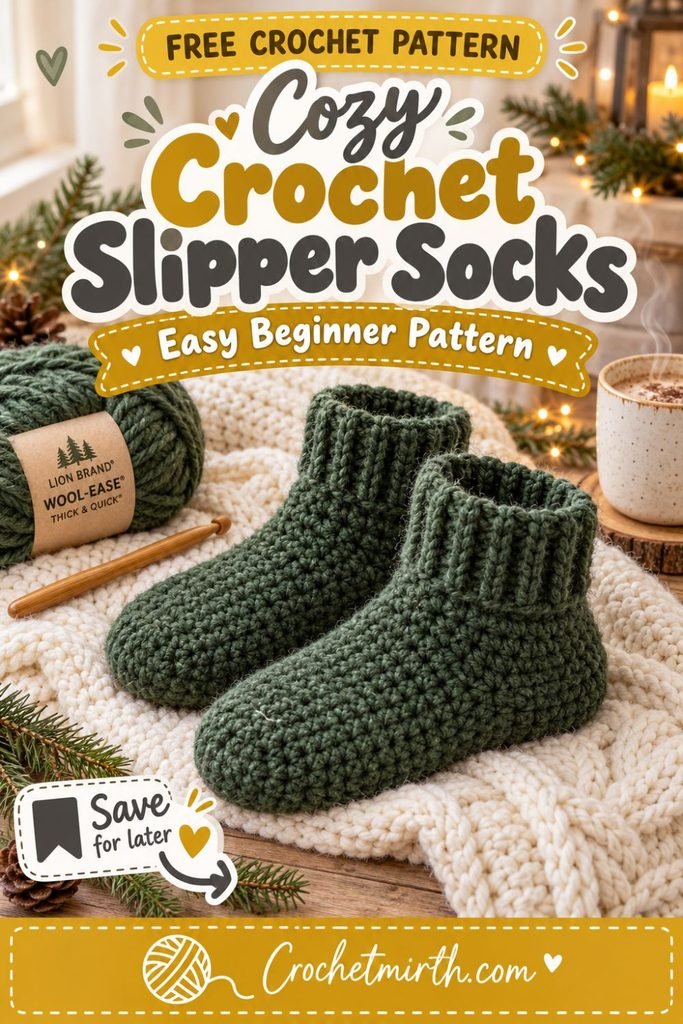
These crochet slipper socks are designed as an approachable first sock project for beginners. Instead of complicated traditional sock shaping, you’ll crochet from the toe upward, create a simple opening for the heel, and return to finish the heel afterward.
A stretchy ribbed cuff gives the socks a snug finish around the ankle, while bulky yarn makes them soft, warm, and much faster to crochet than thin everyday socks.
They’re perfect for lounging at home, gifting during the holidays, or learning the basics of crochet footwear.
Why You’ll Love These Crochet Slipper Socks
This pattern is:
- Beginner-friendly
- Warm and cozy
- Worked from the toe upward
- Made with simple half double crochet
- Designed with easy heel shaping
- Finished with a stretchy ribbed cuff
- Easy to customize for different foot lengths
- Faster than lightweight crochet socks
- Great for handmade Christmas gifts
- Perfect for chilly fall and winter evenings
Skill Level
Easy / Beginner
You should know how to:
- Chain
- Half double crochet
- Single crochet
- Slip stitch
- Increase
- Decrease
- Work in joined rounds
- Work in the back loop only
- Seam a small ribbed cuff
- Fasten off
- Weave in ends
Materials
Yarn
Approximately 160–200 yards of Category 5 bulky yarn for an adult pair.
Choose yarn that is:
- Soft
- Warm
- Comfortable
- Durable enough for indoor wear
Good options include:
- Acrylic
- Wool/acrylic blends
- Soft washable wool
- Polyester blends
Crochet Hook
5.5 mm crochet hook
Adjust the hook size if necessary to achieve the correct fit.
Other Supplies
- Yarn needle
- Scissors
- Measuring tape
- Stitch markers
- Optional non-slip sole material
Crochet Abbreviations
This pattern uses US crochet terminology.
ch – chain
hdc – half double crochet
sc – single crochet
hdc2tog – half double crochet 2 stitches together
sl st – slip stitch
st – stitch
sts – stitches
BLO – back loop only
rnd – round
Finished Size
The written pattern is designed for approximately:
Women’s US size 7–8
Approximate finished foot length:
9–9½ inches
Approximate foot circumference:
8 inches
The crochet fabric will stretch slightly with wear.
Gauge
Approximately:
12 hdc = 4 inches
and
8 rounds = 4 inches
Gauge matters more for socks than for scarves or shawls.
If your stitches are too large, the slipper socks may become loose.
If they’re too small, the socks may feel tight.
Construction Overview
Each slipper sock has four sections:
- Rounded toe
- Straight foot section
- Heel opening and ankle
- Ribbed cuff
After the ankle is finished, you’ll return to the heel opening and crochet the heel directly into it.
This avoids making a complicated heel flap.
Make Two Slipper Socks
Follow the complete instructions twice.
The construction is symmetrical, so you can use the same pattern for both feet.
Part 1: Crochet the Toe
Ch 2.
Round 1
Work 8 hdc into the second chain from your hook.
Join with a sl st.
8 sts
Round 2
Ch 1.
Work 2 hdc in every stitch around.
Join.
16 sts
Round 3
Ch 1.
Repeat:
hdc in next st, 2 hdc in next st
around.
Join.
24 sts
Check the Toe Width
You should now have approximately:
24 hdc
around the toe.
The piece should look like a small shallow cup.
Try placing it over your toes.
It should fit comfortably without excessive stretching.
Part 2: Crochet the Foot
Round 4
Ch 1.
Hdc in every stitch around.
Join.
24 sts
Continue
Repeat Round 4 until the foot section measures approximately:
6¼–6½ inches
from the center of the toe to the current edge.
For many crocheters, this will take approximately:
12–14 straight rounds
after the toe shaping.
The exact number depends on your gauge.
Adjust the Foot Length
Try the sock on as you work.
Stop when the crochet reaches approximately:
2½–3 inches before the back of your heel
That remaining space will be used for heel and ankle shaping.
Part 3: Create the Heel Opening
We’ll create a heel opening in the same way you might create a thumb opening in a mitten.
This keeps the construction simple.
Heel Opening Round
Ch 1.
Hdc in the first 7 sts.
Ch 10.
Skip the next 10 sts.
Hdc in the remaining 7 sts.
Join.
You now have a large opening underneath the foot where the heel will eventually go.
Next Round
Ch 1.
Hdc in each stitch around.
When you reach the chain section:
Work 1 hdc into each chain.
You should again have:
24 sts
Join.
Part 4: Crochet the Ankle
Continue working:
1 hdc in every stitch around
for approximately:
5–6 rounds
or until the ankle section reaches approximately 3 inches above the heel opening.
Do not fasten off if you want to add a simple edging.
Optional Ankle Edging
Work one round of:
sc in each stitch
around.
Join.
Fasten off.
You’ll now add the ribbed cuff separately.
Part 5: Crochet the Ribbed Cuff
Ch 8.
Cuff Row 1
Sc in the second chain from the hook.
Sc across.
7 sts
Ch 1 and turn.
Cuff Row 2
Working in the back loop only, sc across.
7 sts
Ch 1 and turn.
Continue
Repeat Row 2 until the ribbed strip stretches comfortably around the ankle opening.
A starting point is approximately:
22–24 rows
but measure your actual sock rather than relying only on the count.
Join the Ribbed Cuff
Bring the first and last rows together.
Slip stitch or sew the edges together.
You now have a small ribbed ring.
Attach the Cuff
Place the cuff around the top of the slipper sock.
Match the cuff seam with the back of the ankle.
Using yarn and a yarn needle, sew the cuff evenly around the opening.
Stretch the cuff slightly while sewing so it distributes evenly.
Fasten off securely.
Part 6: Crochet the Heel
Now return to the heel opening.
Join your yarn in one corner.
Heel Round 1
Ch 1.
Work approximately:
20 hdc evenly around the heel opening
This includes:
- The 10 skipped stitches
- The 10 chain stitches
Pick up an extra stitch in either corner only if needed to close a gap.
Place a stitch marker at the beginning.
Heel Round 2
Repeat around:
hdc in next 3 sts, hdc2tog
You should gradually reduce the heel circumference.
Heel Round 3
Hdc in each stitch around.
Heel Round 4
Repeat:
hdc in next 2 sts, hdc2tog
around as evenly as possible.
Heel Round 5
Hdc in each stitch around.
Final Heel Round
Work:
hdc2tog
around until approximately 5–6 stitches remain.
Fasten off, leaving a long yarn tail.
Close the Heel
Thread the yarn tail through a yarn needle.
Pass it through the remaining stitches.
Pull gently until the hole closes.
Secure firmly.
Weave in the end on the inside.
Your first slipper sock is finished.
Try the Sock On
Check:
- Toe comfort
- Foot length
- Heel placement
- Ankle fit
- Cuff stretch
The sock should feel snug but comfortable.
Because crochet fabric can relax slightly with wear, avoid making the slipper sock excessively loose.
Make the Second Sock
Repeat the same instructions.
Before finishing the second sock, compare it with the first to make sure:
- Foot length matches
- Cuff height matches
- Heel placement matches
- Overall size is consistent
How to Adjust the Sock Length
Foot length is easy to customize.
Before creating the heel opening, continue the straight foot rounds until the crochet reaches approximately:
2½–3 inches before the back of your heel
For longer feet:
Add rounds.
For shorter feet:
Work fewer rounds.
Approximate Foot Length Guide
Use this only as a starting reference.
Women’s US 5–6
Approximate foot length:
8½–9 inches
Women’s US 7–8
Approximate foot length:
9–9½ inches
Women’s US 9–10
Approximate foot length:
9¾–10¼ inches
Women’s US 11–12
Approximate foot length:
10½–11 inches
Always measure the actual foot when possible.
Adjusting the Width
The written pattern reaches:
24 stitches
around the foot.
For wider feet, you can add another increase round before beginning the straight foot section.
For narrower feet, stop increasing earlier.
However, remember that changing the circumference also changes the heel opening.
For your first pair, staying near the original stitch count is easiest.
Make the Slipper Socks Taller
Want more ankle coverage?
Continue the ankle rounds before attaching the cuff.
Try:
8–10 rounds
instead of 5–6.
This creates a taller bootie-style slipper sock.
Make a Longer Ribbed Cuff
Increase the cuff starting chain.
Instead of:
ch 8
try:
ch 11–13
This creates a deeper ribbed cuff.
You can even fold it downward for a cozy boot-sock look.
Make a Shorter Cuff
For low ankle slippers, begin with:
ch 5–6
instead.
Best Yarn for Crochet Slipper Socks
Bulky Yarn
Bulky yarn is excellent for this project because it creates:
- Warmth
- Softness
- Quick progress
- Cushioned fabric
- Visible stitches for beginners
It also makes the project considerably faster than lightweight sock yarn.
Acrylic
A soft acrylic can be practical because it is:
- Affordable
- Easy to wash
- Widely available
- Available in many colors
Wool Blends
Wool blends can provide:
- Extra warmth
- Natural elasticity
- Softness
- Cozy winter texture
Always check the care instructions before washing.
Cozy Color Ideas
Try:
- Forest green
- Cream
- Charcoal
- Burgundy
- Mustard
- Camel
- Rust
- Navy
- Sage
- Dusty rose
Two-Tone Slipper Socks
Use one color for the main sock and another for the cuff.
For example:
Forest green + cream
Charcoal + mustard
Cream + sage
Burgundy + warm gray
You can also make the toe and heel in the contrast color.
Contrast Toe and Heel
For a classic sock-inspired look:
Crochet the toe in one color.
Switch to your main color for the foot.
Then crochet the heel and cuff in the contrast color again.
This is a great way to use small amounts of leftover yarn.
Add a Faux-Fur Cuff
For extra-cozy slipper socks, use a small amount of faux-fur yarn for the final cuff edge.
Keep the main ribbed cuff in regular yarn so the stitches remain easy to see.
Add a Decorative Button
Sew a small wooden button onto the outside of each cuff.
The button is decorative only and doesn’t need to open.
This small detail can make the socks look especially nice as handmade gifts.
Important: Make the Soles Less Slippery
Crochet yarn can slide on smooth indoor floors.
If you’ll wear these on:
- Hardwood
- Tile
- Laminate
consider adding a non-slip sole treatment.
Options include purpose-made fabric grip products or sewing on suitable non-slip sole pieces.
Follow the manufacturer’s instructions for whichever product you use.
This is especially important if you’re making the slipper socks for someone who may be at higher risk of falling.
Make a Handmade Christmas Gift
Crochet slipper socks make a cozy holiday present.
Fold one sock over the other.
Tie them together with:
- Cream ribbon
- Velvet ribbon
- Natural twine
Add a small tag reading:
Stay Cozy
or
Handmade for You
You could pair them with:
- Hot chocolate
- Tea
- A candle
- Hand cream
- A cozy blanket
Why Slipper Socks Are Easier Than Traditional Socks
Traditional crochet socks can require:
- Fine yarn
- Small hooks
- Precise heel turns
- Thin fitted fabric
- Detailed sizing
Slipper socks are more forgiving.
Using bulky yarn creates thicker fabric, and the simplified heel opening lets you focus on learning the overall sock shape.
Common Beginner Mistakes
Making the Toe Too Tight
Try the toe section over your foot before continuing.
If it feels tight, add another increase round.
Making the Foot Too Long
Remember that the heel still needs to be added.
Create the heel opening before the crochet reaches the back of your heel.
Losing Stitches
Count occasionally.
You should have approximately:
24 stitches
through most of the foot and ankle.
Making the Cuff Too Loose
The ribbed cuff should stretch around your ankle.
It shouldn’t already be loose before stretching.
Leaving Holes at the Heel Corners
Pick up an extra stitch at each heel corner if necessary.
You can decrease those extra stitches on the following round.
How Long Do Crochet Slipper Socks Take?
The exact time depends on experience and crochet speed.
Using bulky yarn makes slipper socks much faster than lightweight socks.
Many current chunky slipper patterns are designed specifically as quick projects, with some advertised in the range of only a few hours per pair.
Are These Good for Complete Beginners?
If you’ve already practiced:
- Hdc
- Working in rounds
- Simple decreases
this is a good first footwear project.
If you’ve never crocheted in the round before, practice a small circle first.
Can I Use Worsted Weight Yarn?
Yes.
You’ll need:
- More stitches
- More rounds
- Possibly a smaller hook
Work from your foot measurements rather than using the exact stitch counts in this bulky-yarn version.
Can I Use Super Bulky Yarn?
Yes.
Super bulky yarn creates extremely warm house slippers.
You’ll need:
- Fewer stitches
- Fewer rounds
- A larger hook
The finished socks will also be thicker.
Can I Wear These Inside Shoes?
These are designed primarily as slipper socks for indoor use.
Bulky yarn may make them too thick for regular shoes.
For socks intended to fit comfortably inside shoes, use thinner yarn and a more fitted sock pattern.
Washing Your Crochet Slipper Socks
Check the yarn label first.
In general:
- Wash according to yarn instructions.
- Avoid excessive heat.
- Reshape the heel and toe while damp.
- Lay flat to dry when recommended.
- Make sure they’re completely dry before wearing.
Frequently Asked Questions
Are these socks worked from the toe up?
Yes. The toe is made first, followed by the foot, heel opening, ankle, cuff, and heel.
Is there a difficult heel turn?
No. A heel opening is created while crocheting the main sock, then the heel is added afterward with simple decreases.
Can beginners make these?
Yes, especially if you’re already comfortable working basic stitches in rounds.
Are these suitable for outdoor shoes?
They’re designed as thick indoor slipper socks rather than lightweight shoe socks.
Can I make them taller?
Yes. Add more ankle rounds and make a deeper ribbed cuff.
How do I adjust the foot length?
Add or remove straight foot rounds before making the heel opening.
Final Thoughts
Crocheting your first pair of socks doesn’t need to involve tiny hooks, complicated heel turns, or thin sock yarn.
These cozy beginner crochet slipper socks use bulky yarn, simple half double crochet stitches, an easy afterthought-style heel, and a stretchy ribbed cuff to create a warm pair of house sockswithout overly complicated construction.
Make them in one solid color for a classic look, add a contrast heel and toe, or choose a fluffy cuff for extra winter coziness.
They’re practical, customizable, and especially nice as handmade holiday gifts.
Save this beginner crochet slipper socks pattern for your next cozy winter project!