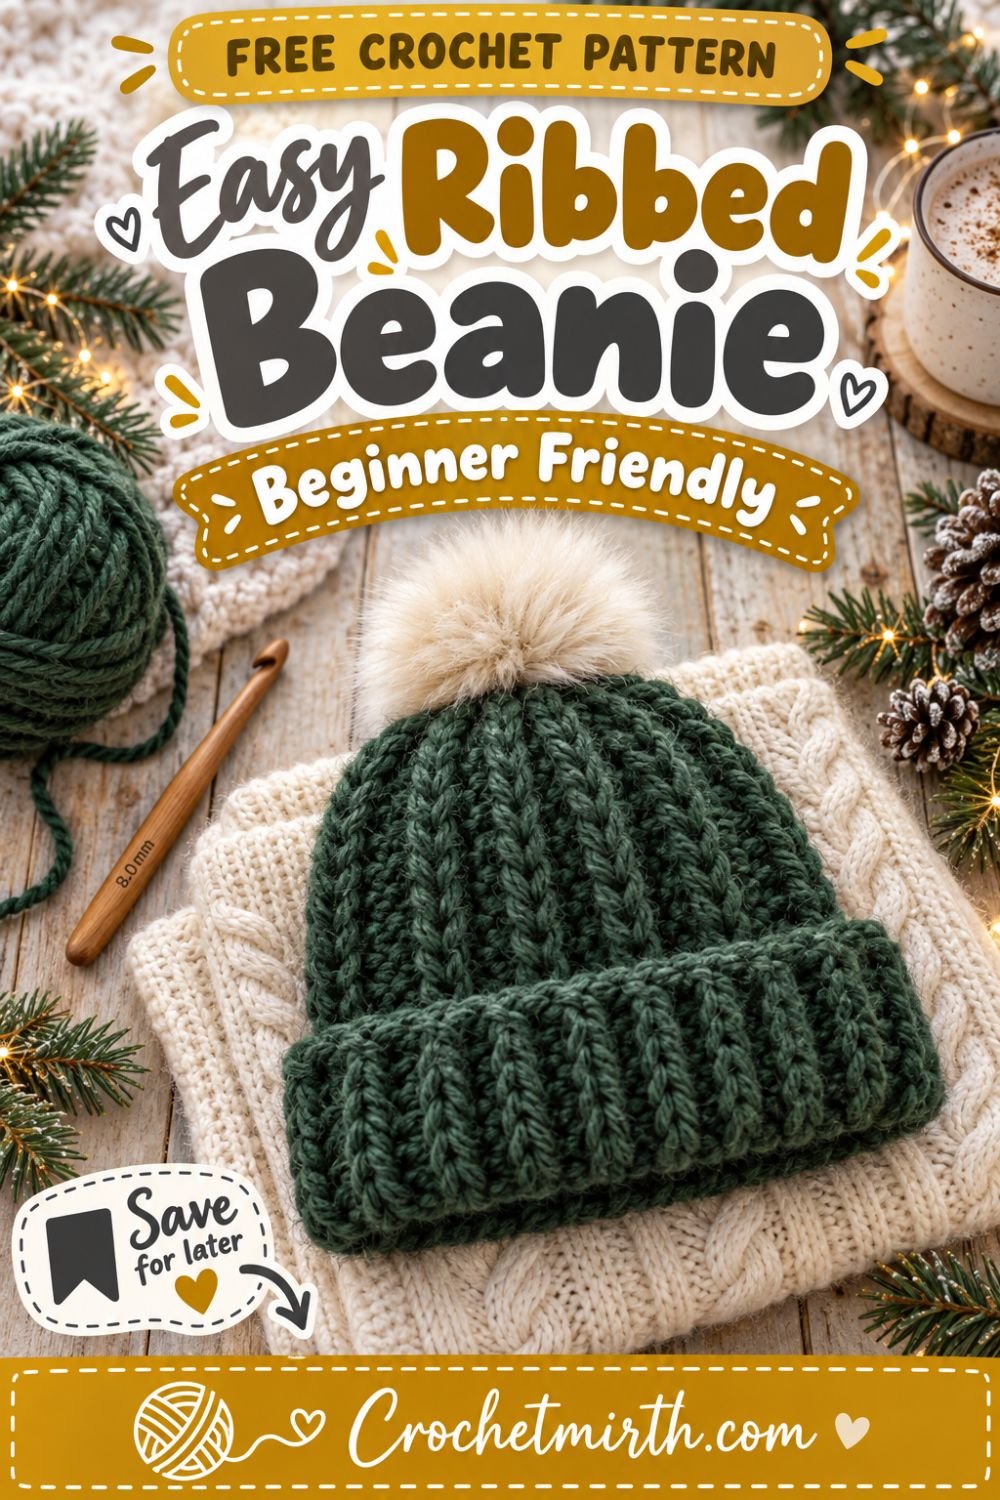
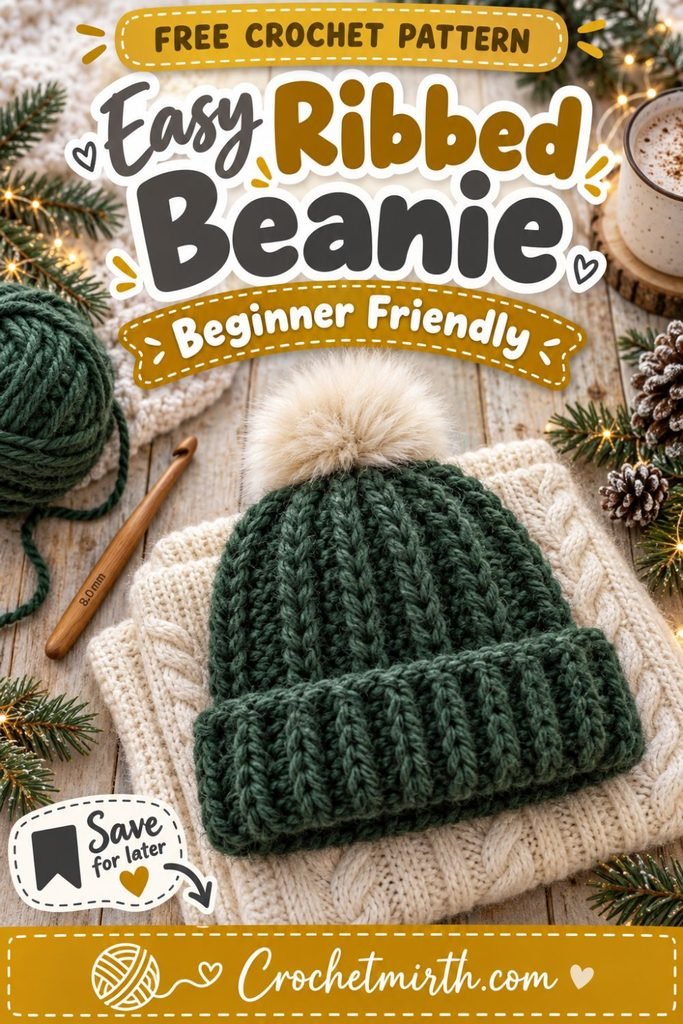
Easy Ribbed Crochet Beanie Pattern – Free Beginner Pattern
If you’ve been wanting to crochet your first hat, this easy ribbed crochet beanie pattern is a great place to start.
Instead of working in complicated rounds or learning increases and decreases, this beanie begins as a simple rectangle.
You crochet back and forth in rows, working into the back loops to create a stretchy ribbed texture. Then you join the rectangle into a tube, gather one end closed, and fold up the bottom to create the cozy brim.
That’s it.
The finished hat has a beautiful knit-like appearance, plenty of stretch, and a classic winter style that works well for everyday wear or handmade gifts.
Why You’ll Love This Ribbed Crochet Beanie
This pattern is:
- Beginner-friendly
- Worked completely flat
- Made with basic crochet stitches
- Stretchy and comfortable
- Easy to customize
- Great for winter gifts
- Perfect for bulky yarn
- Simple to resize
- Suitable for men or women
If you can make a chain and a half double crochet stitch, you can make this hat.
Skill Level
Beginner
You’ll need to know how to:
- Make a slip knot
- Chain
- Half double crochet
- Work in the back loop only
- Slip stitch or sew a simple seam
- Fasten off
- Weave in ends
Materials
Yarn
Approximately 150–180 yards of bulky weight yarn, Category 5
Choose a yarn that feels soft and has some stretch.
Good fiber options include:
- Acrylic
- Wool blend
- Acrylic/wool blend
- Soft washable wool
Crochet Hook
6.5 mm crochet hook
Use a different hook size if needed to match the gauge.
Additional Supplies
- Yarn needle
- Scissors
- Measuring tape
- Stitch markers, optional
- Pom-pom, optional
Crochet Abbreviations
This pattern uses US crochet terminology.
ch – chain
hdc – half double crochet
hdc BLO – half double crochet in the back loop only
sl st – slip stitch
st – stitch
sts – stitches
BLO – back loop only
Finished Size
This pattern is written for an Adult Medium.
Approximate finished measurements before stretching:
Circumference: 20 inches
Height before folding brim: approximately 11½ inches
Folded brim: approximately 2½–3 inches
The ribbing gives the hat plenty of stretch.
Gauge
Approximately:
10 hdc stitches = 4 inches
7 rows = 4 inches
Gauge is important when making fitted items.
If your rectangle is too small, your hat will fit tightly.
If it is too large, the finished beanie may feel loose.
What Does Back Loop Only Mean?
Look at the top of a crochet stitch.
You’ll see two loops forming a small V.
The loop closest to you is the front loop.
The loop farther away is the back loop.
For this pattern, you’ll insert your hook only through that back loop.
Working this way creates raised horizontal ridges in the rectangle.
Once the rectangle is turned into a hat, those ridges become the beautiful vertical ribbing.
Free Ribbed Crochet Beanie Pattern
Foundation Chain
Ch 30.
Row 1
Hdc in the second chain from the hook.
Hdc in each remaining chain across.
29 sts
Ch 1 and turn.
Row 2
Working in the back loop only, hdc in each stitch across.
29 sts
Ch 1 and turn.
Rows 3–35
Repeat Row 2.
Continue until you have approximately:
35 rows
or until your rectangle measures approximately:
20 inches across
Do not worry if your row number is slightly different.
The measurement is more important than the exact row count.
Fasten off, leaving a long yarn tail for seaming.
Check the Rectangle Before Seaming
Your rectangle should measure approximately:
20 inches wide
and
11½ inches tall
The long dimension will wrap around your head.
The shorter dimension becomes the height of the hat.
Before joining the rectangle, wrap it gently around your head.
It should feel comfortably snug without being painfully tight.
The crochet ribbing will stretch.
How to Seam the Beanie
Fold the rectangle in half so the first and final rows meet.
The ribbed lines should run vertically when the hat is worn.
You now need to join the two short ends.
There are two easy options.
Option 1: Slip Stitch Seam
Insert your crochet hook through both layers.
Attach the yarn.
Slip stitch through corresponding stitches along the entire edge.
Try not to make the slip stitches too tight.
Fasten off.
Option 2: Yarn Needle Seam
Thread the long yarn tail through a yarn needle.
Sew back and forth through corresponding stitches along the two edges.
Pull gently so the edges meet without bunching.
Secure the yarn at the end.
Either method works well.
Close the Top of the Beanie
Your rectangle should now look like a crochet tube.
Thread a long yarn tail onto your yarn needle.
Working around one open end of the tube:
- Insert the needle in and out through the edge.
- Continue all the way around.
- Pull the yarn firmly.
The opening will gather together.
Pull until the top is completely closed.
Make several secure stitches across the opening.
Knot securely.
Weave in the yarn tail.
Turn the Beanie Right Side Out
Turn the hat so the seam is on the inside.
You should now see the vertical ribbing running from the bottom toward the crown.
Shape the top gently with your hands.
Make the Folded Brim
Fold the bottom edge upward approximately:
2½–3 inches
Adjust the fold until the hat sits comfortably.
The deep ribbed brim gives the beanie its classic winter look while also providing extra warmth around the ears.
Add a Pom-Pom
A pom-pom is optional.
You can use:
- A faux-fur pom-pom
- A handmade yarn pom-pom
- A removable pom-pom
- No pom-pom at all
If attaching a pom-pom permanently, sew it securely through the gathered crown.
A removable pom-pom can be useful if you plan to wash the hat often.
How to Resize the Beanie
One of the best things about this pattern is how easily it can be resized.
There are two measurements to adjust:
- Hat height
- Hat circumference
Adjust the Height
The starting chain determines the height.
Want a shorter beanie?
Make fewer chains.
Want a deeper hat or larger folded brim?
Add more chains.
For an adult hat with a folded brim, approximately 11–12 inches of total height works well as a starting point.
Adjust the Circumference
The number of rows determines the circumference.
Instead of relying only on row count, measure your rectangle.
The finished rectangle should be slightly smaller than the actual head circumference so the ribbing can stretch comfortably.
For example, for a head measuring about 22–23 inches, a rectangle around 19–20 inches wide often creates a snug fit with stretchy ribbing.
Approximate Size Guide
Because yarn and crochet tension vary, use these measurements as a starting point and check the fit whenever possible.
Child
Head circumference: approximately 18–20 inches
Aim for a finished rectangle circumference of approximately:
15–17 inches
Teen
Head circumference: approximately 20–22 inches
Finished rectangle circumference:
17–19 inches
Adult Small
Head circumference: approximately 21–22 inches
Finished rectangle circumference:
18–19 inches
Adult Medium
Head circumference: approximately 22–23 inches
Finished rectangle circumference:
19–20 inches
Adult Large
Head circumference: approximately 23–24 inches
Finished rectangle circumference:
20–21 inches
Always check your own gauge and fit before seaming.
How to Make the Beanie Less Slouchy
If you prefer a fitted hat, reduce the height of your starting chain.
Instead of making the rectangle 11½ inches tall, try approximately:
9–10 inches
depending on your head size and whether you want a folded brim.
How to Make a Slouchy Beanie
For a relaxed slouchy style, make the rectangle taller.
Try:
12½–13½ inches
before seaming.
The extra length creates more fabric at the crown.
Best Yarn for a Ribbed Crochet Beanie
A bulky yarn works especially well because:
- It crochets quickly
- It creates visible ribbing
- It produces a warm hat
- Beginners can easily see the stitches
- The finished beanie feels substantial
Look for yarn labeled Category 5 Bulky.
Can I Use Worsted Weight Yarn?
Yes.
However, your stitch count and row count will change.
If using worsted weight yarn:
- Choose a hook recommended for your yarn.
- Make a gauge swatch.
- Crochet your starting chain until it reaches the desired hat height.
- Continue rows until the rectangle reaches the desired circumference.
The basic construction stays exactly the same.
Color Ideas
A ribbed beanie looks great in both neutral and bold colors.
Neutral
- Cream
- Taupe
- Gray
- Camel
- Charcoal
Cozy Winter
- Forest green
- Burgundy
- Mustard
- Rust
- Navy
Soft Pastels
- Sage
- Dusty pink
- Lavender
- Pale blue
Solid colors usually show the ribbed texture most clearly.
Two-Tone Ribbed Beanie
Want something slightly different?
Use one color for the majority of the rectangle and another for several rows near one edge.
Once the hat is assembled, those contrasting rows can create a decorative brim.
For example:
Forest green body + cream brim
Charcoal body + mustard brim
Cream body + sage brim
How to Make Matching Gifts
This easy beanie can be part of a larger handmade winter gift.
Pair it with:
- Crochet scarf
- Crochet cowl
- Fingerless gloves
- Ear warmer
- Mug cozy
Using the same yarn color makes the pieces feel like a coordinated set.
Why This Pattern Is Good for Beginners
Many crochet hats are worked from the crown downward and require:
- Magic rings
- Increasing
- Working continuously in rounds
- Keeping track of stitch counts
This ribbed hat avoids most of that.
You simply make a rectangle.
That makes it easier to focus on:
- Consistent stitches
- Even tension
- Learning BLO crochet
- Practicing basic seaming
Common Beginner Mistakes
Accidentally Losing Stitches
Count your stitches occasionally.
You should have 29 stitches in every row for the Adult Medium pattern.
If the rectangle starts getting narrower, you may be skipping the first or last stitch.
Working Through Both Loops
Remember that Rows 2 onward are worked in the back loop only.
If you crochet through both loops, the fabric will look flatter and won’t have the same ribbed texture.
Making the Seam Too Tight
The seam should remain flexible.
If your slip stitches are extremely tight, the seam may not stretch like the rest of the beanie.
Keep your tension relaxed.
Making the Rectangle Too Wide
The ribbing is stretchy.
If the rectangle is exactly the same width as your head circumference before stretching, the hat may be too loose.
Check the fit before seaming.
Washing Your Crochet Beanie
Always check the yarn label first.
For washable yarn:
- Wash using the recommended temperature.
- Avoid harsh agitation.
- Gently reshape the hat.
- Lay flat to dry if recommended.
If your beanie has a faux-fur pom-pom, remove it before washing whenever possible.
Frequently Asked Questions
Is this crochet beanie good for beginners?
Yes. The hat is made from a simple rectangle and mainly uses half double crochet stitches worked in the back loop.
Do I need to crochet in the round?
No. The entire main section is worked flat in rows.
Why is my beanie too loose?
Your rectangle may be too wide, or your yarn may stretch more than expected. Try removing a few rows before seaming.
Why is my beanie too tight?
Add a few more rows to increase the circumference.
Can I make this without a pom-pom?
Absolutely. The beanie looks great with or without one.
How long does a ribbed crochet beanie take?
The time depends on your experience, yarn, and crochet speed. Bulky yarn generally helps the project work up more quickly than lighter yarn.
Final Thoughts
This easy ribbed crochet beanie pattern is proof that you don’t need complicated techniques to make a cozy, stylish crochet hat.
Start with a rectangle.
Create the stretchy ribbing by working half double crochet stitches through the back loops.
Join the edges.
Gather the crown.
Then fold up the brim.
Once you’ve made one, it’s easy to make another in a different size or color.
These beanies are perfect for winter wardrobes, last-minute handmade gifts, charity projects, or craft market inventory.
Save this free beginner crochet beanie pattern so you can make your next cozy winter hat whenever inspiration strikes.
SEO
Primary keyword: easy ribbed crochet beanie pattern
Secondary keywords: ribbed crochet beanie, free crochet beanie pattern, beginner crochet hat, easy crochet beanie, crochet hat pattern, crochet ribbed hat, winter crochet pattern, bulky yarn beanie
Slug: easy-ribbed-crochet-beanie-pattern
Meta description: Crochet an easy ribbed beanie with this free beginner pattern. Made from a simple rectangle with stretchy ribbing and an optional folded brim and pom-pom.