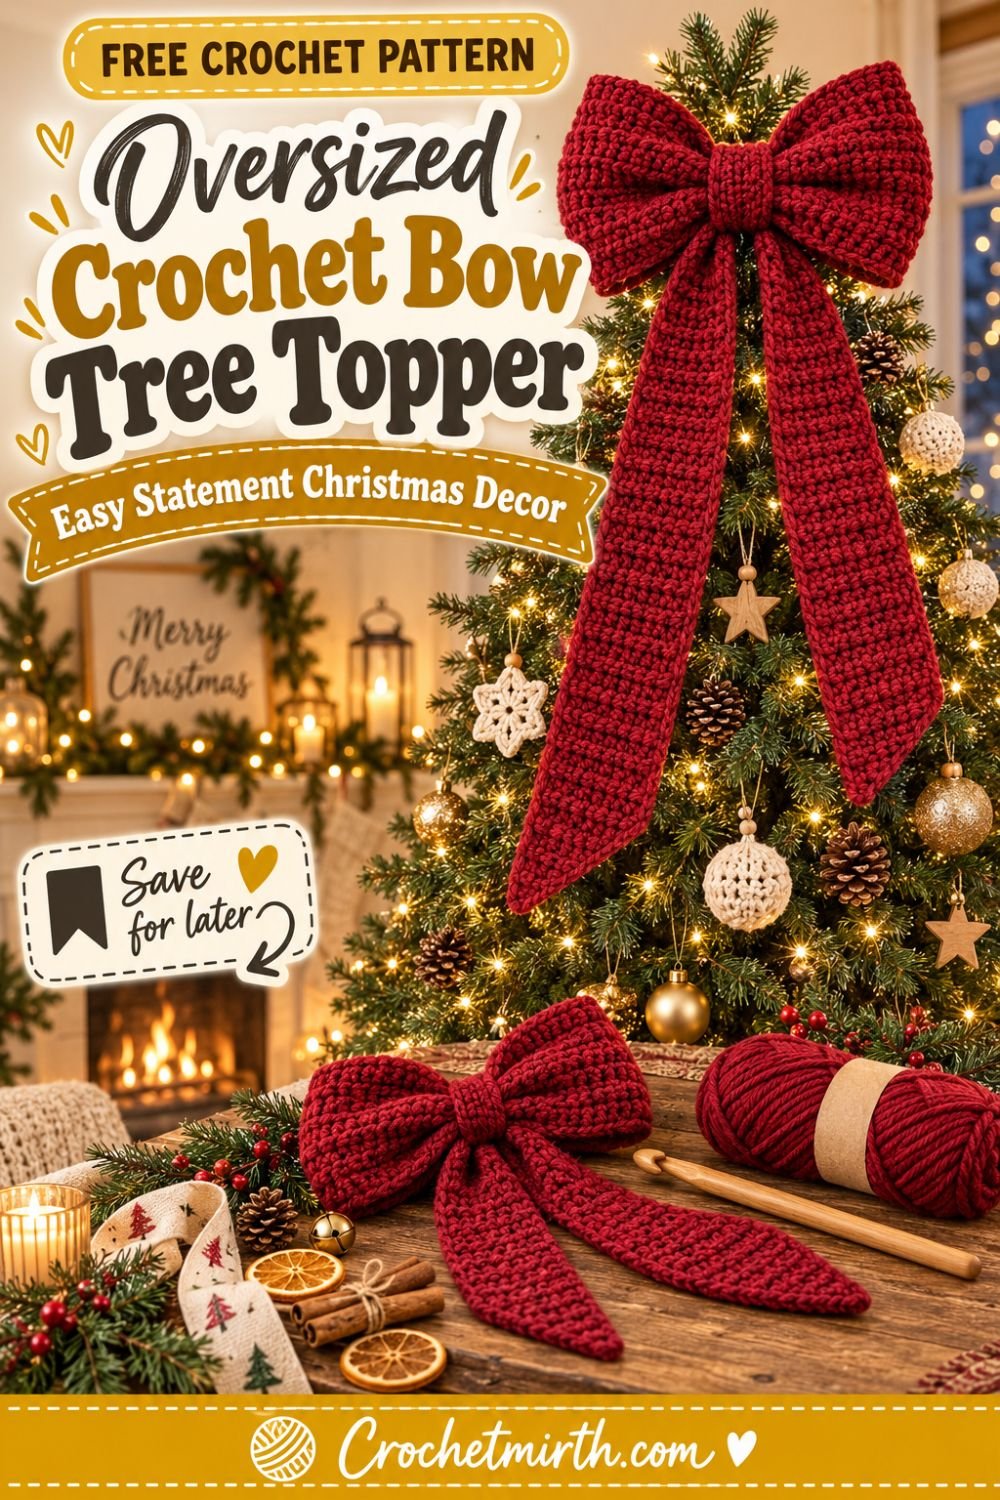
Crochet Bow Christmas Tree Topper Pattern – Oversized Holiday Bow
A beautiful Christmas tree doesn’t always need a star at the top.
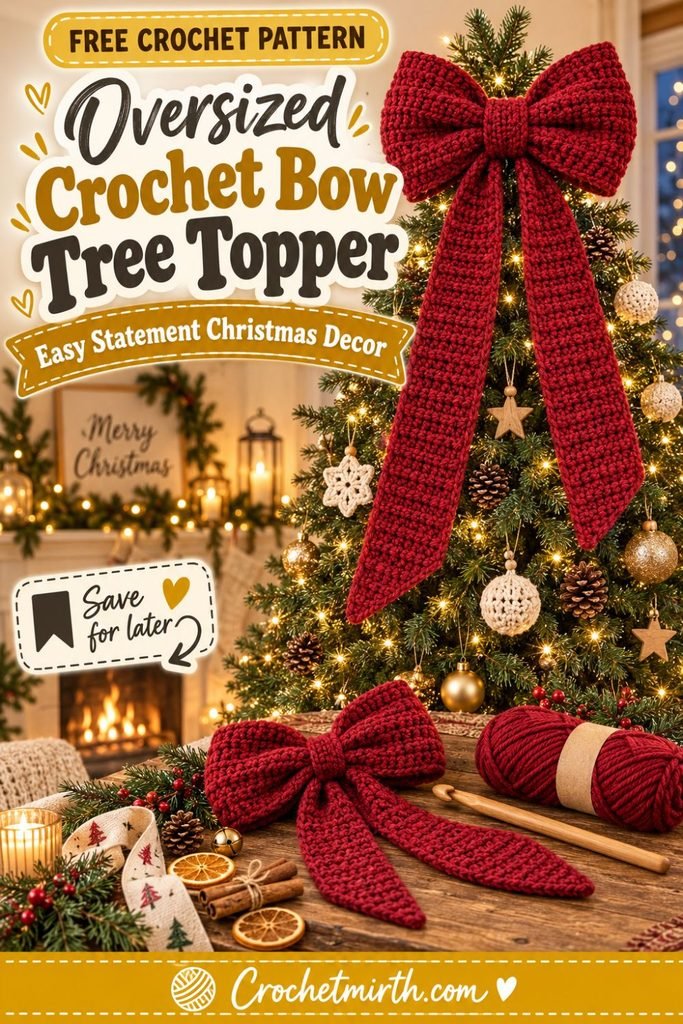
Sometimes one oversized handmade bow is enough to transform the entire tree.
This crochet bow Christmas tree topper pattern creates a large statement bow with wide structured loops, two long tapered tails, a substantial center wrap, and hidden crochet ties that let you secure it to the upper branches of your tree.
Unlike the tiny crochet bows used for ornaments or garlands, this design is intentionally oversized.
The finished bow measures approximately:
15–16 inches wide
with tails extending approximately:
18–20 inches downward
from the center.
That gives it enough visual presence to work as a genuine Christmas tree topper.
The construction is also easier than the finished result suggests.
You’ll make:
- One long rectangle for the bow loops
- Two separate tapered tails
- One center wrap
- Two hidden attachment cords
Then everything is assembled at the center.
Why You’ll Love This Oversized Crochet Bow
This pattern is:
- A statement Christmas decoration
- Reusable year after year
- Easier than it looks
- Made mainly from rectangles
- Customizable in size
- Beautiful in traditional or neutral colors
- Suitable for tree toppers
- Useful for wreaths and mantels too
- Made with basic crochet stitches
- A great alternative to a traditional star topper
The same finished bow can also decorate a large wreath, staircase garland, mantel, window, or front-door arrangement.
Skill Level
Easy / Advanced Beginner
You should know how to:
- Chain
- Half double crochet
- Single crochet
- Work in the back loop only
- Increase and decrease
- Sew crochet pieces together
- Fasten off
- Weave in yarn ends
No complicated shaping techniques are required.
Materials
Use approximately:
250–320 yards of Category 4 worsted or Aran-weight yarn
for the full topper.
The exact amount depends on your gauge, tail length, and whether you make the bow larger.
For the sample:
Deep cranberry red
works beautifully against evergreen branches.
You’ll also need:
- 5.5 mm crochet hook
- Yarn needle
- Scissors
- Measuring tape
- Stitch markers
- Blocking mat, optional
- Rust-resistant pins, optional
For a firmer decorative bow, cotton, cotton-blend, or a structured acrylic yarn works especially well.
Finished Measurements
Approximate finished dimensions:
Bow width: 15–16 inches
Loop height: 4–5 inches
Center wrap: approximately 2–2½ inches wide
Tail length: 18–20 inches
Overall height: approximately 20–22 inches
The dimensions can easily be adjusted for smaller or larger trees.
Gauge
Approximate gauge in HDC:
12 hdc = 4 inches
9 rows = 4 inches
Exact gauge isn’t critical because this is home decor rather than a fitted garment.
However, maintaining relatively firm tension helps the oversized loops retain their shape.
Main Stitch
The main bow uses half double crochet in the back loop only.
This produces subtle ridges across the fabric and gives a large plain bow more texture.
If you prefer a smoother appearance, you can work through both loops instead.
Construction Overview
You’ll make the bow in four main pieces:
- Large loop strip
- Tail 1
- Tail 2
- Center wrap
Two crochet ties are then attached at the back.
The bow strip is turned into a ring, flattened, pinched in the middle, and secured with the center wrap.
The tails sit behind it.
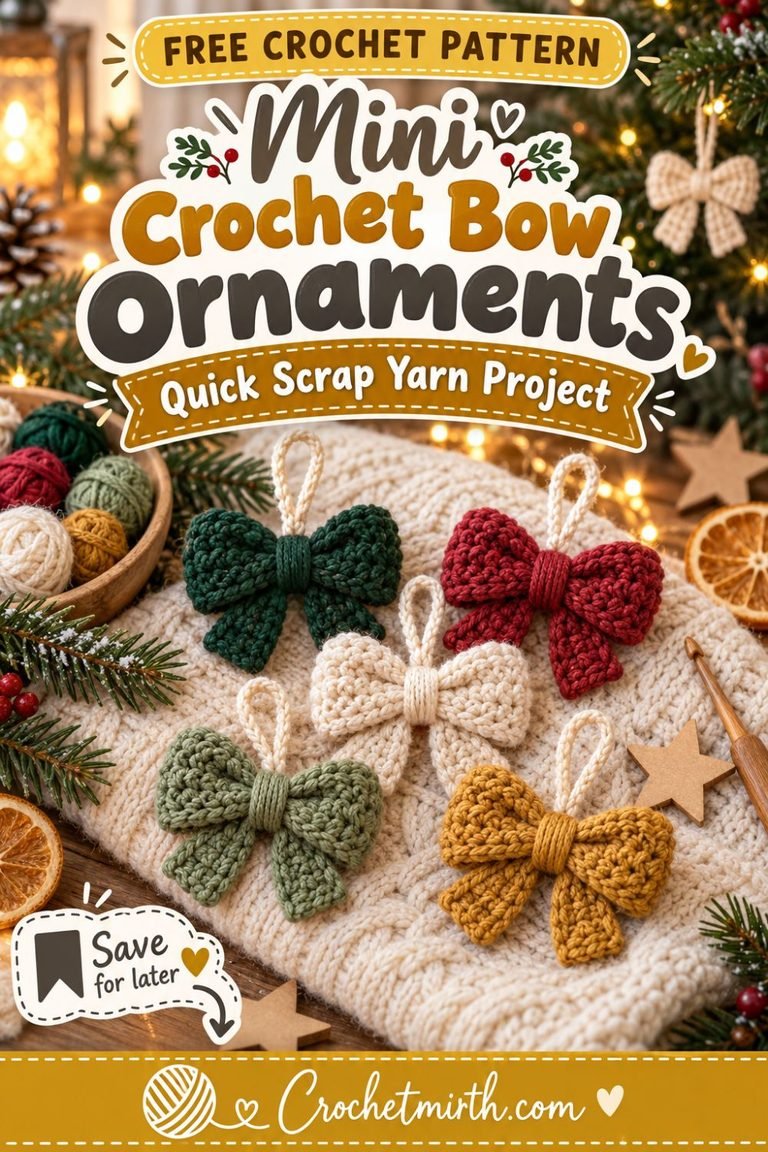
This construction is similar in principle to many handmade crochet bows, where a longer crochet section is shaped and cinched at the center rather than requiring complicated three-dimensional stitches. Yours Patterns
PART 1: MAKE THE LARGE BOW STRIP
Using cranberry yarn:
Ch 91.
Row 1
Hdc in the second chain from the hook.
Hdc in every chain across.
90 sts
Ch 1 and turn.
Row 2
Working in the:
back loop only
Hdc across.
90 sts
Ch 1 and turn.
Rows 3–9
Repeat Row 2.
You should now have a long rectangle measuring approximately:
30 inches long
and:
4 inches wide
depending on your gauge.
Fasten off, leaving a long sewing tail.
Check the Bow Width
The 30-inch strip does not become a 30-inch-wide bow.
Once the ends are joined and the ring is flattened, the finished bow becomes approximately:
15 inches wide
This creates two large loops of roughly equal size.
PART 2: TURN THE STRIP INTO THE BOW LOOPS
Bring both short ends of the long strip together.
Sew them securely.
You now have one large crochet ring.
Turn the seam toward the back.
Lay the ring flat.
Position the seam at the exact center of the back layer.
The flattened ring should measure approximately:
15 inches from side to side
Shape the Loops
Place your fingers at the middle of the flattened ring.
Pinch the center vertically.
Fold the upper and lower edges slightly toward one another to create a gentle accordion shape.
The sides should puff outward naturally into two large loops.
Do not permanently sew the center yet.
Set the bow body aside.
PART 3: MAKE THE FIRST LONG TAIL
The tails are worked vertically so they can taper toward the bottom.
Using cranberry yarn:
Ch 14.
Tail Row 1
Hdc in the second chain from the hook and across.
13 sts
Ch 1 and turn.
Rows 2–36
Hdc BLO across.
13 sts
Ch 1 and turn.
Your tail should now measure approximately:
16 inches
before the taper.
Begin Tapering
Row 37
Hdc2tog.
Hdc across until 2 stitches remain.
Hdc2tog.
11 sts
Ch 1 and turn.
Row 38
Hdc BLO across.
11 sts
Ch 1 and turn.
Row 39
Hdc2tog.
Hdc across until 2 stitches remain.
Hdc2tog.
9 sts
Ch 1 and turn.
Row 40
Hdc across.
9 sts
Ch 1 and turn.
Row 41
Hdc2tog.
Hdc across until 2 stitches remain.
Hdc2tog.
7 sts
Ch 1 and turn.
Row 42
Hdc2tog.
Hdc across until 2 stitches remain.
Hdc2tog.
5 sts
Ch 1 and turn.
Row 43
Hdc2tog.
Hdc.
Hdc2tog.
3 sts
Ch 1 and turn.
Row 44
Work:
Hdc3tog
or decrease the remaining three stitches together as neatly as possible.
Fasten off.
The tail should end in a soft point.
PART 4: MAKE THE SECOND TAIL
Repeat the same instructions.
You should now have:
2 matching tapered tails
each approximately:
18–20 inches long
depending on gauge.
Why Use Pointed Tails?
Traditional ribbon bows often have V-notched tails.
For crochet, a gradual tapered point is cleaner and easier to construct without cutting the fabric.
It also creates a graceful flowing shape when the bow is placed on the tree.
Optional V-Shaped Tail Effect
If you strongly prefer the appearance of a ribbon notch, you can fold each pointed tail slightly outward at the bottom during blocking.
But the written pattern uses a tapered crochet point because it preserves the integrity of the stitches.
PART 5: BLOCK THE PIECES
Blocking isn’t mandatory, but it helps a large decorative bow significantly.
Lightly dampen the loop strip and tails according to the care instructions for your yarn.
Lay everything flat.
Straighten:
- Outer edges
- Tail sides
- Tail points
Allow the pieces to dry completely.
Avoid stretching the ribbing flat.
PART 6: ARRANGE THE TWO TAILS
Place both tails on your work surface.
Overlap their upper edges slightly.
Angle them outward so they form a soft:
V shape
The bottom points should separate rather than hanging directly on top of one another.
Tail Position
For a classic tree topper:
Angle each tail approximately:
15–25 degrees outward
from the center.
This keeps them visible among the Christmas tree branches.
PART 7: PLACE THE BOW BODY
Lay the flattened bow ring on top of the upper ends of the tails.
Center it carefully.
The tails should disappear behind the middle of the bow and emerge underneath.
Pinch Everything Together
Hold:
- Front loop layer
- Back loop layer
- Tail 1
- Tail 2
together at the center.
Pinch the middle into a gentle accordion.
Secure temporarily with scrap yarn if needed.
PART 8: MAKE THE CENTER WRAP
Using cranberry yarn:
Ch 8.
Center Row 1
Sc in the second chain from the hook and across.
7 sts
Ch 1 and turn.
Center Row 2
Sc BLO across.
7 sts
Ch 1 and turn.
Continue
Repeat Row 2 until the band measures approximately:
7–8 inches long
or until it wraps snugly around the entire center assembly.
Fasten off, leaving a long sewing tail.
PART 9: WRAP THE CENTER
Place one end of the center band at the back.
Bring the band around:
- Bow body
- Pinched center
- Upper ends of both tails
Pull snugly.
Overlap the center-band ends at the back.
Sew securely.
Shape the Bow
After securing the wrap:
Pull the left loop outward.
Pull the right loop outward.
Round both loops gently with your hands.
Separate the two tails.
The finished bow should now have a clearly defined center and two large symmetrical loops.
PART 10: ADD THE TREE ATTACHMENT TIES
The topper needs a way to stay on the tree.
Make two long crochet cords.
Using cranberry yarn:
Ch 45.
Slip stitch back through every chain.
Fasten off.
Make a second identical cord.
Each cord should measure approximately:
12–14 inches
depending on tension.
Attach the Cords
Sew both cords securely to the back of the center wrap.
Place one slightly toward the upper edge.
Place the second slightly toward the lower edge.
When the bow is on the tree, these cords can wrap around the top trunk or sturdy branches.
How to Attach the Bow to the Tree
Position the bow near the top of the Christmas tree.
Wrap the first cord around:
- Central leader
- Strong upper branch
Tie securely at the back.
Use the second cord to stabilize the lower portion of the bow.
Arrange the branches around the ties to hide them.
Important Tree-Topper Tip
An oversized crochet bow is much lighter than many rigid toppers, but the upper tree branch still needs to be sturdy.
If your tree has a very flexible top:
Position the bow slightly lower and attach it around several stronger branches rather than relying on one thin tip.
No Visible Plastic Clips
The crochet-tie method keeps the front of the design clean.
You don’t need obvious:
- Plastic clips
- Hair clips
- Metal clamps
Optional Extra Support
For an artificial tree or a particularly large bow, you can thread a reusable floral tie through the hidden back center.
Keep any structural support completely concealed behind the bow.
The written pattern itself remains yarn-only.
Your Oversized Tree Topper Is Finished
The finished bow should now have:
- Two large loops
- Thick center wrap
- Two long pointed tails
- Hidden attachment ties
- Strong crochet texture
Classic Cranberry Bow
Deep cranberry red is ideal for:
- Traditional green trees
- Woodland Christmas themes
- Rustic holiday decor
It photographs beautifully against evergreen.
Bright Christmas Red
For a more traditional Christmas look:
Use a clear classic red.
Pair it with:
- Warm white lights
- Gold ornaments
- Cream accents
Cream Crochet Tree Topper
Warm cream creates a more modern neutral bow.
This works beautifully with:
- Wooden ornaments
- Dried orange slices
- Gold bells
- Natural greenery
Forest Green Bow
A dark green topper can create a subtle tone-on-tone look.
Use a cream or gold center wrap for contrast.
Burgundy Bow
Deep burgundy gives the topper a rich vintage look.
It works particularly well with:
- Brass bells
- Velvet ornaments
- Warm lights
Mustard-Gold Bow
Muted golden mustard creates a more unusual tree topper.
Pair it with cream and forest green ornaments.
Two-Color Bow
Make the main loop in cranberry.
Make the center wrap in:
warm cream
Keep the tails cranberry.
This gives the bow a subtle contrast point.
Contrast Tails
Try:
Cream loops + cranberry tails
or:
Cranberry loops + forest-green tails
for a stronger color-block look.
Add a Gold Thread
Hold a thin metallic decorative strand together with your main yarn while crocheting the center wrap.
This adds a subtle Christmas sparkle without making the entire bow metallic.
Make a Plaid-Inspired Bow
Crochet the bow in one base color.
Use surface slip stitches afterward to add:
- Vertical lines
- Horizontal lines
in one or two contrast colors.
This creates a simplified plaid effect.
Add a Small Bell
A lightweight decorative bell can be attached to the center wrap.
Make sure it isn’t heavy enough to pull the bow downward.
Add a Crochet Snowflake
Attach a small cream crochet snowflake to the center.
This can tie the topper visually to your existing snowflake ornament content.
Make a Smaller Bow
For a tabletop Christmas tree:
Make the bow strip approximately:
18–20 inches long
instead of 30.
Flattened, it will create a bow around:
9–10 inches wide
Shorten the tails to:
10–12 inches
Medium Tree Topper
For a 4–6 foot tree:
Aim for approximately:
12–14 inches bow width
and:
15–17 inch tails
Large Tree Topper
The written version at:
15–16 inches wide
works particularly well on many full-size household Christmas trees.
Extra-Large Statement Bow
For a very tall tree:
Increase the main strip to:
34–36 inches long
before joining.
Make the tails:
22–24 inches
long.
This will require substantially more yarn.
Keep the Bow Lightweight
Don’t double every piece unless you need extremely rigid structure.
One layer of worsted-weight crochet fabric provides enough visual weight while remaining much lighter than a heavily stuffed bow.
How to Make the Loops Fuller
After assembly:
Slide your fingers inside each loop.
Open it gently.
Shape the upper and lower edges outward.
A little volume makes the bow look much more like ribbon.
How to Make the Bow Firmer
You can use:
- Cotton yarn
- Firm acrylic
- Slightly smaller hook
- Light fabric stiffener
for increased structure.
Test any stiffening product on a yarn sample first.
Do Not Stuff the Bow Heavily
A tree topper should stay relatively light.
Stuffing the loops heavily can make the bow:
- Too heavy
- Difficult to secure
- Bulky
The loops should get their shape from the folded crochet fabric.
Wreath Bow
This oversized bow can also be attached to a large Christmas wreath.
Use the hidden ties to secure it to the wreath frame.
Position it:
- At the top
- At the bottom
- Slightly off-center
Mantel Bow
Attach the bow to the center of an evergreen mantel garland.
Let the tails hang down over the front.
Staircase Bow
Make several medium versions and attach them at intervals along staircase greenery.
Front Door Bow
Use a weather-appropriate yarn and place the bow on a protected front door wreath.
Avoid exposing delicate yarn to persistent rain or snow.
Gift-Wrapping Inspiration
The oversized topper can also inspire smaller versions for:
- Gift boxes
- Gift bags
- Baskets
This links naturally with your Crochet Bow Gift Topper Pattern content cluster.
Best Yarn for an Oversized Crochet Bow
Worsted Cotton
Cotton creates crisp structured stitches and excellent shape.
Acrylic
Acrylic is lightweight, inexpensive, and available in many Christmas colors.
Choose one with enough body that it doesn’t collapse.
Wool Blend
Wool blends create a soft premium look, although very soft yarn may need extra blocking.
Avoid Very Heavy Yarn
Super bulky yarn can make a huge bow surprisingly heavy.
For a tree topper, worsted/Aran is a better balance of scale and weight.
Avoid Extremely Drapey Yarn
A silky yarn with almost no structure may cause the loops to collapse.
Choose yarn with visible body and stitch definition.
Why This Pattern Uses Separate Tails
Making the tails separately lets you:
- Adjust their length
- Change their angle
- Block them flat
- Replace one if necessary
- Make them a different color
It also keeps the main loop construction very simple.
Why the Bow Body Is a Ring
Joining the long rectangle into a ring means the front has no raw short edges.
When the ring is flattened, each half becomes a loop.
The center wrap then hides the seam and assembly.
Beginner Assembly Tip
Before sewing anything permanently:
Arrange all four components on a table.
Check:
- Left loop
- Right loop
- Tail angles
- Tail length
- Center placement
Take a photo.
Then assemble it.
That makes it easier to maintain the arrangement you liked.
Common Beginner Mistakes
Bow Loops Are Unequal
Make sure the seam of the large ring is centered exactly at the back before pinching.
Center Is Off to One Side
Measure the flattened ring and mark the exact midpoint.
Center Wrap Too Loose
The wrap needs to be snug enough to hold the accordion fold.
Center Wrap Too Tight
Don’t compress the bow so much that the loops become narrow.
Tails Twist
Block the tails first and make sure both face the same direction before assembly.
Bow Falls Forward on the Tree
Use both attachment cords rather than relying on one.
Top Branch Bends
Move the topper slightly lower and secure it to multiple stronger branches.
Bow Looks Flat
Open each loop manually after attachment.
Blocking
Blocking is particularly useful for this project.
It helps straighten the long tails and keeps the bow edges neat.
Do not aggressively flatten the assembled loops.
Block the individual pieces before final assembly whenever possible.
Storage After Christmas
Remove the bow from the tree.
Untie the attachment cords rather than pulling them.
Gently flatten the loops without sharply creasing them.
Lay the topper in a large storage box.
Avoid placing heavy decorations on top.
Washing
If necessary, wash according to the yarn manufacturer’s directions.
Because of the bow’s size, reshape each component carefully while damp.
Let everything dry completely before storing.
Frequently Asked Questions
Is this bow really large enough for a tree topper?
Yes. The written version finishes at approximately 15–16 inches across, plus long 18–20 inch tails.
What yarn weight is used?
Category 4 worsted or Aran-weight yarn.
What hook size is used?
5.5 mm.
How much yarn is required?
Approximately 250–320 yards.
Is the bow stuffed?
No. Keeping it unstuffed makes it lighter and easier to attach to the tree.
How does it stay on the tree?
Two hidden crochet cords are sewn onto the back of the center wrap.
Can beginners make it?
Yes. Most of the project uses simple rows and basic sewing.
Can I make it smaller?
Absolutely. Shorten both the main bow strip and the tails.
Can I use it on a wreath instead?
Yes. The attachment ties make it easy to transfer to a wreath or garland.
Does it need wire?
No. Wire is optional only if you want additional support.
Final Thoughts
The top of the Christmas tree is one of the first things people notice, which makes it the perfect place for a handmade statement piece.
This crochet bow Christmas tree topper pattern turns simple worsted-weight yarn into a large holiday bow with wide loops, graceful tapered tails, and a neat wrapped center.
The construction remains surprisingly approachable: one long bow strip, two tails, one center band, and hidden ties.
Use deep cranberry for a traditional Christmas tree, warm cream for a neutral modern look, or burgundy and gold for something more elegant.
And when Christmas is over, untie it carefully and bring it back year after year.
Save this oversized crochet Christmas bow pattern for your handmade holiday decorating list!