Crochet Gingerbread Man Ornament Pattern – Quick Scrap Yarn Christmas Decor
Nothing says cozy Christmas quite like a gingerbread man.

This crochet gingerbread man ornament pattern turns a small amount of leftover yarn into an adorable handmade decoration with classic cookie-brown coloring, cream icing details, tiny red buttons, and a sweet embroidered face.
The finished gingerbread man is intentionally flatter than a traditional amigurumi toy.
Two matching body panels are joined together with just a small amount of stuffing between them, while the simple arms and legs stay relatively flat.
That makes the ornament lightweight enough for Christmas tree branches while still giving it a soft dimensional look.
It’s also an excellent scrap-yarn project.
Current gingerbread ornament patterns frequently position the design as a quick Christmas make for trees, gift toppers, garlands, and stocking fillers; recent versions range from tiny sport-weight motifs around 2¼ inches to worsted ornaments around 5½ inches. Craftuary
Why You’ll Love This Gingerbread Ornament
This pattern is beginner-friendly, uses a small amount of worsted yarn, needs only light stuffing, avoids plastic safety eyes, and can be customized with different icing, buttons, scarves, bows, or facial expressions.
The construction also avoids complicated amigurumi shaping.
The front and back are worked flat in rows.
The arms and legs are simple little rectangles.
Then everything is joined around the edge.
Skill Level
Easy / Advanced Beginner
You’ll use chain, single crochet, single-crochet increases and decreases, slip stitch, simple embroidery, basic sewing, and edge joining.
Materials
- Approximately 45–60 yards Category 4 worsted-weight yarn in gingerbread brown
- Small amounts of warm cream, cranberry red, forest green, and dark brown or black
- 4.0 mm crochet hook
- Small amount of polyester fiberfill
- Yarn needle
- Scissors
- Measuring tape
- Stitch markers, optional
A 2026 worsted gingerbread ornament pattern uses about 50 yards with a 3.5–4 mm hook and finishes around 14 cm / 5½ inches, so this is a practical yarn-and-hook range for a tree ornament of this scale. Craftuary
Finished Measurements
Using worsted yarn and a 4 mm hook, expect approximately 5–5½ inches from head to foot and around 4½–5 inches across from hand to hand.
Exact size isn’t critical for an ornament.
Gauge
Aim for approximately 16–17 single crochet stitches per 4 inches.
The fabric should be fairly dense so the small amount of stuffing doesn’t show through.
Construction Overview
You’ll crochet two matching head-and-body panels.
Before joining them, you’ll embroider the face and buttons on the front panel.
You’ll also crochet two flat arms and two flat legs.
The tops of those limbs are sandwiched between the front and back panels while you join around the outer edge.
A small amount of stuffing goes inside the head and torso only.
The arms and legs remain mostly flat, which keeps the ornament light.
PART 1: Make the Front Body Panel
Using gingerbread-brown yarn:
Ch 9.
Row 1
Sc in the second chain from your hook and across.
8 sts
Ch 1 and turn.
Rows 2–9
Sc across.
Maintain:
8 sts
Ch 1 and turn after each row.
This rectangular section becomes the torso.
Row 10 — Neck
Sc2tog.
Sc in the next 4 sts.
Sc2tog.
6 sts
Ch 1 and turn.
Row 11 — Begin the Head
Work:
2 sc in first st
Sc in next 4 sts.
2 sc in final st
8 sts
Ch 1 and turn.
Row 12
2 sc in first st.
Sc in next 6 sts.
2 sc in final st.
10 sts
Ch 1 and turn.
Rows 13–15
Sc across.
10 sts
Ch 1 and turn.
Row 16
Sc2tog.
Sc in next 6 sts.
Sc2tog.
8 sts
Ch 1 and turn.
Row 17
Sc2tog.
Sc in next 4 sts.
Sc2tog.
6 sts
Fasten off.
The upper portion should now look softly rounded once the piece is edged and lightly stuffed.
PART 2: Make the Back Panel
Repeat Rows 1–17 exactly.
Do not add facial details to the back.
Lay the two panels together and check that they match closely.
Small differences can usually be corrected during the joining round.
PART 3: Make Two Arms
Using gingerbread-brown yarn:
Ch 4.
Sc in the second chain from your hook and across.
3 sts
Ch 1 and turn.
Work 5 more rows of 3 sc.
Fasten off.
Make a second identical arm.
Each piece should be roughly 1½ inches long, depending on gauge.
The joining border will gently round the hand ends.
PART 4: Make Two Legs
Using gingerbread-brown yarn:
Ch 5.
Sc in the second chain from your hook and across.
4 sts
Ch 1 and turn.
Work 5 more rows of 4 sc.
Fasten off.
Make a second identical leg.
PART 5: Decorate the Front Panel
It is much easier to embroider the face and buttons before the ornament is stuffed.
Thread dark-brown yarn through your needle.
Place two small embroidered eyes across the middle of the head, keeping them approximately 2–3 stitches apart.
Instead of plastic safety eyes, simple yarn embroidery keeps this decoration soft, lightweight, and entirely crochet-friendly.
With warm-cream yarn, embroider a small curved smile underneath.
Don’t make the expression too large.
A simple cookie-style smile is enough.
Add the Red Buttons
Using cranberry-red yarn, embroider:
3 small round buttons
down the center of the torso.
Keep them evenly spaced.
Small French knots or several tiny straight stitches layered together work well.
Add the Icing Details
With warm-cream yarn, embroider short wavy lines near the ends of both arms.
Repeat near the bottoms of both legs.
These mimic piped royal icing on a real gingerbread cookie.
Keep the decoration relatively flat so it doesn’t snag on Christmas tree branches.
Recent gingerbread ornament designs also emphasize icing, smiles, red buttons, and small embroidered details as the visual elements that make the ornament immediately recognizable. Craftuary
Optional Cheeks
For a sweeter character, add two tiny stitches in muted pink below the eyes.
Keep them subtle.
PART 6: Arrange the Limbs
Lay the back panel down.
Position the two legs along the lower edge.
The upper ½ inch of each leg should overlap the body panel.
Place one near the lower-left side and one near the lower-right side.
Next, position each arm along the sides of the torso, approximately halfway up the body.
Let the arms angle slightly downward rather than sticking perfectly straight outward.
This gives the ornament a friendlier natural pose.
PART 7: Add the Front Panel
Place the decorated front panel on top.
The wrong sides of the two body pieces should face each other.
The upper ends of the arms and legs should now be hidden between the layers.
Use stitch markers to hold the pieces in position.
PART 8: Join Around the Gingerbread Man
Join gingerbread-brown yarn near one lower side.
Work single crochet through both front and back panels around the outside edge.
When you reach an arm or leg, crochet through:
front body panel + limb + back body panel
to secure the limb inside the seam.
Work slowly around curves.
Add an extra sc at sharper corners if the fabric begins pulling.
Do not completely close the ornament yet.
Leave approximately 2 inches open along one side.
PART 9: Lightly Stuff the Ornament
Use a very small amount of fiberfill.
Add most of the stuffing to:
head and torso
The goal is not to create a thick plush toy.
You only want enough filling to give the ornament a gentle cookie-like dimension.
Do not overstuff.
The body should remain relatively flat.
Leave the arms and legs unstuffed.
Finish the Join
Continue single crocheting through both layers until the opening is closed.
Join with a slip stitch.
Fasten off.
Weave in the end securely.
Shape the head and torso gently with your fingers.
PART 10: Add the Hanging Loop
Using warm-cream yarn, join at the center top of the head.
Ch 20–24.
Bring the chain around to create a loop.
Slip stitch securely into the same area.
Fasten off and weave in the ends.
Make sure the loop is secure before hanging the ornament.
Your Gingerbread Man Is Finished
You should now have a lightweight Christmas ornament with a softly padded center, flat limbs, embroidered face, cream icing, three red buttons, and a hanging loop.
Classic Gingerbread Version
For the most recognizable design, use medium cookie brown + cream icing + cranberry buttons.
This combination photographs particularly well against dark evergreen branches.
Gingerbread Girl Variation
Add a tiny crochet bow to one side of the head.
A small cranberry or forest-green bow around 1–1½ inches wide is enough.
You can also use two red buttons instead of three.
Bow Tie Gingerbread Man
Make a tiny forest-green bow.
Sew it just under the neck.
Keep it small enough that the red body buttons remain visible.
Gingerbread Man with Scarf
Crochet a tiny chain approximately 18–22 stitches long, then slip stitch back through it.
Wrap it around the neck and stitch it securely.
Try cranberry, forest green, mustard, or cream.
White Icing Border
For a more decorated cookie appearance, surface-crochet a narrow cream line around parts of the arms and legs.
Don’t cover the entire brown joining border.
A few strategic icing details usually look better than too much white.
Smiling Family Set
Make several ornaments and change each face slightly.
One can smile.
One can have sleepy eyes.
One can have a bow tie.
Another can wear a mini scarf.
Using the same brown yarn keeps them visually connected even when the accessories differ.
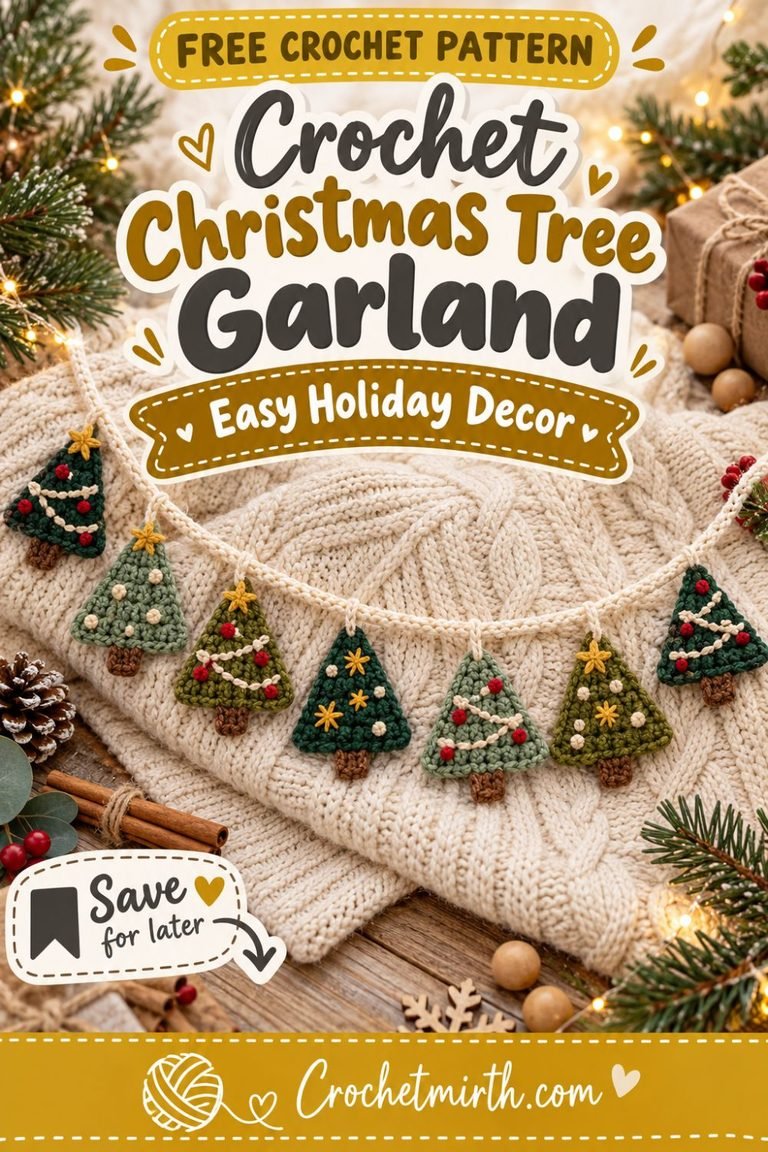
Gingerbread Garland
Make 5–7 gingerbread ornaments.
Skip the individual hanging loops.
Crochet one long cream chain and attach each gingerbread man at evenly spaced intervals.
Alternate the characters with:
- Crochet stars
- Small bells
- Bows
This creates a strong Christmas mantel or staircase decoration.
Gingerbread Gift Topper
Instead of adding a long ornament loop, attach a shorter crochet tie.
Tie the gingerbread man onto:
- Kraft-wrapped present
- Christmas gift bag
- Cookie box
After the gift is opened, the recipient can add the ornament to their tree.
Current 2026 gingerbread ornament patterns also specifically position the finished character as a gift topper or stocking filler, not just a tree ornament. Ravelry
Scrap-Yarn Christmas Project
This pattern is particularly useful after making larger holiday projects.
The brown body needs less than a full skein, while the icing, face, and buttons require only tiny scraps.
Leftover yarn from Christmas stockings, bows, gift bags, scarves, and ornaments can all be reused here.
Make It Smaller
For a smaller tree ornament, use DK yarn with a 3–3.5 mm hook.
Keep the same construction but expect the finished ornament to be proportionally smaller.
A current 2026 sport-weight gingerbread ornament finishes at about 2¼ inches, showing how dramatically yarn weight can change the scale of the same general type of Christmas decoration. Ravelry
Make It Larger
Use bulky yarn with an appropriately larger hook.
The same concept can become a larger gingerbread decoration for a wreath, mantel, or door.
For an ordinary Christmas tree, however, worsted weight keeps the ornament lighter and easier to hang.
Cotton vs Acrylic
Cotton produces crisp stitch definition and gives the ornament a firmer cookie-like feel.
Acrylic makes the ornament softer and slightly lighter.
A cotton/acrylic blend is an excellent compromise.
Keep the Stuffing Light
The main mistake with this pattern is treating it like a plush toy.
Too much stuffing can distort the silhouette, pull the seams, and make the ornament heavier.
Add only enough to round the front slightly.
Batch-Making Method
If you’re making several ornaments, crochet all body panels first.
Then make all arms and legs.
Embroider every face and button set.
Finally assemble and stuff all the characters.
This reduces constant switching between crochet, embroidery, and sewing.
Common Beginner Problems
If the head looks too square, gently shape the joining stitches around the upper corners and use one extra sc where needed.
If the ornament twists, check that the front and back panels are aligned before joining.
If the arms point in different directions, pin them before you begin the joining border.
If stuffing shows through the fabric, remove some filling or use a slightly smaller hook on your next ornament.
If the embroidery puckers, loosen the tension of the icing and facial stitches.
If the hanging loop leans to one side, reposition it at the exact center of the head.
Frequently Asked Questions
Is the gingerbread man stuffed?
Lightly. Only the head and torso receive a small amount of stuffing.
What yarn weight is used?
Category 4 worsted-weight yarn.
What hook size is used?
4.0 mm.
How large is the ornament?
Approximately 5–5½ inches tall, depending on gauge.
How much yarn do I need?
Approximately 45–60 yards of brown plus small scraps in the detail colors.
Are safety eyes required?
No. The face is embroidered with yarn.
Can beginners make it?
Yes. A confident beginner comfortable with single crochet and simple decreases should manage the pattern.
Can I make a garland with several?
Yes. The lightweight flat construction is particularly suitable for garlands.
Can I use this as a gift topper?
Absolutely.
Can I skip the stuffing?
Yes. Without stuffing, you’ll get an even flatter cookie-style ornament.
Final Thoughts
A crochet gingerbread man is small, nostalgic, and unmistakably Christmas.
This crochet gingerbread man ornament pattern uses simple flat pieces and a tiny amount of stuffing to create a decoration that’s dimensional enough to feel special but lightweight enough for a Christmas tree.
Make the classic version in cookie brown with cream icing and red buttons.
Add a forest-green bow tie to the next one.
Give another a cranberry scarf.
Before long, you can have an entire handmade gingerbread family for your tree, garland, gifts, or Christmas stockings.
Save this quick scrap-yarn gingerbread man ornament for your handmade Christmas project list!