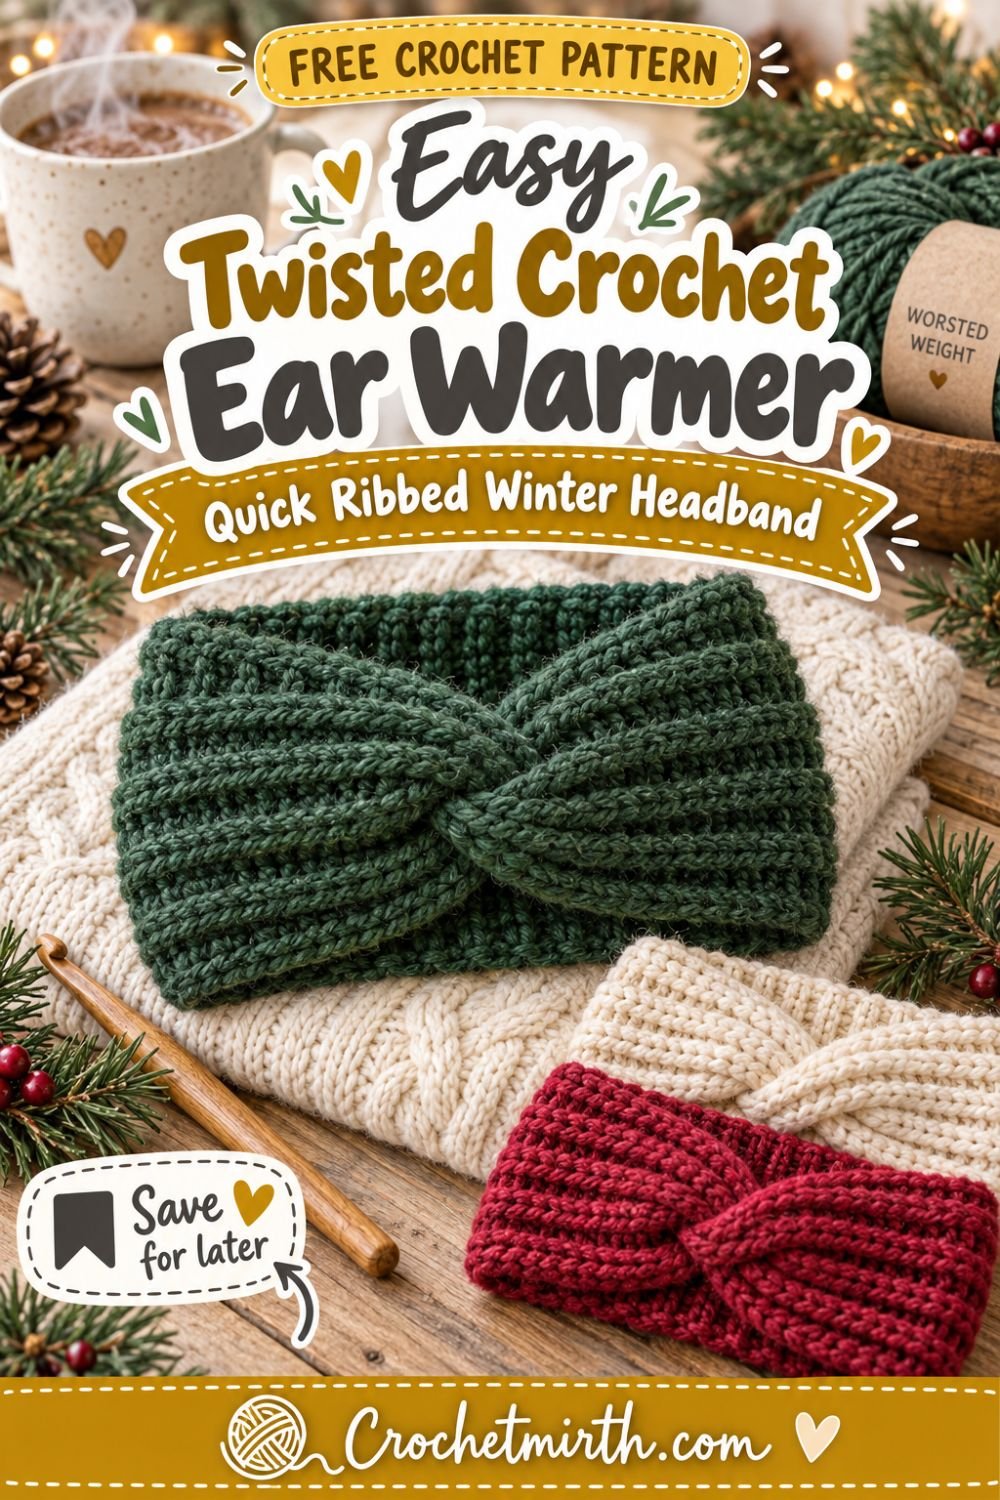
Twisted Crochet Ear Warmer Pattern – Easy Ribbed Winter Headband
If you want a fast winter crochet project that looks much more complicated than it actually is, this twisted crochet ear warmer pattern is a perfect choice.
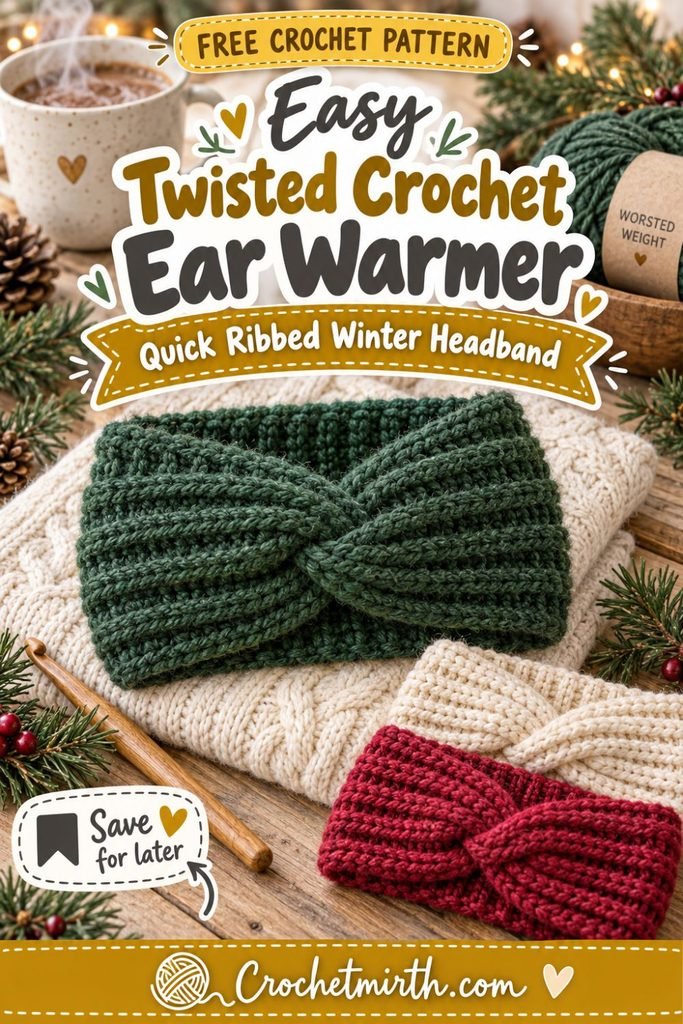
The entire headband begins as one simple ribbed rectangle.
You’ll crochet back and forth using half double crochet in the back loop only, then use an easy folding technique to transform the seam into the beautiful twist at the front.
There are no increases.
No decreases.
No complicated shaping.
And because an ear warmer uses much less yarn than a hat, it’s an excellent project for leftover worsted-weight yarn or a quick handmade gift.
Why You’ll Love This Crochet Ear Warmer
This pattern is:
- Beginner-friendly
- Worked completely flat
- Made from one rectangle
- Quick to crochet
- Easy to resize
- Warm and stretchy
- Made with simple stitches
- Great for one-skein projects
- Perfect for Christmas gifts
- Stylish enough for everyday winter wear
The twist looks decorative, but it’s created entirely during the final seam.
Skill Level
Beginner
You should know how to:
- Make a slip knot
- Chain
- Half double crochet
- Work in the back loop only
- Turn your work
- Sew a basic seam
- Fasten off
- Weave in yarn ends
Materials
Yarn
Approximately 80–100 yards of Category 4 worsted-weight yarn for an adult size.
Choose something soft because the headband sits directly against your forehead and ears.
Good options include:
- Acrylic
- Merino wool
- Wool/acrylic blends
- Washable wool
- Soft alpaca blends
Crochet Hook
5.0 mm crochet hook
Adjust the hook size if necessary to match your tension.
Other Supplies
- Yarn needle
- Scissors
- Measuring tape
- Stitch marker, optional
Crochet Abbreviations
This pattern uses US terminology.
ch – chain
hdc – half double crochet
st – stitch
sts – stitches
BLO – back loop only
Finished Adult Size
Approximate finished measurements before seaming:
Rectangle width: 4–4½ inches
Rectangle length: 19–20 inches
The finished ear warmer should stretch comfortably to fit an average adult head around:
21–23 inches
The negative ease helps keep the headband secure.
Gauge
Approximately:
13 hdc = 4 inches
9 rows = 4 inches
Exact gauge is less important than checking the finished rectangle around the wearer’s head before sewing.
Why the Ear Warmer Is Smaller Than the Head
Crochet ribbing stretches.
If your head measures:
22 inches
you generally don’t want to crochet a 22-inch headband.
It may become too loose after wearing it.
Instead, make the rectangle approximately:
1½–3 inches smaller
than the actual head circumference, depending on how stretchy your yarn is.
The Main Stitch: HDC BLO
The ribbed appearance is made using:
Half Double Crochet in the Back Loop Only
Look at the top of each crochet stitch.
You’ll see a small V with two loops.
Instead of inserting your hook under both loops, insert it only under the back loop.
Complete a normal half double crochet.
The unused front loop creates a raised ridge.
Repeat that technique on every row and the fabric becomes soft, stretchy, and beautifully ribbed.
Free Twisted Crochet Ear Warmer Pattern
Foundation Chain
Ch 15.
Row 1
Hdc in the second chain from the hook.
Hdc in every chain across.
14 sts
Ch 1 and turn.
Row 2
Working in the back loop only, hdc in every stitch across.
14 sts
Ch 1 and turn.
Row 3 and Beyond
Repeat Row 2.
Continue until the rectangle measures approximately:
19–20 inches long
For the sample gauge, this may be around:
43–45 rows
but always measure rather than relying only on row count.
Fasten off, leaving a long yarn tail approximately:
20 inches
for sewing.
Check the Width
Your rectangle should measure approximately:
4–4½ inches wide
This gives enough coverage to protect the ears without creating an overly wide headband.
Check the Length
Wrap the rectangle around your head.
Bring the short edges together at the center of your forehead.
The fabric should feel:
Comfortably snug
It should stretch slightly to meet.
If the ends overlap easily without stretching, the headband may be too large.
If you have to pull hard to make the ends meet, add a few rows.
The Most Important Part: Create the Twist
This step looks unusual at first, but it’s very easy once you understand the folding.
Lay the rectangle flat horizontally.
The two short edges will become the twisted front seam.
Step 1: Fold the First End
Take the left short edge.
Fold it in half so the top half comes down toward the bottom half.
It should look like a small letter C from the side.
Step 2: Fold the Second End
Repeat with the right short edge.
Fold it in half in the same way.
Now both ends are folded.
Step 3: Interlock the Ends
Bring the two folded ends together.
Slide one folded end halfway inside the other.
The four layers should alternate like this:
First end → second end → first end → second end
Think of the pieces as interlocking fingers.
You should now have four layers stacked together.
Step 4: Sew Through All Four Layers
Thread the long yarn tail through your yarn needle.
Sew across the entire folded edge, making sure your needle passes through:
All four layers
with every stitch.
This is what holds the twist securely.
Step 5: Secure the Seam
When you reach the opposite side:
Make several secure stitches.
Tie off.
Weave in the yarn end.
Reveal the Twist
Turn the headband right side out.
Pull gently on both sides of the seam.
The interlocking folds will naturally open into a beautiful center twist.
No knot is required.
Shape Your Headband
Use your fingers to arrange:
- Left side of twist
- Right side of twist
- Ribbed edges
The seam should disappear naturally inside the folds.
Adult Size Guide
A good starting point is:
| Head Circumference | Rectangle Length |
|---|---|
| 20–21 in | 18–18½ in |
| 21–22 in | 18½–19½ in |
| 22–23 in | 19–20 in |
| 23–24 in | 20–21 in |
These measurements are approximate.
The stretchiness of your yarn matters.
Child Size
For a child with a head circumference around:
19–20 inches
make the rectangle approximately:
17–18 inches long
You can also reduce the width slightly.
Try:
Ch 13
instead of 15.
Toddler Size
For approximately:
18–19 inch head circumference
aim for a rectangle about:
16–17 inches long
and approximately:
3–3½ inches wide
Teen Size
For many teens, the adult size will work.
Measure the actual head when possible.
Aim for approximately:
1½–2½ inches of negative ease
depending on fabric stretch.
Make the Ear Warmer Wider
For extra coverage, increase the foundation chain.
Try:
Ch 17–18
This creates a wider band that covers more of the ears.
Make It Narrower
For a slimmer fashion headband:
Try:
Ch 11–13
Keep the length the same.
Make the Twist Larger
A wider band naturally creates a more dramatic twist.
Increase the foundation chain while keeping the rectangle length unchanged.
Make a Subtle Twist
For a smaller twist:
Use a narrower band.
The twist will look cleaner and less bulky.
Best Yarn for a Winter Ear Warmer
The ideal yarn should be:
- Soft
- Warm
- Slightly stretchy
- Comfortable against skin
Acrylic Yarn
Soft acrylic is a practical choice.
It is usually:
- Affordable
- Easy to wash
- Easy to find
- Available in many colors
Wool
Wool is naturally warm and excellent for cold weather.
Choose a soft wool that doesn’t feel scratchy against the forehead.
Wool Blends
A wool/acrylic blend can provide a good combination of:
- Warmth
- Softness
- Elasticity
- Easy care
Cozy Winter Color Ideas
Try:
- Forest green
- Cream
- Burgundy
- Charcoal
- Camel
- Navy
- Rust
- Mustard
- Sage
- Cranberry red
Solid colors make the ribbed texture stand out beautifully.
Make a Two-Color Ear Warmer
Change yarn halfway through the rectangle.
After assembly, the two colors will meet around the headband.
Try:
Forest green + cream
Burgundy + blush
Charcoal + mustard
Sage + warm beige
Striped Ear Warmer
Change color every:
4–6 rows
for simple vertical-looking bands around the finished headband.
This is a good way to use small yarn leftovers.
Scrap Yarn Version
Because the project requires relatively little yarn, you may already have enough in your stash.
Combine several coordinating remnants.
For example:
Woodland
Forest green + sage + cream
Autumn
Rust + mustard + camel
Winter
Burgundy + cream + charcoal
Add a Fleece Lining
For very cold climates, you can sew a thin strip of soft fleece inside the headband.
This adds:
- Extra warmth
- Wind protection
- Softness
Cut the fleece slightly smaller than the crochet band so the ribbing can still stretch.
Sew it carefully around the inner edge.
Make It With Bulky Yarn
Category 5 bulky yarn creates an even warmer ear warmer.
Use:
6–7 mm hook
as a starting point.
You’ll need:
- Fewer chains
- Fewer rows
Use measurements rather than the original stitch counts.
Make It With DK Yarn
DK yarn creates a lighter headband.
Use approximately:
4–4.5 mm hook
You’ll need more stitches and rows.
Again, crochet to measurements.
Why an Ear Warmer Is Great for Beginners
Beanies can involve:
- Crown shaping
- Decreases
- Working in rounds
- Stitch-count changes
This headband avoids all of that.
You make:
One rectangle
Then:
Fold → interlock → sew
That’s why twisted ear warmers are such useful beginner projects.
Why It Works Up Quickly
An ear warmer uses far less fabric than:
- Beanie
- Scarf
- Cowl
- Sweater
The repetitive rectangle construction also means you don’t need to stop constantly to read complicated instructions.
Handmade Christmas Gift Idea
A twisted ear warmer makes a quick winter gift.
Choose the recipient’s favorite color.
Roll or fold the finished headband.
Wrap it with:
- Kraft paper band
- Cream ribbon
- Natural twine
Add a small tag saying:
Handmade for You
or:
Stay Cozy
Make a Matching Winter Set
Use the same yarn for:
- Fingerless gloves
- Scarf
- Cowl
- Mittens
- Beanie
An ear warmer plus fingerless gloves makes a particularly quick handmade gift set.
Craft Fair Idea
Because these headbands:
- Use little yarn
- Crochet relatively quickly
- Come in many colors
- Fit a broad range of people
they can work well as craft-fair items.
Make several in neutral and seasonal shades.
Display them with the twist facing forward so customers immediately see the design.
Common Beginner Mistakes
Making the Rectangle Too Long
A loose ear warmer can slide backward.
Remember that the fabric should stretch slightly around the head.
Making It Too Short
If you need to stretch aggressively just to join the edges, add a few rows.
Losing Stitches
You should keep:
14 stitches per row
for the adult sample.
Count periodically.
Forgetting BLO
Working through both loops won’t ruin the headband, but you won’t get the same ribbed texture.
Sewing Through Only Two Layers
For the twist to hold correctly, your seam must pass through:
all four folded layers
Folding Both Ends Incorrectly
The ends need to interlock.
Don’t simply stack one folded end directly on top of the other.
Alternate the four layers before sewing.
Pulling the Seam Too Tight
Keep your sewing firm but not excessively tight.
A stiff seam can make the front twist uncomfortable.
Blocking the Ear Warmer
Blocking is optional.
If the rectangle curls or looks uneven, gentle blocking can improve the shape.
Avoid stretching the band to its maximum size while blocking.
You want to preserve its elasticity.
How to Wash Your Crochet Headband
Always follow the yarn care instructions.
In general:
- Wash gently.
- Avoid excessive heat.
- Reshape while damp.
- Lay flat to dry.
- Arrange the twist after drying.
How Long Does a Crochet Ear Warmer Take?
The exact time depends on experience.
Because this project uses a small amount of yarn and repetitive rows, experienced crocheters can often finish one fairly quickly.
Beginners can comfortably work through it in a short crafting session or over an evening.
The important thing isn’t speed—it’s keeping the width and tension consistent.
Can Complete Beginners Make It?
Yes.
If you can:
- Chain
- Half double crochet
you already know most of what you need.
The only unusual part is the twisted seam, and that requires folding rather than advanced crochet.
Can I Use Single Crochet Instead?
Yes.
Single crochet BLO will produce:
- Denser fabric
- Smaller stitches
- More rows
- Strong ribbing
You’ll need to adjust your measurements.
Can I Use Regular HDC Instead of BLO?
Yes.
The headband will still work.
However, it will have a flatter texture rather than the defined ribbed appearance.
Can I Make It Without the Twist?
Absolutely.
Simply join the two short edges normally.
You’ll get a classic ribbed crochet headband.
Can I Wear It With a Ponytail?
Yes.
An ear warmer is particularly convenient with:
- Ponytails
- Buns
- Braids
because the top of the head remains open.
Is an Ear Warmer as Warm as a Beanie?
It doesn’t provide full-head coverage.
However, it adds warmth where many people want it most:
- Ears
- Forehead
- Sides of head
It’s especially useful during cool fall days or moderate winter weather.
Frequently Asked Questions
Is this ear warmer worked in the round?
No. It is worked flat as one rectangle.
What creates the ribbed texture?
Half double crochet worked through the back loop only.
How is the twist made?
The two short ends are folded in half, interlocked, and sewn through all four layers.
How wide is the adult band?
Approximately 4–4½ inches.
Can I resize it?
Yes. Change the number of rows to adjust circumference and the starting chain to adjust width.
How much yarn do I need?
Approximately 80–100 yards of worsted-weight yarn for an adult size.
Is this suitable for beginners?
Yes. The crochet itself is repetitive and requires no increases or decreases.
Final Thoughts
You don’t need complicated crochet techniques to make a stylish winter accessory.
This twisted crochet ear warmer pattern begins with one basic ribbed rectangle made from half double crochet.
The simple interlocking seam creates the front twist and transforms that rectangle into a polished winter headband.
Make one in forest green for a cozy woodland look, cranberry red for Christmas, cream for a timeless neutral, or use leftover yarn from another winter project.
Once you understand the twist construction, these headbands are easy to make in several sizes and colors.
They’re quick, useful, customizable, and especially good for handmade winter gifts.
Save this easy ribbed crochet ear warmer pattern for your next cozy winter project!