Mini Crochet Bow Ornament Pattern – Quick Scrap Yarn Christmas Bows
Tiny Christmas projects are perfect when you want something festive without starting another large crochet project.
These mini crochet bow ornaments use just a small amount of leftover yarn and a few basic stitches to create sweet handmade decorations for your Christmas tree.
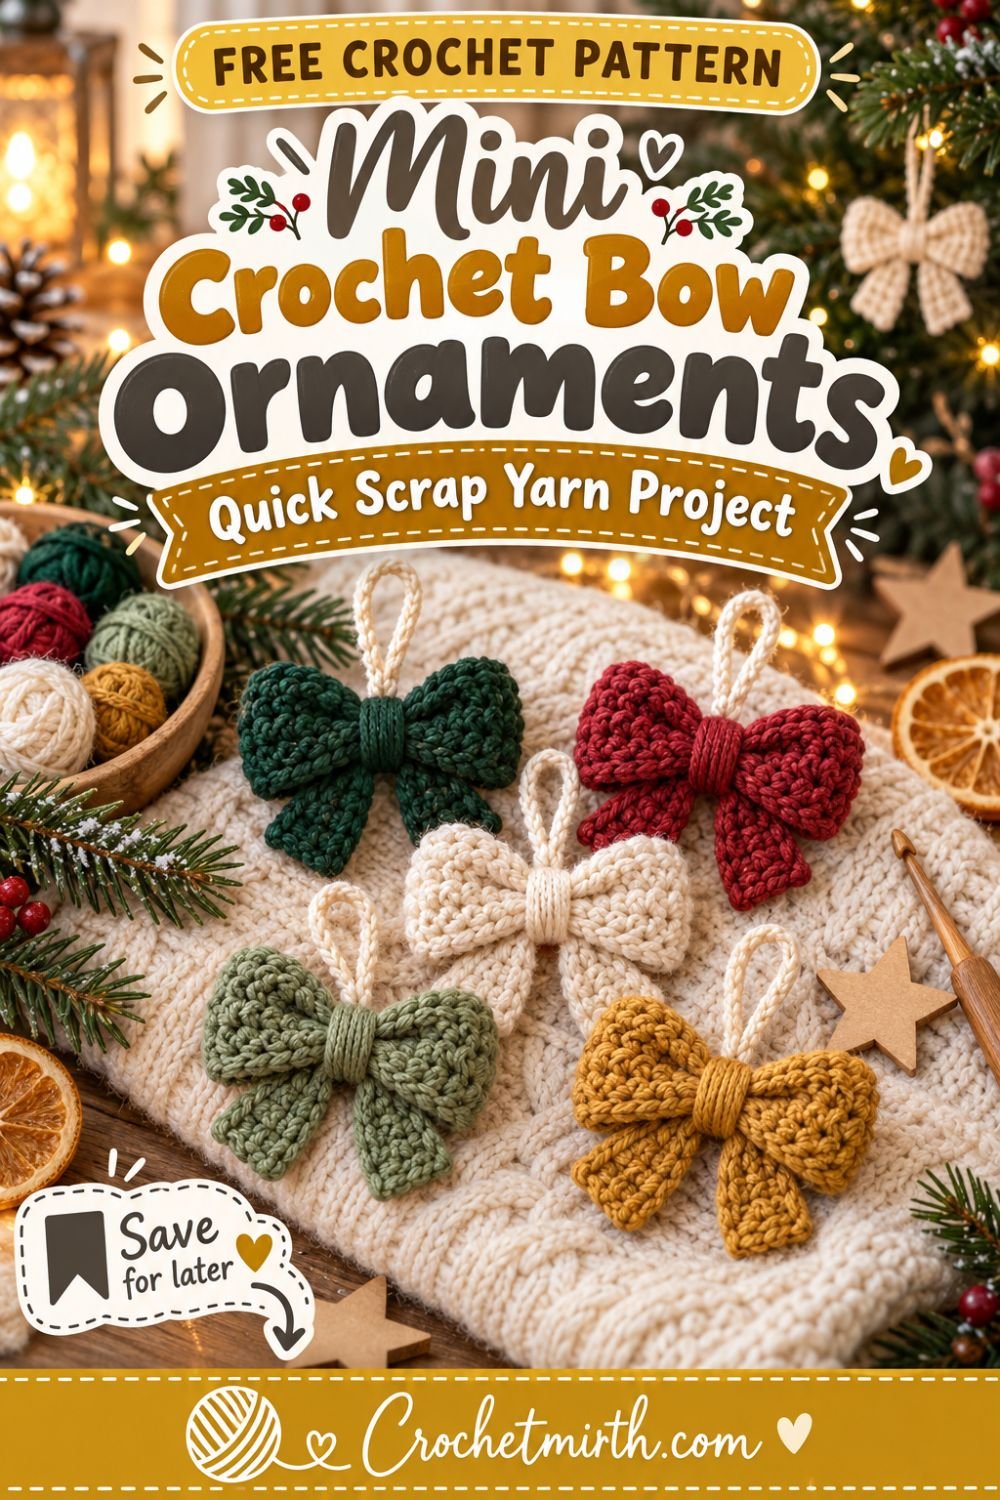
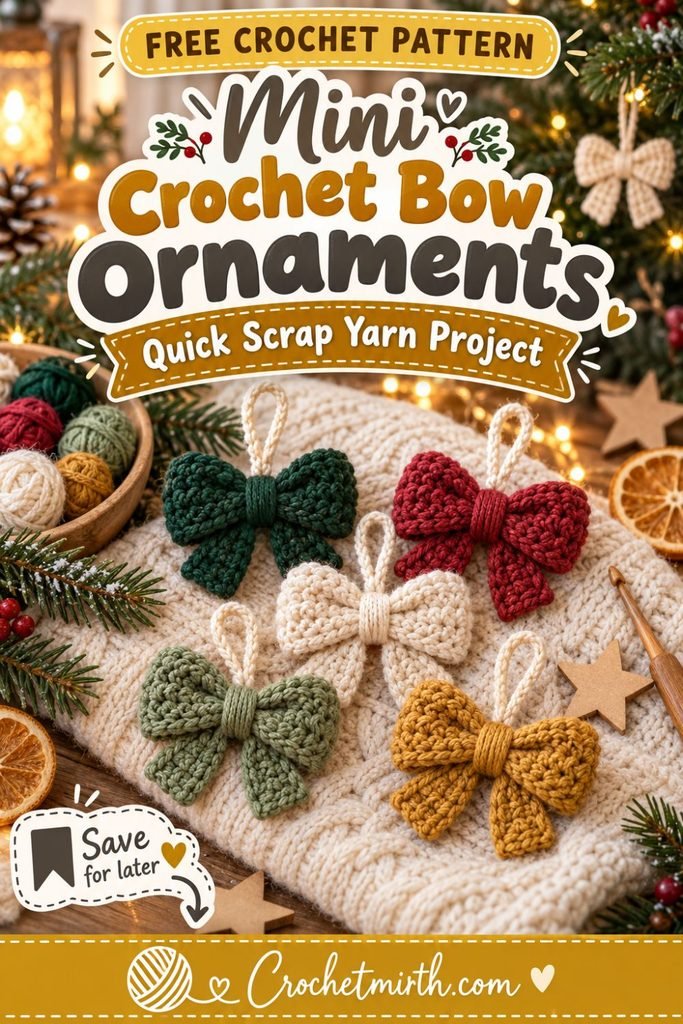
Each bow has two soft loops, a wrapped crochet center, short tails, and a simple hanging loop.
Make one in classic red, crochet a coordinated set in forest green and cream, or use scraps from your yarn basket to create a whole collection of colorful Christmas bows.
They’re also lovely as reusable gift toppers, wreath decorations, stocking accents, or additions to a crochet Christmas garland.
Why You’ll Love These Mini Crochet Bows
These ornaments are:
- Beginner-friendly
- Quick to crochet
- Perfect for scrap yarn
- Made with basic stitches
- Easy to batch-make
- Lightweight for Christmas trees
- Simple to customize
- Cute as gift toppers
- Great for holiday markets
- Easy to turn into garlands
Once you’ve made the first one, the rest are easy to repeat.
Skill Level
Beginner / Easy
You should know how to:
- Chain
- Single crochet
- Half double crochet
- Turn your work
- Slip stitch
- Sew simple pieces together
- Fasten off
- Weave in ends
There is no complicated shaping.
Materials
Yarn
Use small amounts of Category 3 DK-weight yarn.
Each ornament needs only a little yarn, making this an excellent leftover-yarn project.
For a set of five bows, gather approximately:
50–70 yards total
depending on bow size and tension.
Crochet Hook
3.0 mm crochet hook
A slightly firm gauge helps the miniature bows hold their shape.
Other Supplies
- Yarn needle
- Scissors
- Measuring tape
- Small scraps of coordinating yarn
Suggested Christmas Colors
Try:
- Forest green
- Cranberry red
- Cream
- Sage green
- Mustard gold
- Burgundy
- Dusty rose
- Warm beige
You can make every bow the same color or create a coordinated collection.
Crochet Abbreviations
This pattern uses US crochet terminology.
ch – chain
sc – single crochet
hdc – half double crochet
sl st – slip stitch
st – stitch
sts – stitches
Finished Size
Each completed ornament measures approximately:
3–3½ inches wide
and approximately:
2–2½ inches tall
excluding the hanging loop.
The exact size will depend on:
- Yarn
- Crochet hook
- Tension
Construction Overview
Each mini bow uses four simple parts:
- Main bow rectangle
- Center band
- Tail strip
- Hanging loop
The main rectangle is folded to create the two bow loops.
The center band wraps around the middle.
The tail strip sits behind the bow.
Finally, a small crochet chain creates the hanging loop.
PART 1: Crochet the Main Bow
Ch 18.
Row 1
Hdc in the second chain from the hook.
Hdc in each chain across.
17 sts
Ch 1 and turn.
Row 2
Hdc across.
17 sts
Ch 1 and turn.
Row 3
Hdc across.
17 sts
Ch 1 and turn.
Row 4
Hdc across.
Fasten off.
Leave a yarn tail approximately:
8 inches long
for assembly.
Shape the Bow Loops
Lay your small rectangle horizontally.
Bring the left short edge toward the center.
Bring the right short edge toward the center.
Let the edges overlap slightly.
Thread the yarn tail onto your needle.
Sew the two ends together at the middle.
The seam doesn’t need to be perfect because we’ll hide it.
Create the Bow Shape
Turn the seam toward the back.
Pinch the middle of the rectangle between your fingers.
Try creating three small folds:
Top ridge → center valley → bottom ridge
Wrap a separate strand of yarn tightly around the center several times.
Tie it securely at the back.
Your rectangle should now look like a tiny bow.
PART 2: Crochet the Center Band
Ch 4.
Row 1
Sc in the second chain from your hook.
Sc across.
3 sts
Ch 1 and turn.
Rows 2–5
Sc across.
Ch 1 and turn after each row.
After Row 5:
Fasten off.
Leave a sewing tail.
Attach the Center Band
Wrap the small strip around the middle of the bow.
Place the ends at the back.
Sew them together securely.
The band should be snug enough to hold the folds but shouldn’t completely flatten the bow.
Fasten off.
PART 3: Make the Bow Tails
Ch 12.
Row 1
Hdc in the second chain from hook.
Hdc across.
11 sts
Fasten off.
Shape the Tail Piece
Place the tail strip behind the bow.
Fold the strip gently in half so the center sits behind the bow band.
Angle the two loose ends downward.
Sew the middle of the tail strip securely to the back of the center band.
Optional V-Shaped Tail Ends
For a more ribbon-like appearance, you can shape the yarn tails slightly after blocking.
Another simple option is to embroider a tiny V using matching yarn at the end of each tail.
Keep the ornament lightweight and simple.
PART 4: Crochet the Hanging Loop
Join yarn at the top back of the center band.
Ch 14.
Bring the chain back toward the attachment point.
Sl st into the same area.
Fasten off securely.
Weave in both ends.
Your ornament now has a small hanging loop.
Your Mini Crochet Bow Is Finished
Gently shape:
- Left loop
- Right loop
- Center band
- Two tails
Make sure the hanging loop sits at the top center.
Your first Christmas bow ornament is finished.
Make a Set of Five
For the Pinterest-style color palette, make:
1 forest green
1 cranberry red
1 cream
1 sage green
1 mustard gold
Hang them together on your Christmas tree for a coordinated handmade look.
Traditional Christmas Bow Set
Use:
- Red
- Forest green
- Cream
Alternate the colors throughout your tree.
This palette works especially well with:
- Evergreen
- Gold ornaments
- Warm white lights
- Natural wood decorations
Neutral Christmas Bow Set
For a softer Scandinavian-inspired Christmas style, use:
- Cream
- Beige
- Taupe
- Sage
These shades pair beautifully with wooden ornaments and dried orange slices.
Vintage Christmas Bow Set
Try:
- Dusty rose
- Muted cranberry
- Sage
- Cream
- Soft mustard
This creates a warm nostalgic color palette.
All-Red Christmas Bows
For a classic statement, make every ornament in the same cranberry-red yarn.
A tree covered with several small red crochet bows can look simple and elegant.
Scrap Yarn Version
Don’t worry about matching colors perfectly.
Use whatever small leftover DK yarn balls you already have.
Try organizing them into a loose palette, such as:
Warm
Rust, mustard, cream, burgundy
Woodland
Forest green, sage, brown, cream
Pastel
Blush, lavender, pale blue, cream
How Much Yarn Does One Bow Need?
These ornaments use very little yarn.
Exact yardage varies, but each bow should only require a small scrap of DK yarn.
That makes this pattern ideal for using those little leftover balls that are too small for larger projects.
Make Smaller Bows
Want tiny bows for a tabletop Christmas tree?
Use:
Sport or fingering-weight yarn
with an appropriately smaller hook.
You can also reduce the main starting chain.
Try:
Ch 14–15
instead of 18.
Make Larger Bows
For larger ornaments:
Use worsted-weight yarn with approximately a 4–4.5 mm hook.
The same basic construction works.
You can also increase the main rectangle dimensions.
Chunky Christmas Bows
Use bulky yarn if you want oversized bows for:
- Wreaths
- Mantels
- Staircases
- Large trees
For a small Christmas tree, DK yarn is better because it keeps the ornaments lightweight.
Turn the Bows Into a Garland
After making several bows, skip the individual hanging loops.
Crochet one long chain.
Attach each bow every:
15–25 chains
using a slip stitch through the back of the center band.
Now you have a matching crochet bow garland.
Turn Them Into Gift Toppers
Tie a finished bow onto:
- Kraft paper
- Gift bags
- Christmas boxes
- Cookie tins
After opening the gift, the recipient can reuse the bow as a Christmas ornament.
Add a Bow to a Christmas Stocking
Sew one mini bow securely near the upper corner of a crochet stocking.
Choose a contrasting color so it stands out.
Examples:
Cream stocking + forest-green bow
Red stocking + cream bow
Green stocking + mustard bow
Decorate a Christmas Wreath
Make:
3–5 mini bows
and attach them evenly around an evergreen or crochet wreath.
You can use matching bows or mix colors.
Add Them to a Christmas Tree Garland
Combine these bows with:
- Mini crochet trees
- Crochet stars
- Snowflakes
- Mini stockings
to create a mixed handmade ornament garland.
Use Them as Place-Setting Decorations
Attach one mini bow to:
- Napkin
- Place card
- Small gift
- Cutlery bundle
for a handmade Christmas table setting.
Make a Crochet Bow Advent Collection
Crochet several bows in different colors.
Use them to decorate small numbered Christmas bags or envelopes.
The bows can be reused as ornaments afterward.
Best Yarn for Mini Crochet Bows
DK Cotton
Cotton yarn produces:
- Crisp stitches
- Firm bow loops
- Clean edges
- Less fuzz
It’s an excellent choice when you want the bow to look structured.
DK Acrylic
Soft acrylic gives the bows:
- Slightly softer texture
- More flexibility
- Easy-care properties
- A wide range of colors
It also works very well for scrap-yarn projects.
Wool Blend
A fine wool blend creates:
- Cozy texture
- Soft fuzz
- Traditional handmade appearance
Choose a smooth yarn if you’re still learning.
Avoid Very Fuzzy Yarn for Your First Bow
Very fluffy yarn can hide the small stitches.
For your first ornament, use something with clear stitch definition.
Once you’re comfortable with the pattern, experiment with textured yarn.
Metallic Yarn Accent
For a subtle festive finish, use a yarn containing a very fine metallic strand.
Try:
Cream + gold
or:
Forest green + subtle gold
A little sparkle works especially well under Christmas lights.
Blocking the Mini Bows
Blocking is optional but can improve the final shape.
Gently arrange:
- Loops
- Center
- Tails
Use the blocking method recommended for your yarn.
Allow the bow to dry completely before hanging.
How to Keep the Loops Even
Before attaching the center band:
- Lay the bow flat.
- Compare both sides.
- Pull one loop gently if needed.
- Pinch the center again.
- Secure the wrap.
Small adjustments at this stage make a big difference.
Make the Center Tighter
If your bow looks more like a rectangle than a bow, the middle probably needs more definition.
Wrap the center yarn a few additional times.
Pull gently until the loops puff outward.
Then add the crochet center band.
Make the Bow Fuller
For fuller loops, increase the main rectangle to:
5–6 rows
instead of 4.
This creates a thicker mini bow.
Make a Slim Ribbon Bow
For a delicate ribbon appearance, crochet only:
2–3 rows
for the main rectangle.
The bow will become narrower and lighter.
Make It Faster
For the quickest version, omit the separate tail strip.
Simply make:
- Main rectangle
- Center band
- Hanging loop
This gives you a minimalist loop bow ornament.
Batch-Making Christmas Bows
If you’re making ten or more ornaments, work in batches.
Step 1
Crochet all main rectangles.
Step 2
Crochet all center bands.
Step 3
Crochet all tail strips.
Step 4
Fold all bow loops.
Step 5
Attach all centers.
Step 6
Add all hanging loops.
Batching prevents you from constantly switching between different steps.
Handmade Christmas Gift Idea
Make a set of:
5 or 6 mini crochet bows
in coordinated colors.
Place them in a small kraft box with tissue paper.
Add a handmade label:
Mini Crochet Christmas Bow Ornaments
It’s a simple reusable handmade holiday gift.
Christmas Market Idea
Mini ornaments are also useful for craft-market displays because customers can understand their purpose immediately.
Consider displaying them:
- Individually
- In matching sets
- Attached to gift packaging
- As small garlands
Use your own pricing calculations based on your materials, labor, packaging, and local market.
Photographing Your Crochet Bows
For Pinterest or Etsy-style photographs:
Use a neutral background.
Include:
- Evergreen
- Warm fairy lights
- Cream knit texture
- Natural wood
Photograph one close-up image to show stitch detail.
Then photograph several bows together to show color options.
Common Beginner Mistakes
Making the Main Rectangle Too Loose
The bow may lose its shape.
Try slightly firmer tension or a smaller hook.
Flattening the Center Too Much
The center should be snug, but the loops should remain softly rounded.
Making Unequal Loops
Check both loops before securing the center wrap.
Attaching the Hanging Loop Off-Center
Attach it directly behind the center band.
Otherwise, the bow may tilt when hanging.
Making the Tails Too Large
For mini ornaments, short tails usually look more balanced.
Storage After Christmas
Lay the ornaments flat in a small storage box.
Avoid placing heavy decorations on top.
This helps preserve:
- Bow loops
- Tails
- Hanging loops
until next Christmas.
Frequently Asked Questions
Is this mini crochet bow beginner-friendly?
Yes. It uses basic chains, single crochet, half double crochet, and simple sewing.
Is it good for scrap yarn?
Yes. Each ornament uses only a small amount of DK yarn.
Can I use worsted yarn?
Yes. Your bow will simply be larger.
Can I skip the tails?
Absolutely. A loop-only bow is even faster to make.
Can I turn these into a garland?
Yes. Attach multiple bows to one long crochet chain.
Can I use them as gift toppers?
Yes. They’re reusable alternatives to disposable decorative bows.
How many should I make for a Christmas tree?
That depends on tree size. Start with 5–10 bows and add more if you’d like a stronger handmade-bow theme.
Final Thoughts
Small crochet projects are perfect during the busy Christmas season, and these mini crochet bow ornaments are simple enough to make from leftover yarn in your stash.
The pattern begins with a tiny rectangle, which is folded and pinched to create two classic bow loops.
Add a small center band, short tails, and a hanging loop, and you have a lightweight handmade Christmas ornament.
Make one in traditional cranberry red, create a forest-green and cream set, or use every scrap color you have.
Hang them on the tree, turn them into a garland, attach them to wrapped gifts, or give a small set as a handmade Christmas present.
Save this quick scrap-yarn crochet bow ornament pattern for your Christmas crochet list!