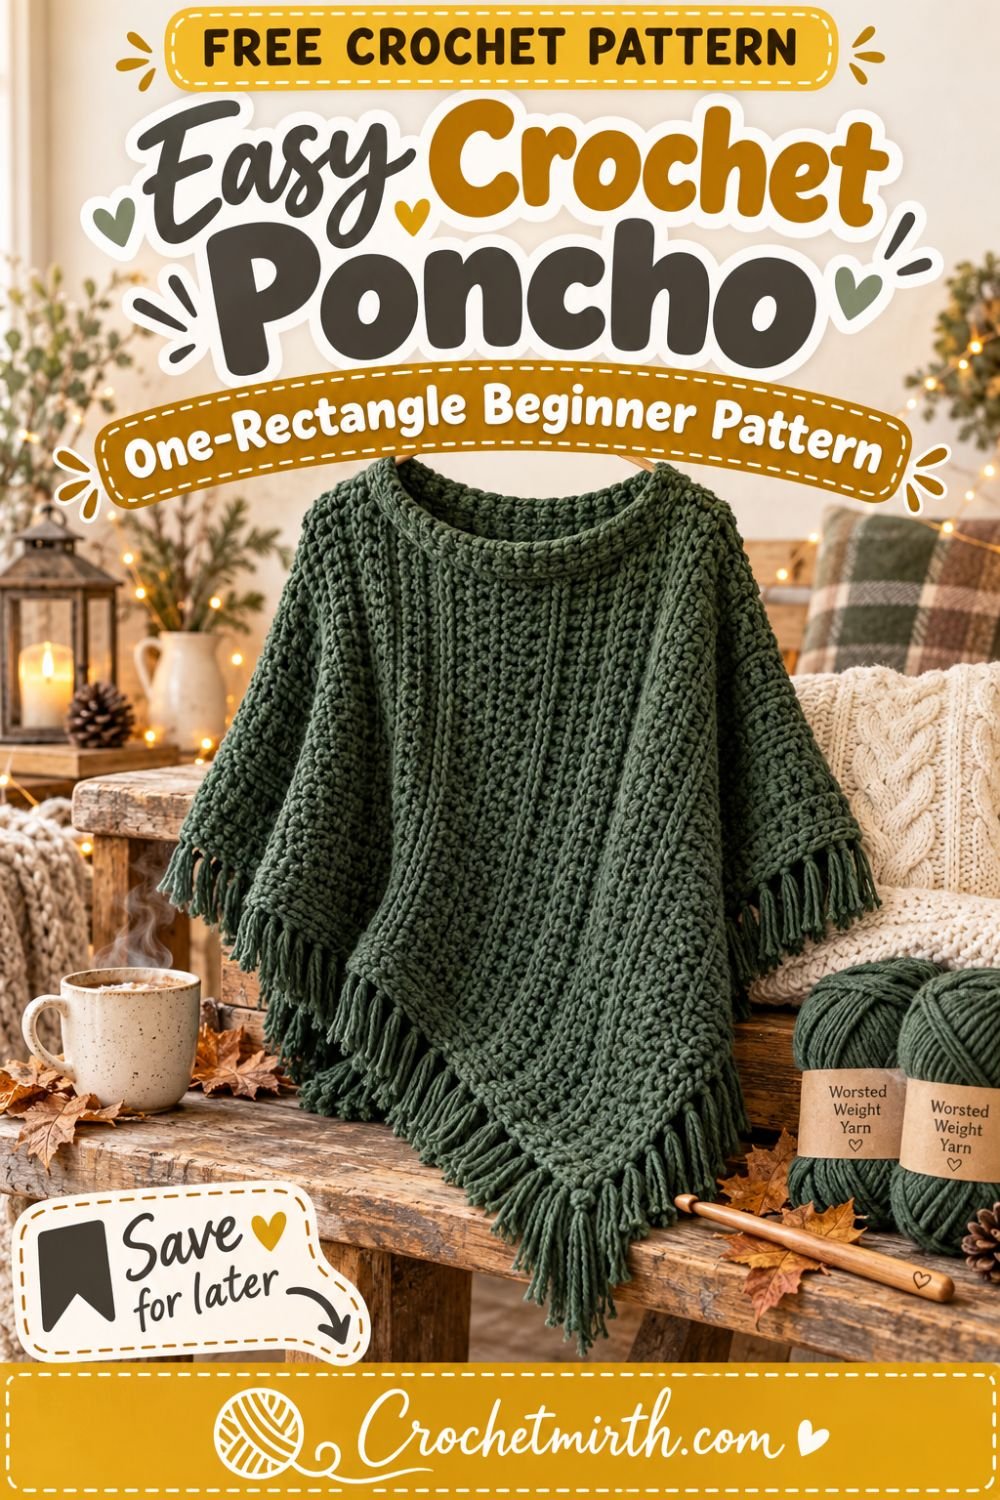
Easy Crochet Poncho Pattern – One-Rectangle Beginner Poncho
If you’ve been wanting to crochet your first wearable but sweaters still feel intimidating, this easy crochet poncho pattern is a perfect place to start.
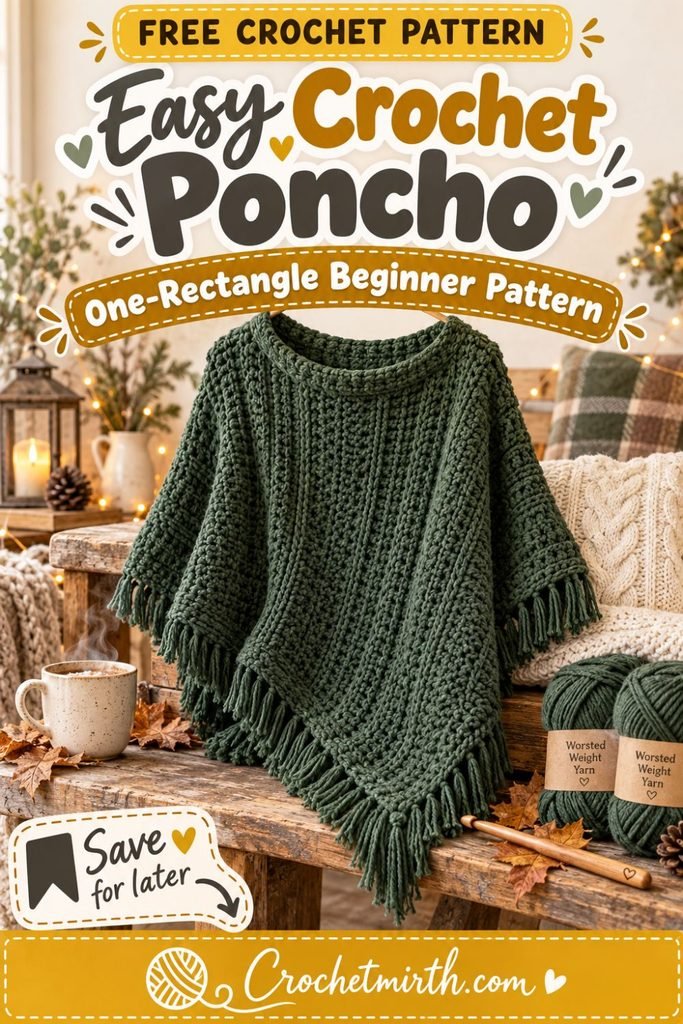
The entire poncho begins as one simple rectangle.
There are no sleeves to shape, no complicated increases, and no separate front and back panels to keep track of.
You simply crochet a large textured rectangle, fold it into shape, make one main seam, and finish the neckline.
The result is a relaxed asymmetrical poncho that’s easy to layer over jeans, leggings, long-sleeve shirts, or dresses.
It also makes a wonderful first crochet garment because most of your time is spent repeating the same easy stitch pattern.
Why You’ll Love This Beginner Crochet Poncho
This poncho is:
- Made from one rectangle
- Beginner-friendly
- Worked flat in rows
- Made with basic crochet stitches
- Easy to resize
- Minimal seaming
- Comfortable and relaxed
- Great for fall and winter layering
- Easy to customize with fringe
- A great first crochet garment
Once you’ve finished the rectangle, most of the work is already done.
Skill Level
Beginner / Easy
You should know how to:
- Make a slip knot
- Chain
- Half double crochet
- Work in the back loop only
- Turn your work
- Sew a simple seam
- Single crochet
- Fasten off
- Weave in ends
Materials
Yarn
Approximately 1,100–1,300 yards of Category 4 worsted-weight yarn
Choose a yarn with a soft drape rather than something extremely stiff.
Good choices include:
- Acrylic
- Wool blends
- Acrylic/wool blends
- Soft washable wool
- Cotton/acrylic blends
For a poncho, yarn with a little movement creates a nicer drape over the shoulders.
Crochet Hook
6.0 mm crochet hook
Using a hook slightly larger than you might normally use with worsted yarn helps create softer fabric.
Adjust your hook size if necessary.
Other Supplies
- Yarn needle
- Scissors
- Measuring tape
- Stitch markers
- Optional fringe-making card
Crochet Abbreviations
This pattern uses US crochet terminology.
ch – chain
hdc – half double crochet
sc – single crochet
sl st – slip stitch
st – stitch
sts – stitches
BLO – back loop only
Finished Size
The sample poncho is designed as a relaxed Adult Small–Large / One-Size Style garment.
Before assembly, the rectangle measures approximately:
22 inches wide × 50 inches long
The finished poncho has an asymmetrical drape, so the exact shoulder-to-hem measurement changes depending on how you position it.
Gauge
Approximately:
12 hdc = 4 inches
9 rows = 4 inches
Gauge is useful, but the most important thing is achieving the final rectangle measurements.
If your stitch count differs slightly, simply crochet until your piece measures approximately:
22 × 50 inches
How This One-Rectangle Poncho Is Constructed
The construction is much easier than it looks.
First, you’ll crochet one long rectangle.
Then you’ll bring one short edge toward part of the long edge and seam them together.
That one seam creates:
- The neckline
- The shoulder shape
- The asymmetrical poncho drape
This style of rectangle construction is also used in other beginner poncho designs because it reduces garment shaping to simple folding and seaming.
The Stitch Pattern
We’ll use half double crochet in the back loop only.
This creates soft raised ridges without making the pattern difficult.
The stitch is repetitive enough for a beginner but gives the finished poncho more texture than ordinary flat crochet.
Free Easy Crochet Poncho Pattern
Foundation Chain
Ch 67.
Row 1
Hdc in the second chain from the hook.
Hdc in each remaining chain across.
66 sts
Ch 1 and turn.
Row 2
Working in the back loop only, hdc in every stitch across.
66 sts
Ch 1 and turn.
Row 3 and Beyond
Repeat Row 2.
Continue until the rectangle measures approximately:
50 inches long
Your finished width should be approximately:
22 inches
Depending on your gauge, you’ll work roughly 110–115 rows, but measure rather than relying only on row count.
Fasten off, leaving a long tail for seaming.
Check Your Rectangle Before Assembly
Lay your work flat.
It should measure approximately:
22 inches wide
and
50 inches long
The edges should be reasonably straight.
Don’t worry if the rectangle curls slightly.
Blocking will help relax the fabric.
Block the Rectangle
Blocking before assembly can make the finished poncho drape more evenly.
Use the method recommended for your yarn fiber.
For acrylic:
Light steam blocking can help.
For wool:
Wet blocking is often appropriate.
Never apply direct high heat to acrylic yarn.
Shape the rectangle to approximately:
22 × 50 inches
and let it dry completely.
Part 2: Fold the Poncho
Lay your rectangle horizontally with the long edges running from left to right.
Think of the rectangle as having:
- Two long edges measuring 50 inches
- Two short edges measuring 22 inches
Choose one short edge.
This entire edge will be used for the seam.
Mark the Seam Position
Along one long edge, measure approximately:
22 inches
from the corner nearest the short edge you’re going to join.
Place a stitch marker there.
You now have a 22-inch section of the long edge.
Bring the Edges Together
Fold the rectangle so the chosen short edge meets that marked 22-inch section of the long edge.
The two sections should be equal in length.
Align them carefully.
Pin them together with stitch markers.
The remaining unseamed fabric creates the neck opening and the characteristic asymmetric poncho shape.
Seam the Poncho
Thread your long yarn tail through a yarn needle.
Use:
- Mattress stitch
- Whip stitch
- Or slip stitches
to join the short edge to the marked section of the long edge.
Work slowly so the fabric does not bunch.
Fasten off securely.
Check the Neck Opening
Try the poncho on.
The neckline should:
- Fit easily over your head
- Rest comfortably around your neck
- Sit without pulling
- Leave enough room for layering
If the opening feels too tight, undo a small section of seam.
If it feels too loose, extend the seam slightly.
This is one advantage of a simple rectangle poncho: the neckline is easy to adjust.
Add a Simple Neckline Border
Join yarn anywhere around the neckline.
Round 1
Ch 1.
Work sc evenly around the entire opening.
Join with a sl st.
Round 2
Ch 1.
Work sc BLO in every stitch around.
Join.
Fasten off.
This adds a subtle finished border.
Optional Ribbed Collar
Want a warmer poncho?
Add several more rounds around the neckline.
Continue with:
sc BLO
for approximately:
2–3 inches
This creates a soft ribbed mock-neck collar.
For a taller collar, continue to approximately 4 inches.
Add Fringe
Fringe works especially well with the asymmetrical poncho shape.
Cut yarn strands approximately:
10–12 inches long
For each fringe section:
- Take two strands.
- Fold them in half.
- Insert your hook through the edge.
- Pull the folded loop through.
- Pull the loose ends through the loop.
- Tighten gently.
Repeat evenly along the lower edges.
Keep the Poncho Without Fringe
Fringe is completely optional.
Without fringe, the poncho has a cleaner modern look.
You can instead add one finishing row of:
sc
around the outer edge.
How to Make the Poncho Longer
For additional coverage, make the rectangle wider.
Instead of:
22 inches
try:
24–26 inches
This creates a deeper shoulder-to-hem measurement.
You’ll need additional yarn.
How to Make the Poncho Shorter
For a cropped poncho, reduce the rectangle width.
Try:
18–20 inches
This works well over:
- Dresses
- High-waisted jeans
- Long-sleeve tops
How to Make a Larger Poncho
Increase both dimensions.
For example:
24–26 inches wide
and
54–58 inches long
The key is preserving enough length for the neckline and drape.
How to Make a Smaller Poncho
Try a rectangle around:
20 inches × 44–46 inches
Before sewing permanently, pin the seam and try the poncho on.
That makes sizing much easier.
Made-to-Measure Method
If you don’t want to rely on standard measurements, you can customize the pattern.
Measure from approximately your collarbone to the point where you’d like the poncho to end.
That measurement becomes a useful guide for the rectangle width.
Then crochet the rectangle long enough to wrap and create the neckline comfortably.
Because rectangle ponchos are simple geometric garments, small changes in measurements are easy to make.
Best Yarn for a Crochet Poncho
Drape matters more in a poncho than in many small crochet accessories.
Choose yarn that does not create extremely stiff fabric.
Acrylic
Soft acrylic is:
- Affordable
- Easy to find
- Available in many colors
- Often machine washable
Choose a soft variety with good drape.
Wool Blends
Wool blends work especially well for cool-weather ponchos.
They can provide:
- Warmth
- Softness
- Elasticity
- Beautiful stitch definition
Cotton Blends
For a lighter transitional poncho, cotton blends can work beautifully.
They are especially useful for:
- Spring
- Cool summer evenings
- Early fall
Color Ideas
Solid colors show the ribbed texture especially well.
Try:
- Forest green
- Cream
- Camel
- Charcoal
- Burgundy
- Rust
- Mustard
- Sage
- Navy
- Chocolate brown
Make a Striped Poncho
Change colors every:
6–10 rows
for wide relaxed stripes.
Try:
Cream + camel
Forest green + sage
Burgundy + warm gray
Mustard + cream
Because the poncho is one rectangle, stripes are very easy to add.
Color-Block Poncho
Another beginner-friendly idea is to divide the rectangle into three large sections.
For example:
First third: forest green
Middle third: sage
Final third: cream
When folded, the blocks create an interesting asymmetrical effect.
Add a Decorative Border
You can add a border around the lower edge after assembly.
Try:
- Single crochet
- Reverse single crochet
- Shell edging
- Simple slip-stitch edging
Keep the border relatively light so the poncho retains its drape.
Make It More Boho
For a bohemian look, add:
- Long fringe
- Wooden beads
- Tassels
- Earthy colors
Colors such as:
- Rust
- Camel
- Olive
- Cream
- Mustard
work especially well.
Make It More Minimal
Skip the fringe.
Use a solid neutral yarn.
Finish the edges with one simple round of single crochet.
Good minimalist colors include:
- Cream
- Black
- Charcoal
- Taupe
- Camel
What to Wear With a Crochet Poncho
A relaxed poncho works well with:
- Jeans
- Leggings
- Boots
- Turtlenecks
- Long-sleeve shirts
- Simple dresses
Because the shape is loose, fitted bottoms often balance the silhouette nicely.
Why This Is a Great First Crochet Garment
Sweaters can require:
- Sleeve shaping
- Armholes
- Multiple sizes
- Increasing
- Decreasing
- Several pieces
This poncho avoids nearly all of that.
The main project is simply:
Crochet one rectangle.
Then:
Fold + seam + finish the neckline.
That makes it a manageable way to move from scarves and blankets into wearable crochet.
Common Beginner Mistakes
Losing Stitches
Count your stitches regularly.
You should have:
66 stitches per row
for the written pattern.
Forgetting BLO
Rows after the first are worked in the back loop only.
This creates the subtle ribbed texture.
Making the Fabric Too Stiff
If the crochet feels rigid, try:
- A larger hook
- Looser tension
- A softer yarn
Ponchos look best when the fabric drapes.
Seaming Before Checking the Fit
Always pin or mark the seam first.
Try the poncho on.
Then sew permanently.
Making the Neck Opening Too Small
Remember that the poncho must comfortably pass over your head.
Leave extra room if you’re unsure.
How Long Does a Crochet Poncho Take?
The project contains more crochet than a scarf or beanie, but the stitch pattern is extremely repetitive.
That makes it a good:
- Weekend project
- TV crochet project
- Relaxing evening project
Your exact time will depend on your experience and crochet speed.
Can Complete Beginners Make This Poncho?
If you already know:
- Chain
- Half double crochet
- Turning rows
then the main rectangle is very accessible.
The only new skill may be assembly.
Use stitch markers before sewing and take your time.
Can I Use Bulky Yarn?
Yes.
Bulky yarn will create a warmer and faster-growing poncho.
You’ll need:
- Fewer starting chains
- Fewer rows
- A larger hook
Instead of following the exact stitch counts, crochet to the finished measurements.
Can I Use DK Yarn?
Yes.
DK creates a lighter, more flowing poncho.
You’ll need more stitches and rows.
Again, use the target rectangle measurements rather than the written counts.
Can I Add Sleeves?
A traditional poncho does not need sleeves.
However, you can add small side seams near the lower edges to create more defined arm openings.
Leave enough room for comfortable movement.
Can I Turn This Into a Turtleneck Poncho?
Yes.
After finishing the neckline, continue crocheting rounds of:
sc BLO
until the collar reaches approximately:
6–8 inches
Fold the collar downward for a cozy turtleneck effect.
Make a Matching Fall Set
Use leftover yarn to make:
- Ribbed beanie
- Fingerless gloves
- Cowl
- Scarf
- Ear warmer
A poncho with matching fingerless gloves makes a beautiful handmade fall or winter set.
Washing Your Crochet Poncho
Always follow your yarn label.
In general:
- Wash gently.
- Avoid excessive heat.
- Support the garment when wet.
- Reshape it carefully.
- Lay flat to dry when recommended.
Avoid hanging a very wet poncho because the weight of the water may stretch the fabric.
Frequently Asked Questions
Is this poncho really made from one rectangle?
Yes. The main garment is one large rectangle that is folded and joined with one main seam.
Is there any complicated shaping?
No. The rectangle uses the same stitch count from beginning to end.
Is this beginner-friendly?
Yes. The main techniques are chains, half double crochet, BLO crochet, and basic seaming.
How do I make it larger?
Increase the rectangle width and length before assembly.
Can I skip the fringe?
Absolutely. Fringe is optional.
Can I make the neckline smaller?
Yes. Extend the main seam slightly or add more neckline edging.
Can I add a collar?
Yes. Continue crocheting around the neck opening to create a ribbed mock neck or turtleneck.
Final Thoughts
A crochet garment doesn’t need complicated shaping to look beautiful.
This easy crochet poncho pattern proves that one simple rectangle can become a comfortable, wearable layering piece with just a little folding and seaming.
The repetitive ribbed stitch makes the project relaxing enough for beginners, while the asymmetrical shape gives the finished poncho a stylish look.
Make it in forest green for cozy fall outfits, cream for a neutral wardrobe staple, or rust and mustard for a warm autumn aesthetic.
Add fringe for a boho finish or leave the edges simple for a clean modern style.
Once you’ve made your first rectangle poncho, you’ll see how approachable crochet garments can be.
Save this one-rectangle beginner crochet poncho pattern for your next cozy wearable project!
SEO
Primary keyword: easy crochet poncho pattern
Secondary keywords: crochet poncho pattern for beginners, one rectangle crochet poncho, beginner crochet poncho, free crochet poncho pattern, easy crochet garment, rectangle poncho, fall crochet pattern, crochet poncho women
Slug: easy-crochet-poncho-pattern
Meta description: Make an easy crochet poncho from one simple rectangle. This beginner-friendly free pattern uses basic stitches, minimal seaming, and an adjustable fit.