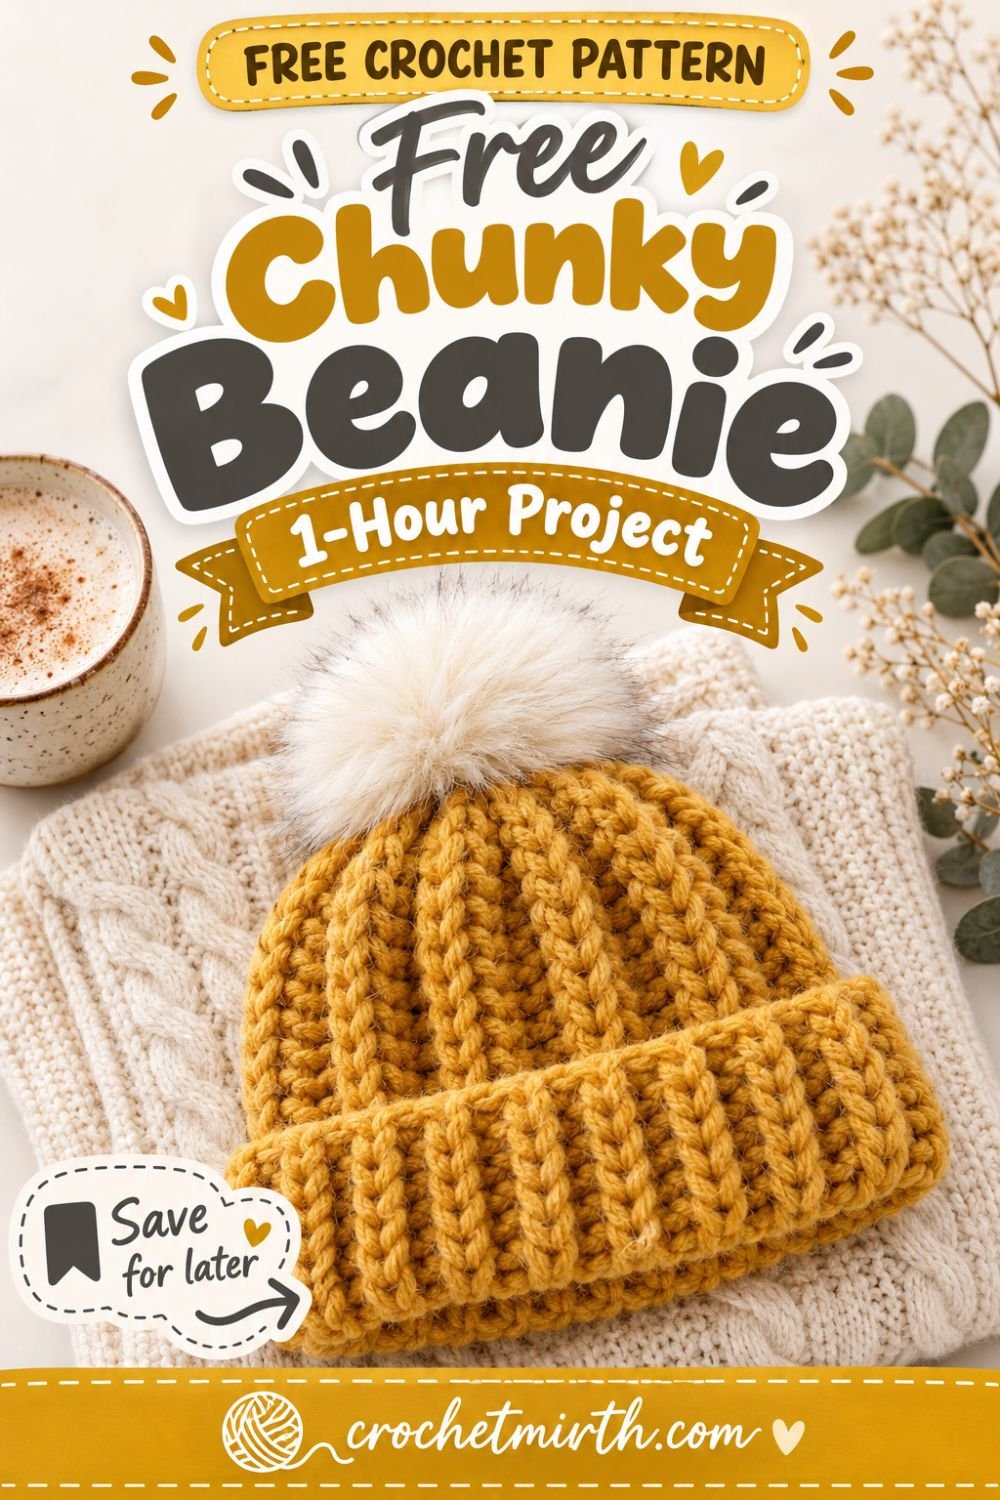
Free Chunky Ribbed Crochet Beanie Pattern: Easy 1-Hour Project
As the autumn air turns crisp and winter approaches, it is officially beanie season! If you are looking through crochet ideas for the perfect cozy weekend project, this Free Chunky Ribbed Crochet Beanie Pattern is exactly what you need.
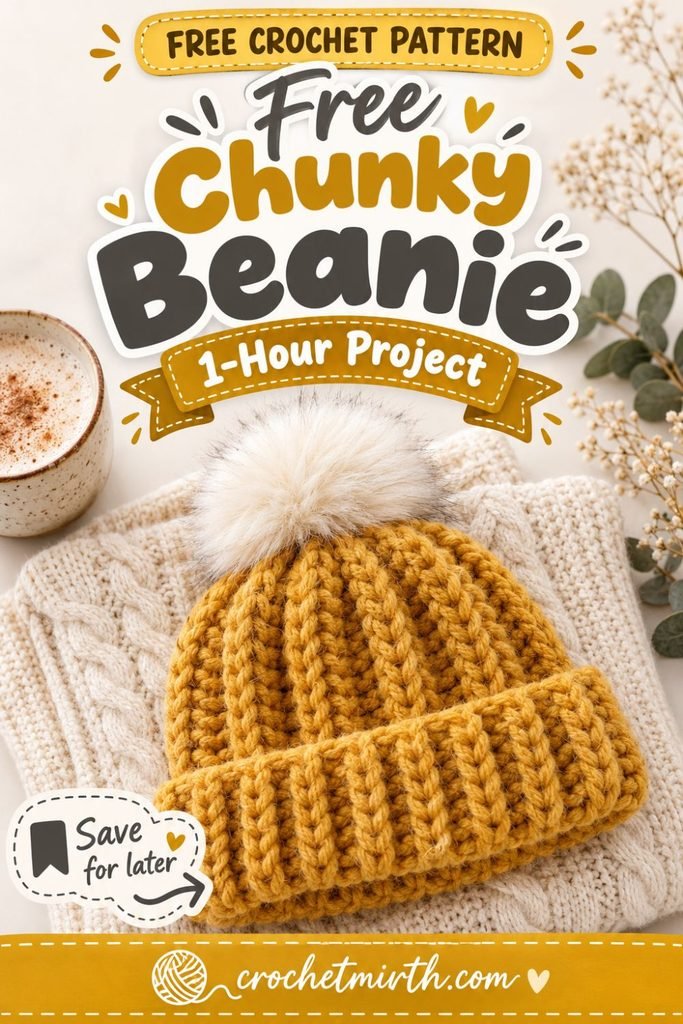
This pattern is a massive favorite in the crochet community because it looks like a sophisticated, store-bought knitted hat, but it is actually 100% crochet. The best part? There is no crocheting in the round, no increasing, and no decreasing.
You simply crochet a flat rectangle, seam the sides together, and cinch the top closed! It is the ultimate beginner crochet project and makes a fantastic quick handmade holiday gift.
The Secret to the “Knit-Look” Ribbing
How do we make crochet look like knitting? The secret lies in one simple technique: working in the Back Loop Only (BLO).
By inserting your hook only into the back loop of the stitches from the previous row, you push the front loop forward, creating a deep, stretchy, beautiful ridge.
Materials You Will Need
To make this a quick “1-hour project”, we are using chunky yarn.
- Yarn: 1 skein (approx. 130-150 yards) of Bulky Weight (Size 5) yarn. (Acrylic or a wool-blend is perfect for warmth).
- Crochet Hook: 6.5 mm (K) hook.
- Tools: A large-eye tapestry needle, measuring tape, and scissors.
- Accent: A faux-fur pom-pom (most come with a small elastic loop or snap for easy attaching).
Sizing and Measurements (Adult Woman)
This pattern is written for a standard adult woman’s head (fits a 21-22 inch head circumference).
- Height (Chain length): Approximately 11 inches tall (This allows for a nice, thick 2.5-inch folded brim).
- Width (Number of rows): Approximately 18 to 19 inches wide. The ribbing is very stretchy, so making the hat slightly smaller than the actual head size ensures it will stay on securely!
Want to change the size? Simply chain less for a child’s hat, or crochet fewer rows for a smaller head circumference.
Abbreviations (US Terms)
- ch: chain
- hdc: half double crochet
- BLO: Back Loop Only
- sl st: slip stitch
- st(s): stitch(es)
The Easy Crochet Beanie Pattern
Step 1: Crocheting the Flat Rectangle
Remember to keep a measuring tape handy!
Foundation Row: Leave a 6-inch yarn tail. Chain 36 (or enough chains to reach exactly 11 inches long).
Row 1: Hdc in the 2nd chain from the hook, and hdc in each chain across. (35 sts).
Row 2: Ch 1, turn your work. Hdc in the Back Loop Only (BLO) of the first stitch, and in the BLO of each stitch across. (35 sts).
Rows 3 and Onward: Repeat Row 2 until your rectangle measures approximately 18.5 to 19 inches wide when laid flat (unstretched). Do not fasten off!
Step 2: Seaming the Beanie
Now, fold your rectangle in half so the two short ends meet. We are going to seam them together to form a tube.
Ch 1. Insert your hook into the stitch closest to you, and through the original foundation chain on the other side. Slip stitch them together.
Slip stitch evenly all the way down the side. Because we are slip stitching, this seam will look exactly like another ribbed ridge and will be completely invisible!
Once you reach the end, fasten off, leaving an extra-long yarn tail (about 24 inches) for closing the top.
Step 3: Cinching the Top Closed
Thread your tapestry needle with the extra-long yarn tail you just left.
Weave the needle in and out of the edge of the rows around the top opening of your hat (doing a simple running stitch).
Once you have gone all the way around, pull the yarn tightly to cinch the top of the hat completely closed (like a drawstring bag).
Sew a few extra stitches back and forth across the cinched hole to make sure it is completely secure, and tie a strong knot.
Step 4: Add the Pom-Pom!
Turn your hat inside out so the slip-stitch seam is hidden inside. Fold up the bottom 2.5 inches to create a warm double-thick brim.
Finally, attach your faux fur pom-pom to the top center! If your pom-pom has an elastic loop, simply sew a button inside the top of the hat, and pull the elastic loop through to secure it around the button (this makes it removable for washing!).
You are finished! If you loved this free crochet beanie pattern, be sure to Save it to your Pinterest boards so you can make one in every color this winter! What color is your beanie? Let me know below!
Happy Crocheting! ❄️🧶