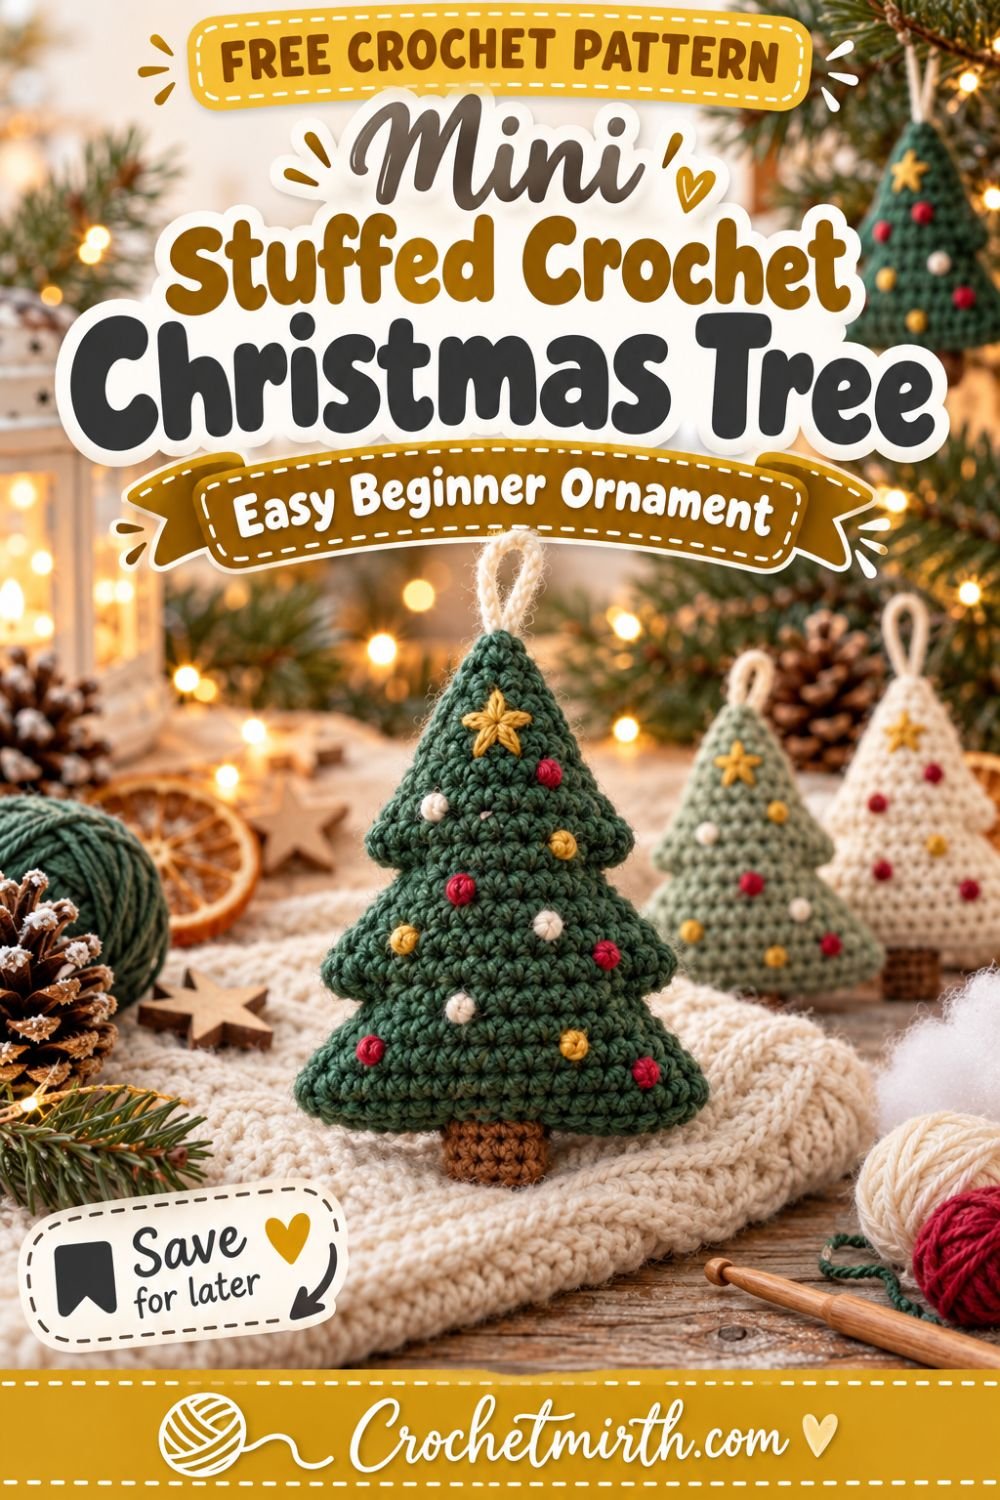
Mini Stuffed Crochet Christmas Tree Ornament – Easy Beginner Pattern
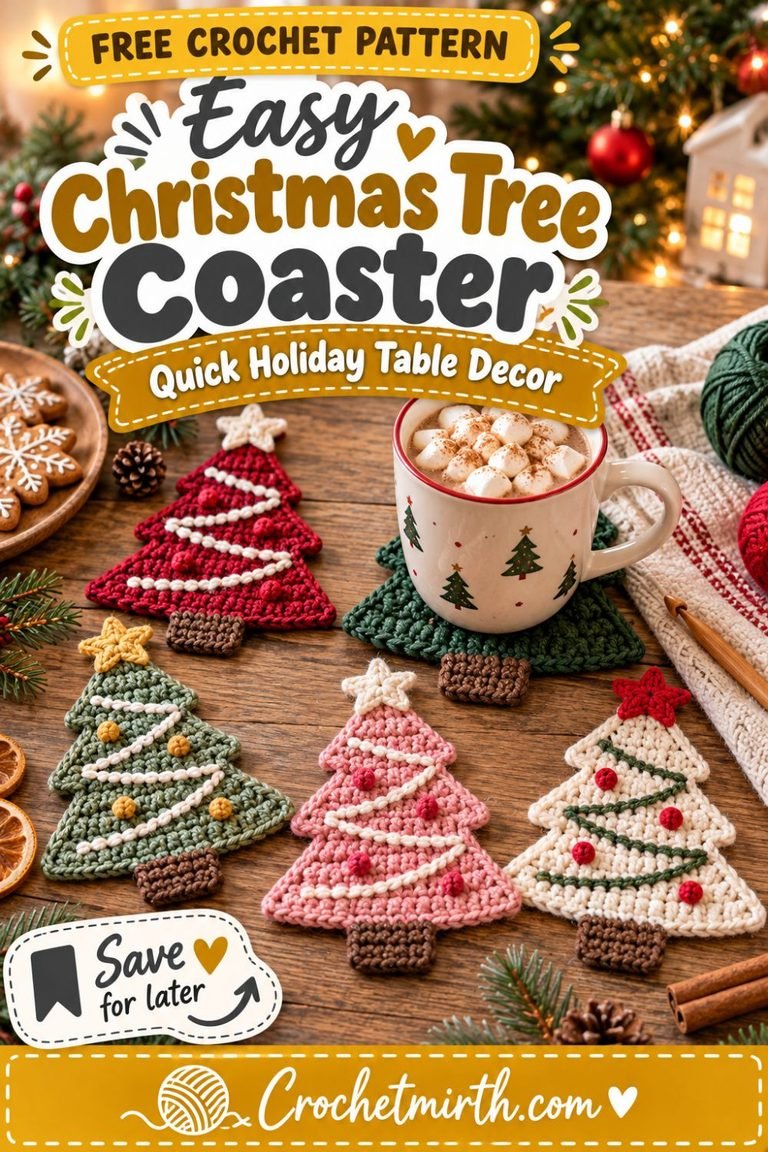
Add a little handmade dimension to your Christmas tree with this mini stuffed crochet Christmas tree ornament.
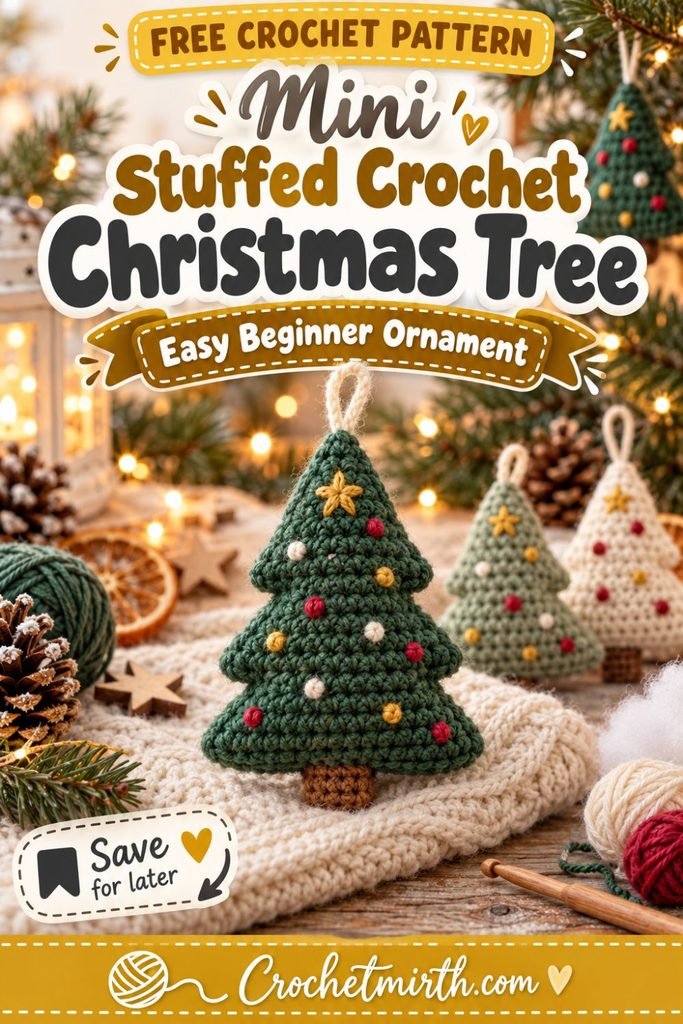
Unlike a flat crochet tree applique, this version is made from two matching crochet panels that are joined around the edges and lightly filled with stuffing.
That simple construction creates a soft three-dimensional ornament without requiring complicated amigurumi shaping.
You’ll crochet:
- 2 tree panels
- 1 tiny trunk
- 1 hanging loop
Then you’ll add a small amount of fiberfill before closing the ornament.
The finished tree is cute, lightweight, beginner-friendly, and perfect for using leftover Christmas yarn.
Why You’ll Love This Stuffed Christmas Tree
This pattern is:
- Beginner-friendly
- Lightly stuffed
- Made from simple flat panels
- Easy to assemble
- Quick to crochet
- Great for scrap yarn
- Easy to customize
- Lightweight for a Christmas tree
- Cute as a gift topper
- Perfect for holiday garlands
You get the look of a small amigurumi ornament without having to crochet a complicated three-dimensional tree in continuous rounds.
Skill Level
Beginner / Easy
You should know how to:
- Chain
- Single crochet
- Single crochet two together
- Turn your work
- Join yarn
- Work around an edge
- Sew simple pieces
- Fasten off
- Weave in ends
Materials
Main Yarn
Use approximately:
20–30 yards of Category 3 DK-weight yarn
in forest green.
You can also use:
- Sage
- Cream
- Cranberry
- Dusty blue
- Warm beige
Trunk Yarn
Use a very small amount of brown DK yarn.
Try:
- Cinnamon brown
- Camel
- Taupe
- Chocolate brown
Decorative Yarn
Optional small scraps in:
- Cream
- Cranberry red
- Mustard gold
Use these for embroidered decorations.
Stuffing
A small amount of:
polyester fiberfill
You only need enough to give the ornament gentle dimension.
Do not overstuff.
Crochet Hook
3.5 mm crochet hook
A firm but flexible fabric helps prevent stuffing from showing through.
Other Supplies
- Yarn needle
- Scissors
- Stitch markers
- Small amount of fiberfill
Crochet Abbreviations
This pattern uses US crochet terminology.
ch – chain
sc – single crochet
sc2tog – single crochet two together
sl st – slip stitch
st – stitch
sts – stitches
Finished Size
The finished tree measures approximately:
4–4½ inches tall
excluding the hanging loop.
Approximate width:
3½–4 inches
The final size varies with yarn and tension.
Construction Overview
You’ll make:
Tree Panel A
and
Tree Panel B
using exactly the same instructions.
Then you’ll:
- Add optional embroidery to Panel A.
- Place both panels together.
- Crochet or sew around the edges.
- Add the trunk.
- Insert a small amount of stuffing.
- Finish closing the tree.
- Add the hanging loop.
PART 1: MAKE THE FIRST TREE PANEL
Using forest-green yarn:
Ch 19.
Row 1
Sc in the second chain from the hook.
Sc across.
18 sts
Ch 1 and turn.
Row 2
Sc2tog over the first 2 stitches.
Sc across until 2 stitches remain.
Sc2tog.
16 sts
Ch 1 and turn.
Row 3
Sc across.
16 sts
Ch 1 and turn.
Row 4
Sc2tog.
Sc across until 2 stitches remain.
Sc2tog.
14 sts
Ch 1 and turn.
Row 5
Sc across.
14 sts
Ch 1 and turn.
Row 6
Sc2tog.
Sc across until 2 stitches remain.
Sc2tog.
12 sts
Ch 1 and turn.
Row 7
Sc across.
12 sts
Ch 1 and turn.
Row 8
Sc2tog.
Sc across until 2 stitches remain.
Sc2tog.
10 sts
Ch 1 and turn.
Row 9
Sc across.
10 sts
Ch 1 and turn.
Row 10
Sc2tog.
Sc across until 2 stitches remain.
Sc2tog.
8 sts
Ch 1 and turn.
Row 11
Sc across.
8 sts
Ch 1 and turn.
Row 12
Sc2tog.
Sc across until 2 stitches remain.
Sc2tog.
6 sts
Ch 1 and turn.
Row 13
Sc across.
6 sts
Ch 1 and turn.
Row 14
Sc2tog.
Sc across until 2 stitches remain.
Sc2tog.
4 sts
Ch 1 and turn.
Row 15
Sc across.
4 sts
Ch 1 and turn.
Row 16
Sc2tog twice.
2 sts
Ch 1 and turn.
Row 17
Sc2tog.
1 st
Fasten off.
Your first triangle tree panel is complete.
PART 2: MAKE THE SECOND TREE PANEL
Repeat Rows 1–17 exactly.
You should now have:
2 identical green tree panels
Lay them on top of each other to check the shape.
Minor differences can usually be corrected during assembly.
Optional: Create Layered Branch Edges
If you’d like the tree to look a little more evergreen-like, add a simple decorative edge to the front panel.
Join green yarn approximately one-third of the way down one side.
Work:
sl st, ch 2, sl st
periodically along the edges.
Keep these loops small.
You don’t need to cover the entire tree.
The goal is only to suggest little branch tips.
PART 3: EMBROIDER SIMPLE ORNAMENTS
Before joining the two panels, decorate only the front panel.
Using a yarn needle, make tiny embroidered dots or short crosses.
Try:
- 3 cranberry red
- 2 cream
- 2 mustard gold
Space them naturally across the tree.
Keep the Decorations Flat
For an ornament like this, yarn embroidery is ideal because it:
- Adds color
- Keeps the surface soft
- Doesn’t add much weight
- Avoids loose plastic embellishments
Embroidered Star
Using mustard-gold yarn:
Make several small straight stitches near the upper center of the tree.
Cross them to suggest a tiny star.
Keep the design simple.
PART 4: CROCHET THE TRUNK
Using brown yarn:
Ch 5.
Row 1
Sc in second chain from hook.
Sc across.
4 sts
Ch 1 and turn.
Rows 2–4
Sc across.
4 sts
Fasten off.
Leave a long sewing tail.
Attach the Trunk
Place the trunk behind the lower center of the front panel.
Approximately:
¾–1 inch
should extend below the tree.
Sew the upper part of the trunk securely to the back of the front panel.
The joining stitches will later help hold it between both tree layers.
PART 5: JOIN THE TREE PANELS
Place both panels together with the wrong sides facing inward.
The decorated panel should face outward.
Align:
- Top point
- Side edges
- Bottom edge
Use stitch markers if needed.
Join With Single Crochet
Join forest-green yarn at one lower corner.
Ch 1.
Sc through both panels around the edge.
Work slowly so your hook passes through corresponding rows of both pieces.
Work Up the First Side
Sc evenly toward the top point.
At the very top:
Work:
3 sc
to help preserve the point.
Work Down the Second Side
Continue sc evenly through both panels.
Stop when you reach the lower edge.
Do not close the entire bottom yet.
Leave an opening approximately:
1½–2 inches wide
for stuffing.
PART 6: STUFF THE TREE
Take a small amount of fiberfill.
Gently pull it apart with your fingers before inserting it.
This helps prevent lumps.
Add Small Amounts at a Time
Insert stuffing through the opening.
Push a little toward:
- Top point
- Left side
- Right side
Use the blunt end of your crochet hook carefully if necessary.
Do Not Overstuff
The tree should be:
softly dimensional
not:
firm like a plush toy
Overstuffing can:
- Distort the triangular shape
- Stretch the stitches
- Make the ornament too heavy
- Cause stuffing to show
Check the Shape
Before closing, hold the tree upright.
The front should have a soft rounded appearance.
The edges should remain recognizable as a Christmas tree.
Add or remove stuffing if needed.
Close the Opening
Continue working sc through both panels across the remaining bottom edge.
Crochet carefully around the trunk so it remains centered.
Join to the first stitch.
Fasten off.
Weave in the yarn securely.
PART 7: ADD THE HANGING LOOP
Join cream or green yarn at the tree point.
Ch approximately:
18–22
Bring the chain back to the tree point.
Sl st into the same area.
Fasten off.
Weave in the ends.
Your Stuffed Christmas Tree Is Finished
You should now have:
- Soft triangular tree body
- Slight three-dimensional thickness
- Brown trunk
- Embroidered decorations
- Hanging loop
Gently shape it with your hands.
Forest Green Classic Version
Use:
Forest-green tree
Brown trunk
Red, cream, and gold embroidery
This gives the ornament a traditional Christmas appearance.
Sage Green Version
Make the main tree in:
Muted sage
Decorate with:
- Cream
- Burgundy
- Soft gold
This works beautifully with modern neutral Christmas decor.
Cream Christmas Tree
Use warm cream yarn.
Add:
Forest-green embroidered dots
and a:
Mustard star
This gives the ornament a Scandinavian-inspired appearance.
Cranberry Tree
Make the whole tree in cranberry red.
Use:
Cream embroidery
and a:
Brown trunk
This creates a bold accent ornament.
Make a Set of Three
Crochet:
- Forest green
- Sage green
- Warm cream
Keep the trunks brown.
Use the same embroidery colors on all three.
This creates a coordinated handmade ornament set.
Make a Set of Five
Try:
- 2 forest green
- 1 sage
- 1 cream
- 1 cranberry
Hang them across different parts of your Christmas tree.
Mini Version
For a smaller ornament:
Use:
Sport-weight yarn
with a smaller hook.
Or reduce the starting chain from:
19 to 15
Then adjust the decreases until you reach one stitch.
Larger Stuffed Tree
Use:
Worsted-weight yarn
and approximately:
4–4.5 mm hook
The ornament will become larger and more plush.
Chunky Tree Decoration
With bulky yarn, the same idea can become a:
- Mantel decoration
- Door-handle ornament
- Gift decoration
- Mini plush tree
For a Christmas tree ornament, lighter yarn is generally more practical.
Make It Without Decorations
A plain forest-green stuffed tree can look beautiful.
The crochet texture and three-dimensional shape provide enough interest on their own.
Add Snow
Using white or cream yarn:
Embroider a few short horizontal stitches near the branch edges.
This gives the tree a snowy appearance.
Add a Garland
Using cream yarn:
Embroider a loose zigzag line across the front.
Keep it flat.
Then add tiny colored stitches around it.
Add a Crochet Star
If you want more dimension, crochet a tiny flat star separately and sew it securely to the front.
For the easiest version, embroidery is faster.
Make It Into a Gift Topper
Instead of adding a long hanging loop, attach the ornament to:
- Kraft paper
- Gift bag
- Christmas box
After opening the gift, the recipient can reuse it on the tree.
Use It as a Stocking Decoration
Attach one stuffed tree securely near the upper corner of a Christmas stocking.
Because it is padded, it adds a nice dimensional detail.
Make a Garland
Crochet several stuffed trees.
Instead of adding individual loops, attach them along a strong crochet chain.
Leave approximately:
6–8 inches
between trees.
Because the ornaments are stuffed, keep the chain sturdy.
Mix With Other Crochet Ornaments
Create a handmade Christmas garland using:
- Stuffed trees
- Snowflakes
- Mini wreaths
- Crochet bows
- Mini stockings
Use a consistent color palette to make everything look coordinated.
Best Yarn for Stuffed Ornaments
DK Acrylic
Acrylic is:
- Lightweight
- Affordable
- Soft
- Easy to find
It works very well for a small stuffed ornament.
DK Cotton
Cotton creates:
- Crisp stitches
- More structure
- Less stretch
- A clean finish
It’s especially good if you want a more defined tree shape.
Wool Blend
A soft wool blend creates a slightly fuzzy, cozy appearance.
Choose a smooth yarn so you can still see your stitches clearly.
Why Use a Smaller Hook?
Stuffed crochet pieces benefit from a relatively firm fabric.
If your stitches are too loose:
- Fiberfill may show
- The tree may stretch
- Shape may become uneven
Going down slightly in hook size creates a denser surface.
How Much Stuffing Do You Need?
Very little.
For a 4-inch ornament, a small handful is usually enough.
The finished tree should remain lightweight.
Can I Use Yarn Scraps as Stuffing?
For a small decoration, clean yarn scraps can sometimes be used.
Cut them into small pieces and distribute them evenly.
Fiberfill generally creates a smoother result.
Important: Decoration, Not Baby Toy
This project is intended as a Christmas decoration, not as a toy for babies or small children.
Keep ornaments containing stuffing, hanging loops, or decorative details out of reach of young children and pets.
Batch-Making Method
If you’re making several:
Step 1
Crochet all front panels.
Step 2
Crochet all back panels.
Step 3
Embroider all fronts.
Step 4
Make all trunks.
Step 5
Join each pair.
Step 6
Stuff.
Step 7
Close and add loops.
Batching the steps makes multiple ornaments easier to produce.
Handmade Christmas Gift Idea
Make:
3 mini stuffed trees
in:
- Forest green
- Sage
- Cream
Place them inside a small kraft gift box.
Add tissue paper and ribbon.
This makes a sweet handmade hostess gift.
Craft Fair Idea
Stuffed ornaments can stand out because they have more dimension than flat appliqués.
Display them:
- Hanging individually
- In sets of three
- Mixed with other crochet ornaments
Calculate selling prices based on your materials, labor, packaging, and local market.
Common Beginner Mistakes
Making the Two Panels Different Sizes
Count stitches carefully.
Lay the panels together before decorating.
Overstuffing
This is the most common issue.
Use less stuffing than you think you need.
Stuffing Showing Through
If fiberfill is visible, your stitches may be too loose.
Try:
- Smaller hook
- Firmer tension
- Less stuffing
Uneven Joining
Match corresponding rows of the front and back panels as you crochet around.
Crooked Trunk
Mark the center of the lower edge before sewing the trunk.
Hanging Loop Off-Center
Attach the loop directly at the top point.
Otherwise, the ornament may hang sideways.
Decorations Too Heavy
Keep embellishments light and flat.
Yarn embroidery works especially well.
Blocking Before Stuffing
If your panels curl significantly, lightly block them before assembly.
Allow them to dry completely before adding stuffing.
Washing the Ornament
If necessary:
- Follow the yarn care instructions.
- Hand wash gently.
- Avoid soaking for long periods.
- Press out excess water without twisting.
- Reshape.
- Let dry completely.
Because the ornament contains stuffing, drying thoroughly is important before storage.
Storage After Christmas
Place the ornaments in a shallow box.
Avoid crushing them beneath heavy decorations.
Make sure they’re completely dry before storing.
Frequently Asked Questions
Is this worked in the round?
No. Two flat tree panels are crocheted separately and then joined.
Is it beginner-friendly?
Yes. It uses basic single crochet and simple decreases.
Is stuffing required?
Only a small amount. You can also leave the tree flat if preferred.
How large is the ornament?
Approximately 4–4½ inches tall.
Can I use scrap yarn?
Yes. The pattern requires only small amounts of yarn.
Can I make it larger?
Yes. Use thicker yarn or increase the panel dimensions.
Can I add beads?
For the simplest lightweight version, embroidered yarn decorations are preferable.
Can I make a garland?
Yes. Make several trees and connect them along a sturdy crochet chain.
Final Thoughts
A little stuffing can completely change the look of a simple crochet Christmas tree.
This mini stuffed crochet Christmas tree ornament starts with two easy triangular panels.
Join them together.
Add a small amount of fiberfill.
Finish with a trunk, hanging loop, and a few embroidered Christmas details.
The result is soft and dimensional without requiring complicated amigurumi construction.
Make one in traditional forest green, create a neutral cream-and-sage set, or use your Christmas yarn scraps to crochet several different trees.
Hang them on your tree, add them to wrapped gifts, or combine them with bows, wreaths, and snowflakes for a complete handmade Christmas ornament collection.
Save this easy stuffed Christmas tree ornament pattern for your holiday crochet list!