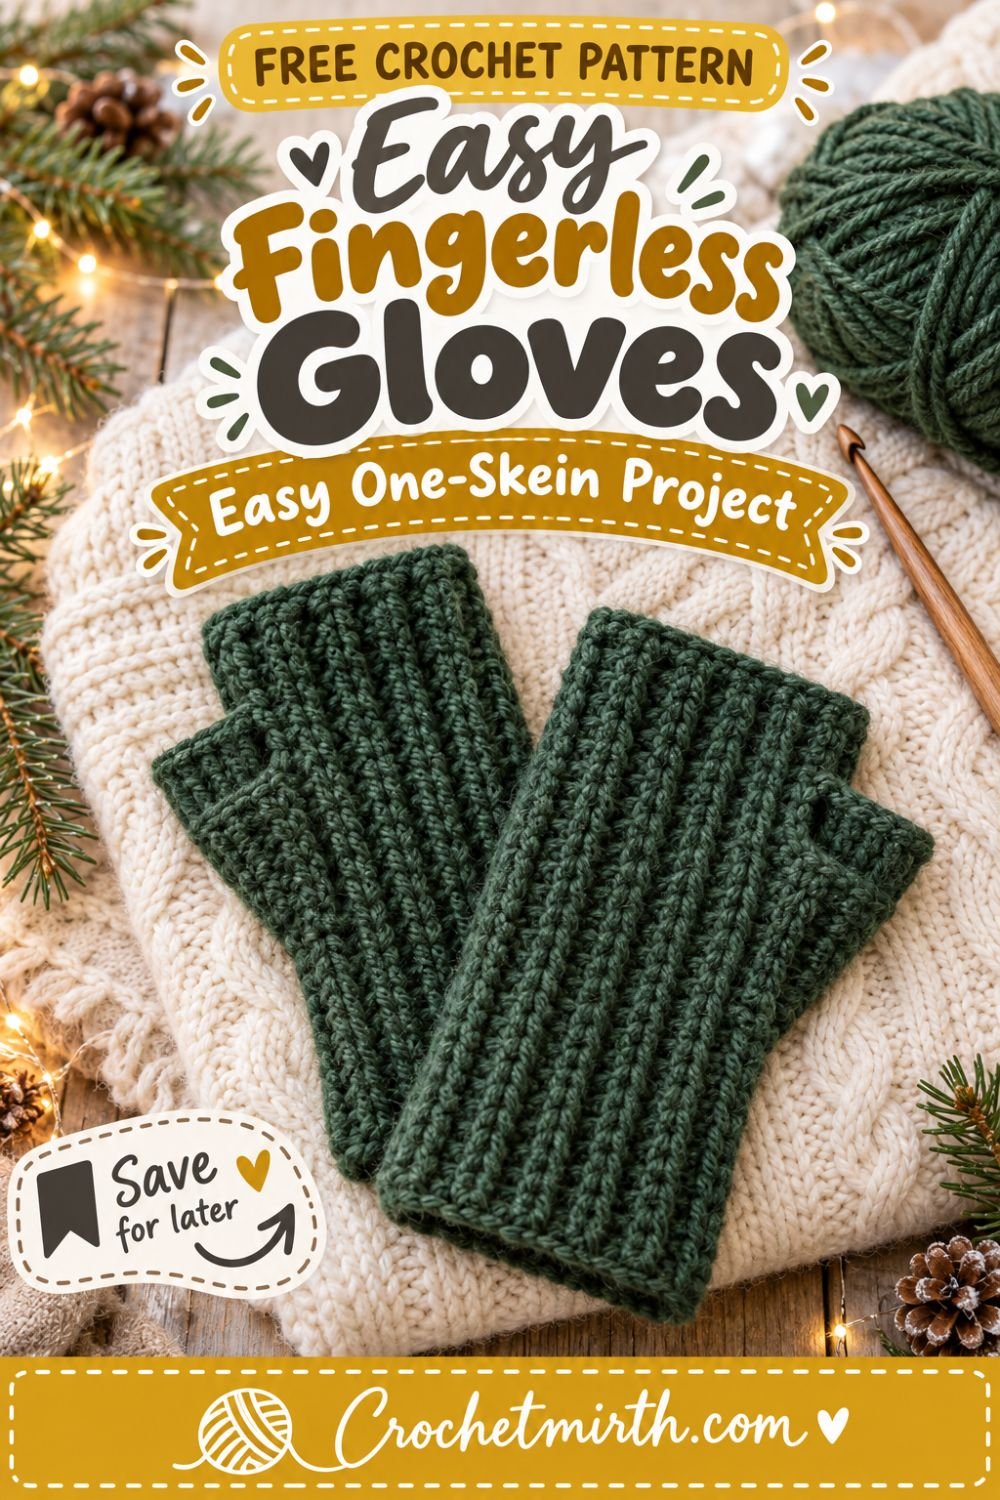
Crochet Fingerless Gloves Pattern with Thumb Hole – Easy One-Skein Project
Want to make a cozy winter accessory without tackling complicated fingers, shaping, or thumb gussets?
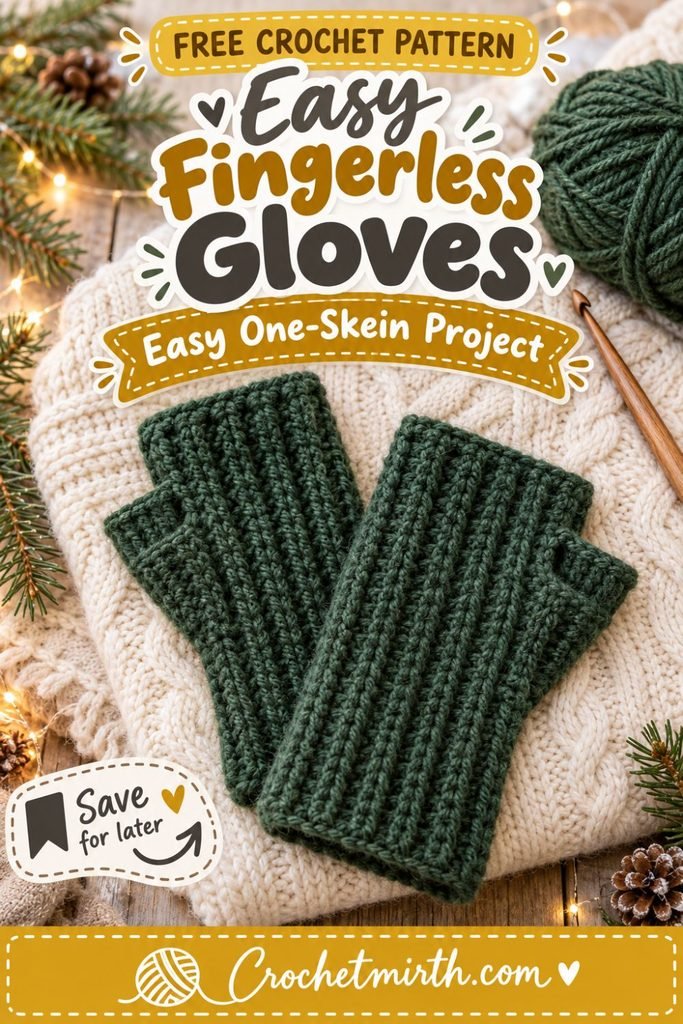
This crochet fingerless gloves pattern is designed to keep things simple.
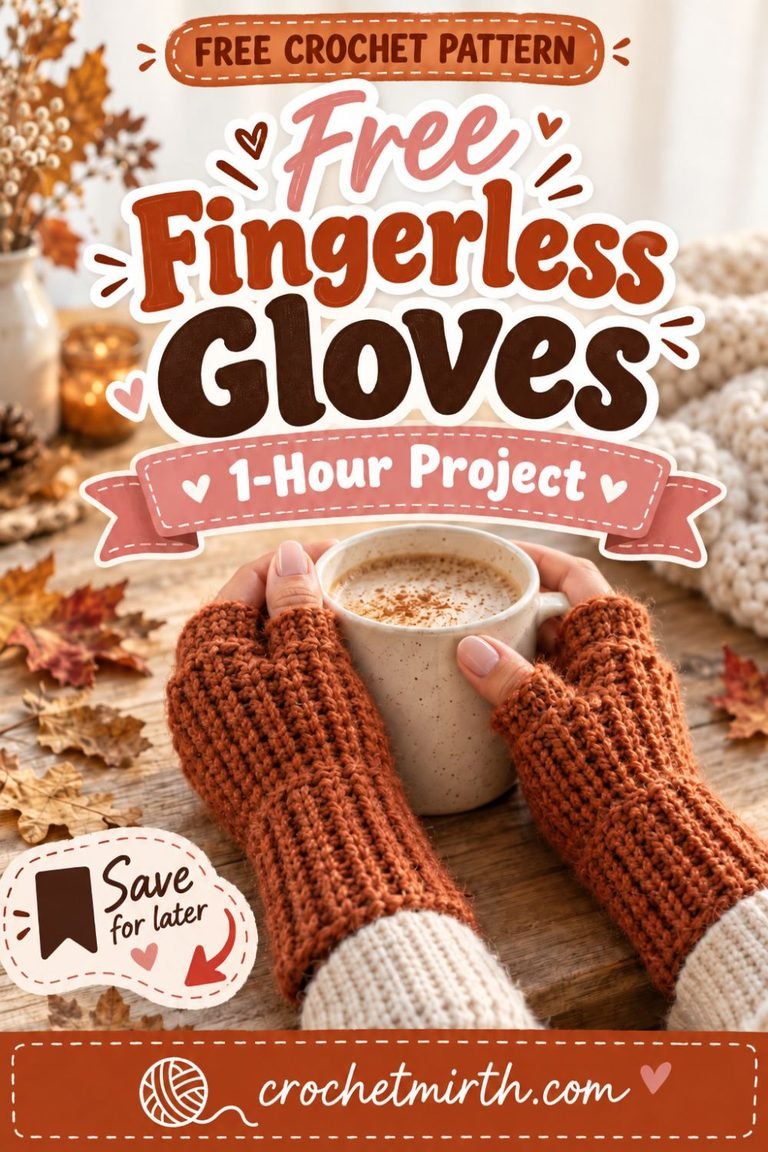
Each glove begins as an easy ribbed rectangle worked flat in rows. Once your rectangle reaches the right size, you fold it and sew the edges together while leaving a small opening for your thumb.
That’s all the shaping you need.
The ribbed crochet fabric stretches comfortably around the hand and wrist, while your fingers remain free for texting, typing, driving, crocheting, or holding a warm cup of coffee.
Even better, you can make an entire pair with approximately one skein of worsted-weight yarn, making these gloves a practical project for handmade gifts and leftover yarn.
Why You’ll Love These Fingerless Gloves
This pattern is:
- Beginner-friendly
- Worked completely flat
- Made from simple rectangles
- A one-skein crochet project
- Easy to resize
- Warm without covering your fingers
- Great for texting and typing
- Perfect for handmade Christmas gifts
- Quick compared with full crochet mittens
- Made without complicated thumb shaping
If you’ve already made a scarf or washcloth, this is a great next wearable project.
Skill Level
Beginner
You should know how to:
- Make a slip knot
- Chain
- Half double crochet
- Work into the back loop
- Sew a simple seam
- Fasten off
- Weave in yarn ends
No increases or complicated decreases are required.
Materials
Yarn
Approximately 150–180 yards of worsted-weight yarn, Category 4
One standard skein is usually plenty for an adult pair.
Choose a soft yarn that feels comfortable against your hands.
Good choices include:
- Acrylic
- Wool
- Merino blend
- Acrylic/wool blend
- Soft washable yarn
Crochet Hook
5.0 mm crochet hook
Adjust the hook size if necessary to obtain the correct gauge.
Other Supplies
- Yarn needle
- Scissors
- Measuring tape
- Stitch markers, optional
Crochet Abbreviations
This pattern uses US crochet terminology.
ch – chain
hdc – half double crochet
st – stitch
sts – stitches
BLO – back loop only
Finished Size
This pattern is written for an approximate Adult Medium.
Each glove measures approximately:
Length: 8 inches
Circumference: approximately 7½–8 inches before stretching
Thumb opening: approximately 1¾–2 inches
The ribbed fabric is stretchy and should fit comfortably around the hand.
Gauge
Approximately:
13 hdc = 4 inches
9 rows = 4 inches
Because these gloves stretch, exact gauge is not as critical as it would be for a fitted sweater.
However, checking your measurements before seaming is recommended.
How These Fingerless Gloves Are Made
There are only three main steps:
- Crochet a ribbed rectangle.
- Fold the rectangle around your hand.
- Seam the side while leaving an opening for the thumb.
You’ll repeat the same pattern for the second glove.
There is no separate thumb piece.
Why Back Loop Crochet Works So Well
When you look at the top of a crochet stitch, you’ll see two loops.
For this pattern, you’ll work only through the back loop.
This creates raised ridges across your rectangle.
Once the rectangle is wrapped around your hand, those ridges create a beautiful stretchy ribbed texture.
The ribbing gives the gloves a cozy knit-like appearance while helping them fit different hand sizes.
Free Crochet Fingerless Gloves Pattern
Make 2.
Foundation Chain
Ch 26.
Row 1
Hdc in the second chain from the hook.
Hdc in each remaining chain across.
25 sts
Ch 1 and turn.
Row 2
Working in the back loop only, hdc in each stitch across.
25 sts
Ch 1 and turn.
Rows 3–18
Repeat Row 2.
You should have approximately 18 rows total.
Your rectangle should measure approximately:
8 inches long
and
7½–8 inches wide
Do not fasten off immediately.
Check the Fit
Before seaming, wrap the rectangle around your hand.
The ribbed rows should run vertically from the wrist toward the fingers when worn.
The edges should meet comfortably without needing to stretch excessively.
The fabric should feel snug but not tight.
If your glove is too small:
Add one or two more rows.
If it feels too loose:
Remove one or two rows.
Once you’re happy with the fit, fasten off leaving a long tail for sewing.
Fold the Glove
Lay the rectangle flat.
Bring the first row and final row together.
The rectangle will now form a tube around your hand.
Make sure the ribbing is positioned the way you want it.
Create the Thumb Hole
Before sewing, place the folded rectangle around your hand.
Use stitch markers to mark where your thumb naturally sits.
For an average adult hand, the thumb opening can be approximately:
1¾–2 inches long
A simple placement is:
- Seam approximately 1½ inches from the finger edge
- Leave approximately 2 inches open for the thumb
- Seam the remaining section down to the wrist
Try the glove on before permanently securing the seam.
Seam the Top Section
Thread the long yarn tail onto your yarn needle.
Starting at the finger edge, sew the two sides together for approximately:
1½ inches
Use:
- Whip stitch
- Mattress stitch
- Or another simple seam
Secure the yarn.
Leave the Thumb Opening
Do not sew the next approximately:
1¾–2 inches
This opening becomes the thumb hole.
Seam the Wrist Section
Resume sewing below the thumb opening.
Continue all the way to the wrist edge.
Secure the yarn firmly and weave in the end.
Your first fingerless glove is now formed.
Finish the Thumb Hole
The simple opening can be left exactly as it is.
If you want a cleaner finished edge, join yarn anywhere around the thumb opening.
Ch 1.
Work sc evenly around the opening.
Join with a slip stitch.
Fasten off.
Be careful not to add too many stitches or the thumb opening may flare outward.
Optional Finger Edge
You can also finish the upper edge.
Join yarn at the seam.
Ch 1.
Work one round of sc evenly around the finger opening.
Join.
Fasten off.
This creates a clean, polished edge.
Optional Wrist Edge
Repeat the same process around the wrist if desired.
A round of single crochet can make the gloves look more finished while helping the edge hold its shape.
Make the Second Glove
Repeat the same instructions.
The simple rectangle construction is symmetrical, so you don’t need separate left-hand and right-hand patterns.
Make sure the second rectangle has the same:
- Stitch count
- Number of rows
- Thumb opening size
- Seam placement
as the first one.
How to Adjust the Glove Length
The starting chain controls the total glove length.
Want shorter wrist warmers?
Start with fewer chains.
Want longer gloves that extend farther up your arm?
Add more chains.
For example:
Short Style
Aim for approximately:
6½–7 inches
Classic Style
Aim for:
8 inches
Long Wrist Warmers
Try:
9–11 inches
Remember that your stitch count will change when you alter the starting chain.
How to Adjust the Circumference
The number of rows determines how wide the glove is around your hand.
For smaller hands:
Make fewer rows.
For larger hands:
Add more rows.
The easiest method is to wrap the rectangle around your hand before fastening off.
Approximate Hand Sizing
Use these measurements only as a starting point.
Always check the fit whenever possible.
Small
Hand circumference:
Approximately 6½–7 inches
Make the rectangle slightly smaller because the ribbing stretches.
Medium
Hand circumference:
Approximately 7–8 inches
The written pattern should work well as a starting point.
Large
Hand circumference:
Approximately 8–9 inches
Add rows until the rectangle fits comfortably.
How Big Should the Thumb Hole Be?
For many adults, approximately:
1¾–2 inches
works well.
However, everyone is different.
The best method is to try the unfinished glove around your hand and mark the exact placement.
The thumb should move comfortably without the opening stretching excessively.
Make the Gloves More Fitted
If your finished gloves feel loose, try:
- Removing 1–2 rows
- Using a slightly smaller hook
- Choosing yarn with good recovery
- Adding a snug single crochet border around the wrist
Make Them More Relaxed
For a looser fit:
- Add 1–2 rows
- Use a slightly larger hook
- Avoid making the finishing borders too tight
Best Yarn for Fingerless Gloves
Acrylic
Acrylic yarn is:
- Affordable
- Easy to find
- Often machine washable
- Available in many colors
It’s a practical choice for everyday gloves.
Wool
Wool provides excellent warmth.
It can be especially useful for cold winter weather.
Wool Blends
Wool blends combine warmth with properties such as:
- Softness
- Durability
- Easier washing
They are excellent for handmade winter gifts.
One-Skein Project
One of the advantages of fingerless gloves is that they don’t require much yarn.
A pair made with worsted-weight yarn will generally use far less yarn than a scarf, sweater, or full pair of long gloves.
That makes this project perfect for:
- A single skein in your stash
- Leftover yarn
- Specialty yarn you only bought one ball of
- Handmade gift production
Great Colors for Fingerless Gloves
Because the ribbed texture is the main feature, solid colors work especially well.
Try:
- Forest green
- Cream
- Charcoal
- Mustard
- Burgundy
- Navy
- Camel
- Rust
- Sage
- Dusty rose
Two-Tone Fingerless Gloves
You can easily add a contrasting border.
For example:
Forest green + cream
Charcoal + mustard
Sage + beige
Burgundy + gray
Crochet the main rectangle in one color, then work the wrist, finger, and thumb edging in the second color.
Striped Fingerless Gloves
For simple stripes, change yarn color every:
2–4 rows
Because each row becomes a vertical rib when worn, the color changes will create vertical stripe effects around the gloves.
This can be a fun way to use small amounts of leftover yarn.
Add Buttons
A decorative button near the wrist can make a simple pair feel more finished.
Use:
- Wooden buttons
- Coconut buttons
- Vintage-style buttons
The button doesn’t need to function.
Simply sew it onto the outside wrist area as decoration.
Add a Small Crochet Flower
Crochet a tiny flower and sew it near the wrist.
This is an easy way to personalize a pair for a handmade gift.
Other ideas include:
- Crochet hearts
- Small bows
- Embroidered snowflakes
- Tiny leaves
Make Matching Winter Accessories
Use the same yarn to crochet:
- A ribbed beanie
- A scarf
- A cowl
- A balaclava
- An ear warmer
Matching fingerless gloves and a beanie make a beautiful handmade winter gift set.
Why Fingerless Gloves Are Great Gifts
Fingerless gloves don’t require the exact finger measurements that traditional gloves do.
They also allow the wearer to:
- Use a phone
- Type on a keyboard
- Hold a coffee cup
- Crochet
- Knit
- Drive
- Write
while keeping most of the hand and wrist covered.
That makes them especially practical for fall and winter.
Quick Christmas Gift Idea
Need a handmade gift without starting a huge project?
Crochet a pair of these gloves.
Fold them together and tie them with:
- Cream ribbon
- Jute twine
- Velvet ribbon
Add a simple handmade tag.
You could write:
Made With Love
or
Stay Cozy
Pair the gloves with hot chocolate or a small candle for an easy winter gift set.
Common Beginner Mistakes
Losing Stitches
Count periodically.
You should have:
25 stitches in every row
unless you’ve intentionally changed the length.
Forgetting the Back Loop
Rows 2 onward should be worked in the back loop only.
If you work through both loops, you’ll lose much of the ribbed texture.
Making the Thumb Hole Too Small
Try the glove on before completing the seam.
The thumb should move comfortably.
Making the Seam Too Tight
A tight seam will not stretch as much as the crochet fabric.
Keep your sewing tension relaxed.
Making Both Gloves Different Sizes
Before sewing, place both rectangles on top of each other.
Check that they have the same length and width.
How Long Do Crochet Fingerless Gloves Take?
The exact time depends on:
- Your crochet speed
- Your experience
- Yarn thickness
- Whether you add decorative edging
Because the pattern is based on repetitive rows and minimal assembly, fingerless gloves are generally much faster to make than full gloves with individual fingers.
Can Beginners Make Fingerless Gloves?
Yes.
This rectangle construction is especially suitable for beginners because there is:
- No working in complicated rounds
- No thumb gusset
- No individual fingers
- No increases
- No complex decreases
If you can crochet a rectangle, you can make these gloves.
Can I Use Bulky Yarn?
Yes.
Bulky yarn will create thicker gloves and may work up faster.
However, you’ll need fewer stitches and rows.
Instead of following the exact stitch count, crochet your rectangle to the finished measurements.
Can I Use DK Yarn?
Yes.
You’ll need more stitches and rows because DK yarn is thinner.
Again, use the finished measurements as your guide.
Can I Make These Without Ribbing?
Yes.
Instead of hdc BLO, work ordinary half double crochet through both loops.
The gloves will have a smoother texture and slightly less stretch.
Can I Add a Thumb?
Yes.
If you want more thumb coverage, crochet one or two rounds of single crochet around the thumb opening.
Continue for additional rounds until the thumb section reaches your desired height.
Keep it short enough so the thumb remains easy to move.
How to Wash Crochet Fingerless Gloves
Always check your yarn label.
For washable yarn:
- Wash gently according to the yarn instructions.
- Avoid excessive heat.
- Reshape while damp.
- Allow the gloves to dry completely.
Wool may require hand washing.
Frequently Asked Questions
Are these gloves really made from one skein?
For most standard worsted-weight skeins, one skein should be more than enough for an adult pair based on the approximate yardage in this pattern.
Are the gloves worked in the round?
No. Each glove is worked completely flat as a rectangle and then seamed.
How is the thumb hole made?
You simply leave a section of the side seam open.
Do I need separate patterns for left and right hands?
No. The symmetrical rectangle construction works for both hands.
Can I make them longer?
Yes. Increase the starting chain.
Can I make them wider?
Yes. Add more rows.
Are fingerless gloves warm?
They keep the wrist, palm, and much of the hand covered while leaving the fingers free. For very cold weather, full mittens provide more coverage.
Final Thoughts
These crochet fingerless gloves with a thumb hole are a simple way to turn one skein of yarn into a useful handmade winter accessory.
You don’t need complicated shaping or separate fingers.
Just crochet a ribbed rectangle, wrap it around your hand, seam the edges, and leave a comfortable opening for your thumb.
Once you understand the construction, it’s easy to adjust the length, size, colors, and finishing details.
Make a neutral pair for everyday wear, choose a rich winter color for a Christmas gift, or use leftover yarn to create several pairs.
Save this easy crochet fingerless gloves pattern for your next cozy one-skein project!
SEO
Primary keyword: crochet fingerless gloves pattern
Secondary keywords: easy crochet fingerless gloves, fingerless gloves with thumb hole, one skein crochet project, beginner crochet gloves, crochet hand warmers, free fingerless gloves pattern, crochet wrist warmers, easy winter crochet pattern
Slug: crochet-fingerless-gloves-pattern
Meta description: Make easy crochet fingerless gloves with a simple thumb hole using one skein of yarn. This beginner pattern is worked flat with cozy ribbed texture.