Crochet Hat Pattern with Fold-Over Brim – Easy Winter Beanie
A warm winter hat doesn’t need complicated shaping or advanced crochet techniques.
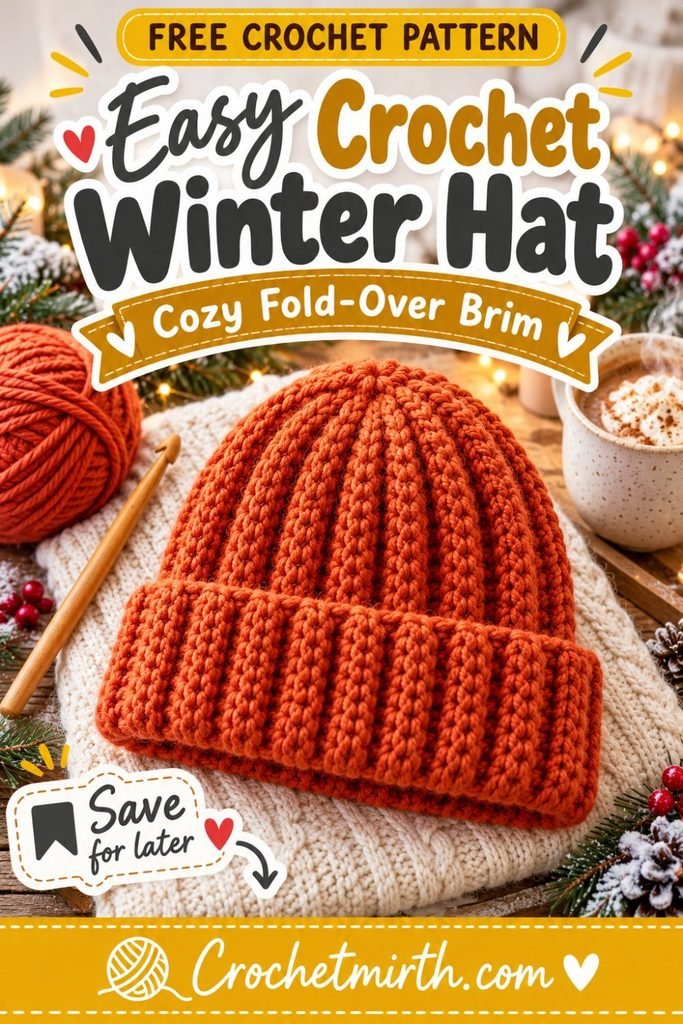
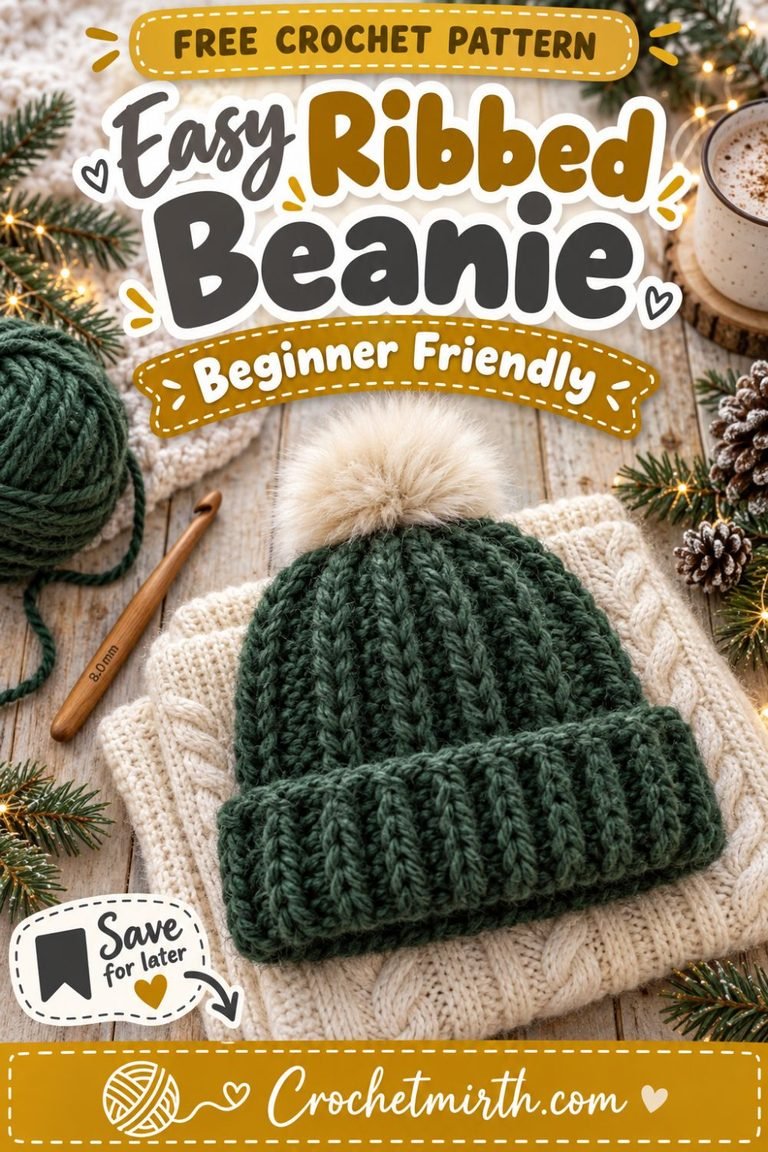
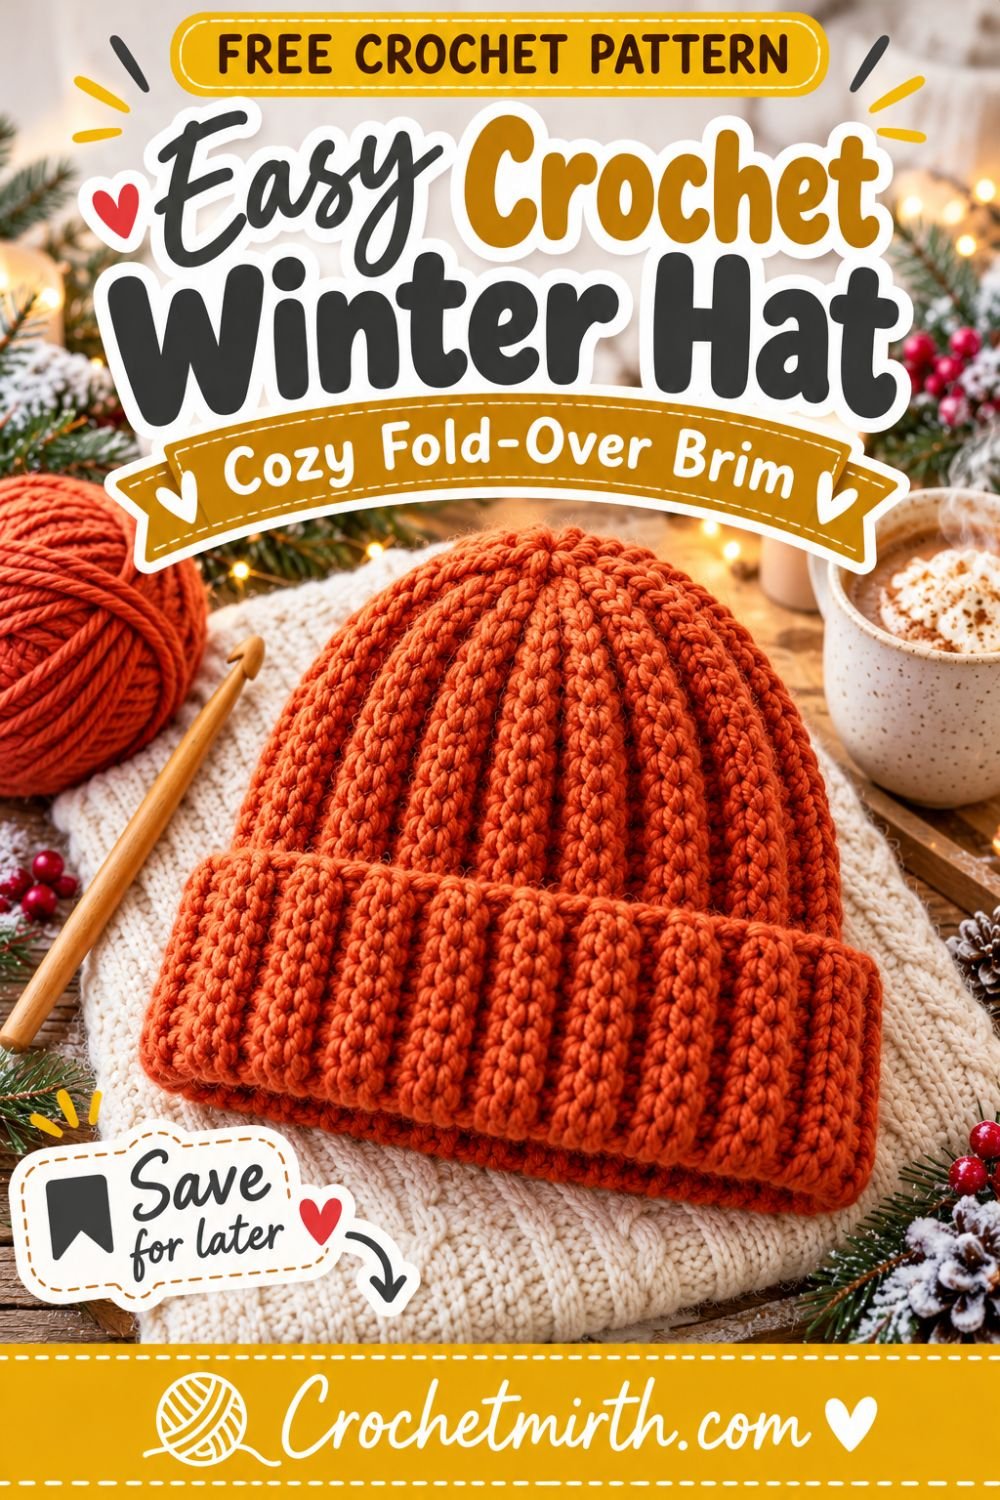
This easy crochet hat pattern with a fold-over brim starts as one simple ribbed rectangle.
You’ll crochet back and forth in rows, join the two short edges to create a tube, gather one end to close the crown, and finally fold the lower edge upward to create a thick cozy brim.
That’s it.
The entire hat uses simple single crochet stitches worked in the back loop only, creating beautiful vertical ribbing that looks almost knitted.
The wide folded brim provides extra warmth around the ears, while the stretchy ribbed fabric helps the hat fit comfortably.
If this is your first crochet beanie, this is an excellent project to try.
Why You’ll Love This Easy Crochet Hat
This winter beanie is:
- Beginner-friendly
- Worked completely flat
- Made from one rectangle
- Easy to resize
- Warm and stretchy
- Made with basic single crochet
- Designed with a wide fold-over brim
- Unisex
- Great for winter gifts
- Easy to customize
There are no complicated increases or crown decreases to follow.
Skill Level
Beginner
You should know how to:
- Make a slip knot
- Chain
- Single crochet
- Work in the back loop only
- Turn your work
- Slip stitch or sew a seam
- Fasten off
- Weave in ends
Materials
Yarn
Approximately 180–220 yards of Category 4 worsted or Aran-weight yarn
Choose a yarn with enough softness and stretch for comfortable winter wear.
Good choices include:
- Acrylic
- Wool
- Merino blends
- Acrylic/wool blends
- Soft washable wool
Crochet Hook
5.0 mm crochet hook
Adjust your hook size if necessary to match gauge.
Other Supplies
- Yarn needle
- Scissors
- Measuring tape
- Stitch markers, optional
Crochet Abbreviations
This pattern uses US crochet terminology.
ch – chain
sc – single crochet
sl st – slip stitch
st – stitch
sts – stitches
BLO – back loop only
Finished Size
The written pattern is designed for approximately an Adult Medium.
Approximate finished measurements before stretching:
Hat circumference: 19 inches
Total height before folding brim: approximately 12 inches
Fold-over brim: approximately 3 inches
The ribbed fabric stretches comfortably to fit an average adult head around 22–23 inches in circumference.
Gauge
Approximately:
14 sc = 4 inches
12 rows = 4 inches
Gauge matters because the number of rows determines the finished hat circumference.
Make a small swatch before starting if accurate sizing is important.
How This Crochet Hat Is Constructed
The construction is very simple.
You’ll:
- Crochet one long ribbed rectangle.
- Join the first and final rows.
- Gather one open edge.
- Close the crown.
- Fold the opposite edge upward.
The rectangle becomes the entire hat.
Why Work in the Back Loop Only?
Look at the top of a crochet stitch.
You’ll see a small V formed by two loops.
The loop closest to you is the front loop.
The loop farther away is the back loop.
For this pattern, you’ll insert your hook only through the back loop.
This creates raised ridges in the fabric.
After the rectangle is assembled, those ridges run vertically up the beanie and create the classic ribbed look.
Free Crochet Hat Pattern
Foundation Chain
Ch 43.
Row 1
Sc in the second chain from the hook.
Sc in each chain across.
42 sts
Ch 1 and turn.
Row 2
Working in the back loop only, sc in every stitch across.
42 sts
Ch 1 and turn.
Rows 3 and Beyond
Repeat Row 2.
Continue until your rectangle measures approximately:
19 inches wide
You may need approximately:
56–58 rows
depending on your tension.
Do not rely only on row count.
The measurement is more important.
Fasten off, leaving a long tail for seaming.
Check Your Rectangle
Before assembling the hat, lay the rectangle flat.
It should measure approximately:
12 inches from foundation edge to final stitch
and
19 inches across the rows
The 12-inch measurement becomes the total hat height.
The 19-inch measurement wraps around your head.
Check the Fit Before Seaming
Wrap the rectangle around your head with the ribbed lines running vertically.
The two short edges should meet comfortably.
The fabric should feel:
Snug but stretchy
It should not feel painfully tight.
Remember that the ribbing stretches significantly.
Part 2: Join the Rectangle
Fold the rectangle so the first and final rows meet.
The right sides should face each other if your fabric has a preferred side.
Line up both edges carefully.
Slip Stitch Seam
Insert your hook through corresponding stitches of both layers.
Slip stitch evenly along the entire edge.
Do not make the stitches too tight.
The seam should remain flexible.
Fasten off.
Alternative Sewn Seam
You can also use a yarn needle.
Thread the long yarn tail.
Use:
- Mattress stitch
- Whip stitch
to join the two edges.
Both methods work well.
Part 3: Close the Crown
You now have a crochet tube.
Choose one open end to become the top of the hat.
Thread a long piece of yarn through your yarn needle.
Gather the Top
Insert your needle in and out around the entire upper edge.
Space the stitches approximately:
¼–½ inch apart
Continue all the way around.
Pull the Crown Closed
Once you’ve gone around the entire edge, pull the yarn firmly.
The opening will gather together.
Pull until the crown closes as much as possible.
Secure the Crown
Make several stitches across the gathered opening.
Pull firmly.
Tie securely.
Weave the yarn tail through the inside of the hat.
Turn the Hat Right Side Out
Turn your beanie so the seam is on the inside.
Shape the crown gently with your hands.
The ribbed lines should now run vertically from the lower edge toward the top.
Part 4: Make the Fold-Over Brim
Fold the lower edge upward approximately:
3 inches
Adjust until the brim looks even all the way around.
You don’t need to sew it permanently.
The stretchy ribbed fabric should help the fold stay in place.
Why a Fold-Over Brim Is So Warm
The brim creates a double layer of crochet fabric around your:
- Ears
- Forehead
- Lower head
That extra layer helps make this style especially useful for cold winter days.
Make a Deeper Brim
For an extra-cozy fisherman-style hat, fold approximately:
3½–4 inches
upward.
If you know you want a very deep brim before starting, make the foundation chain slightly longer so the finished hat still has enough crown depth.
Make a Narrower Brim
For a more casual look, fold:
2–2½ inches
upward.
This leaves more height at the crown.
How to Make the Hat Taller
The starting chain controls the hat height.
For a taller beanie, start with more chains.
For example:
Ch 47–49
instead of 43.
This creates more room for:
- A deeper brim
- A slightly slouchier crown
How to Make the Hat Shorter
Start with fewer chains.
For a more fitted style:
Ch 38–40
may work depending on your gauge.
Always measure rather than relying only on chain counts.
How to Adjust the Circumference
The number of rows controls the circumference.
For a smaller hat:
Work fewer rows.
For a larger hat:
Add more rows.
Negative Ease
A crochet beanie usually works best when it is slightly smaller than the actual head measurement.
This is called negative ease.
The ribbing stretches when the hat is worn.
For example:
A head circumference of:
22 inches
might fit comfortably in a ribbed hat measuring approximately:
18½–20 inches
unstretched, depending on the yarn.
Approximate Size Guide
Always check the actual fit when possible.
Child
Head circumference:
19–20 inches
Aim for a rectangle approximately:
16½–17½ inches wide
Teen / Adult Small
Head circumference:
20–21½ inches
Rectangle:
approximately 17½–18½ inches
Adult Medium
Head circumference:
22–23 inches
Rectangle:
approximately 18½–20 inches
Adult Large
Head circumference:
23–24 inches
Rectangle:
approximately 20–21 inches
The exact amount of stretch varies by yarn.
Make a Fisherman Beanie
For a traditional fisherman-style beanie:
- Make the total hat slightly shorter
- Fold a deep brim
- Skip the pom-pom
- Choose a solid neutral color
Great colors include:
- Cream
- Charcoal
- Navy
- Camel
- Forest green
Make a Slouchy Beanie
Want more fabric at the crown?
Increase the height of your starting chain.
Aim for approximately:
13–14 inches
before folding the brim.
The extra height creates a relaxed slouchy shape.
Optional Pom-Pom
The classic version looks clean without a pom-pom.
However, you can add one if you prefer.
Choose:
- Yarn pom-pom
- Faux-fur pom-pom
- Removable pom-pom
Sew it securely onto the gathered crown.
Best Yarn for a Fold-Over Brim Hat
A good beanie yarn needs:
- Stretch
- Softness
- Warmth
- Enough structure to hold the ribbing
Acrylic
Soft acrylic yarn is:
- Affordable
- Easy to find
- Easy to wash
- Available in many colors
It’s a good everyday option.
Wool
Wool is naturally warm and works beautifully for winter hats.
Check whether your yarn requires hand washing.
Wool Blends
Wool blends often provide a good combination of:
- Warmth
- Stretch
- Softness
- Easy care
They are especially useful for gift hats.
Best Winter Colors
Try:
- Forest green
- Charcoal
- Cream
- Burgundy
- Navy
- Camel
- Rust
- Mustard
- Chocolate brown
- Sage green
Solid colors highlight the ribbed texture especially well.
Two-Tone Fold-Over Brim
Want to make the brim stand out?
Crochet the last several inches of your starting-chain height in a different color.
Another option is to crochet the whole hat in one color, then add a contrasting decorative edge around the brim.
Try:
Forest green + cream
Charcoal + mustard
Cream + sage
Navy + camel
Striped Crochet Hat
Because the hat is worked sideways, changing colors after several rows creates vertical stripes when the hat is assembled.
Try changing color every:
4–6 rows
for wide stripes.
This can also be a great stash-busting project.
Turn It Into a Gift Set
Use the same yarn to make:
- Fingerless gloves
- Mittens
- Scarf
- Cowl
- Ear warmer
A hat and scarf in matching yarn make a classic handmade winter gift.
Last-Minute Christmas Gift Idea
A simple ribbed beanie is easy to personalize.
Choose the recipient’s favorite color.
Fold the brim neatly.
Wrap the finished hat with:
- Kraft paper band
- Cream ribbon
- Natural twine
Add a tag reading:
Handmade for You
or
Stay Cozy
Why This Is a Great Beginner Hat
Many crochet hats require:
- Magic rings
- Increasing
- Decreasing
- Working in continuous rounds
- Careful crown shaping
This pattern avoids all of those techniques.
You only crochet a rectangle.
Then:
Seam → gather → fold
This makes it much easier to understand for a first hat.
Common Beginner Mistakes
Losing Stitches
The rectangle starts becoming narrower.
Count regularly.
You should maintain:
42 stitches per row
in the written pattern.
Adding Stitches
If the rectangle becomes wider, you may accidentally be working into the turning chain.
Identify the real final stitch carefully.
Forgetting BLO
Rows after Row 1 are worked in the:
back loop only
Working through both loops will create a different texture.
Making the Seam Too Tight
The ribbed fabric stretches.
Your seam should stretch too.
Keep slip stitches or sewing tension relaxed.
Making the Hat Too Large
Ribbing can stretch significantly.
Test the rectangle around the wearer’s head before seaming.
Making the Starting Chain Too Tight
A tight foundation can pull one side of the hat inward.
Keep the chains relaxed.
You can even use a hook one size larger for the starting chain.
Blocking the Beanie
Blocking is optional.
If the ribs look uneven, gentle blocking can help.
Always follow the care instructions for your yarn.
Avoid stretching the ribbing too aggressively because you want it to retain elasticity.
How Long Does This Crochet Hat Take?
The exact time depends on:
- Crochet speed
- Yarn
- Experience
- Hat size
Because the pattern repeats the same stitch for almost the entire project, it becomes easy to work once you establish the ribbing.
It is also much simpler than hats requiring complicated crown shaping.
Can Complete Beginners Make This Hat?
Yes.
If you can:
- Chain
- Single crochet
you already know the main techniques.
Back-loop crochet is simply a different place to insert your hook.
The seaming and crown gathering are straightforward finishing steps.
Can I Use Bulky Yarn?
Yes.
Bulky yarn creates:
- A warmer hat
- Larger ribs
- Faster progress
You’ll need fewer stitches and rows.
Work from the finished measurements instead of using the exact stitch counts.
Can I Use Super Bulky Yarn?
Yes.
Super bulky yarn is excellent for a very quick winter beanie.
Use a larger hook and reduce the stitch count significantly.
Some super-bulky beginner ribbed beanies use hooks around 9–10 mm or larger.
Can I Use DK Yarn?
Yes.
DK will create a lighter, finer ribbed hat.
You’ll need:
- More chains
- More rows
- A smaller hook
Again, use the finished measurements as your guide.
Can I Make This Without the Folded Brim?
Yes.
For a brimless beanie:
- Make the foundation chain shorter
- Assemble the hat exactly the same way
- Leave the lower edge unfolded
You can add one round of single crochet around the edge if desired.
How to Wash Your Crochet Beanie
Always check the yarn label.
In general:
- Wash gently.
- Avoid excessive heat.
- Reshape the hat while damp.
- Lay flat to dry when recommended.
- Fold the brim again after drying.
If the yarn is wool, hand washing may be required.
Frequently Asked Questions
Is this hat worked in the round?
No. The entire main hat is crocheted flat as a rectangle.
How is the crown shaped?
One edge of the finished tube is gathered tightly with yarn.
What creates the ribbed texture?
Single crochet stitches worked through the back loop only.
How wide should the folded brim be?
About 3 inches works well for this pattern, but you can make it deeper or narrower.
Can I resize the hat?
Yes. Change the starting chain for height and the number of rows for circumference.
Do I need a pom-pom?
No. This classic winter beanie looks great without one.
Is this pattern suitable for beginners?
Yes. There are no complicated increases or decreases.
Final Thoughts
A classic winter beanie is one of the most useful crochet projects you can learn.
With this easy crochet hat pattern with a fold-over brim, the entire hat begins as one simple rectangle.
Back-loop single crochet creates the stretchy ribbed texture.
One seam turns the rectangle into a tube.
Gathering the top creates the crown.
And folding the lower edge creates a thick double-layer brim that keeps your ears warm.
Make it in forest green, charcoal, cream, burgundy, navy, or your favorite winter shade.
Once you understand the construction, you’ll be able to adjust the same basic pattern for children, adults, fitted beanies, slouchy hats, or extra-deep fisherman brims.
Save this easy winter crochet hat pattern for your next cozy beginner project!