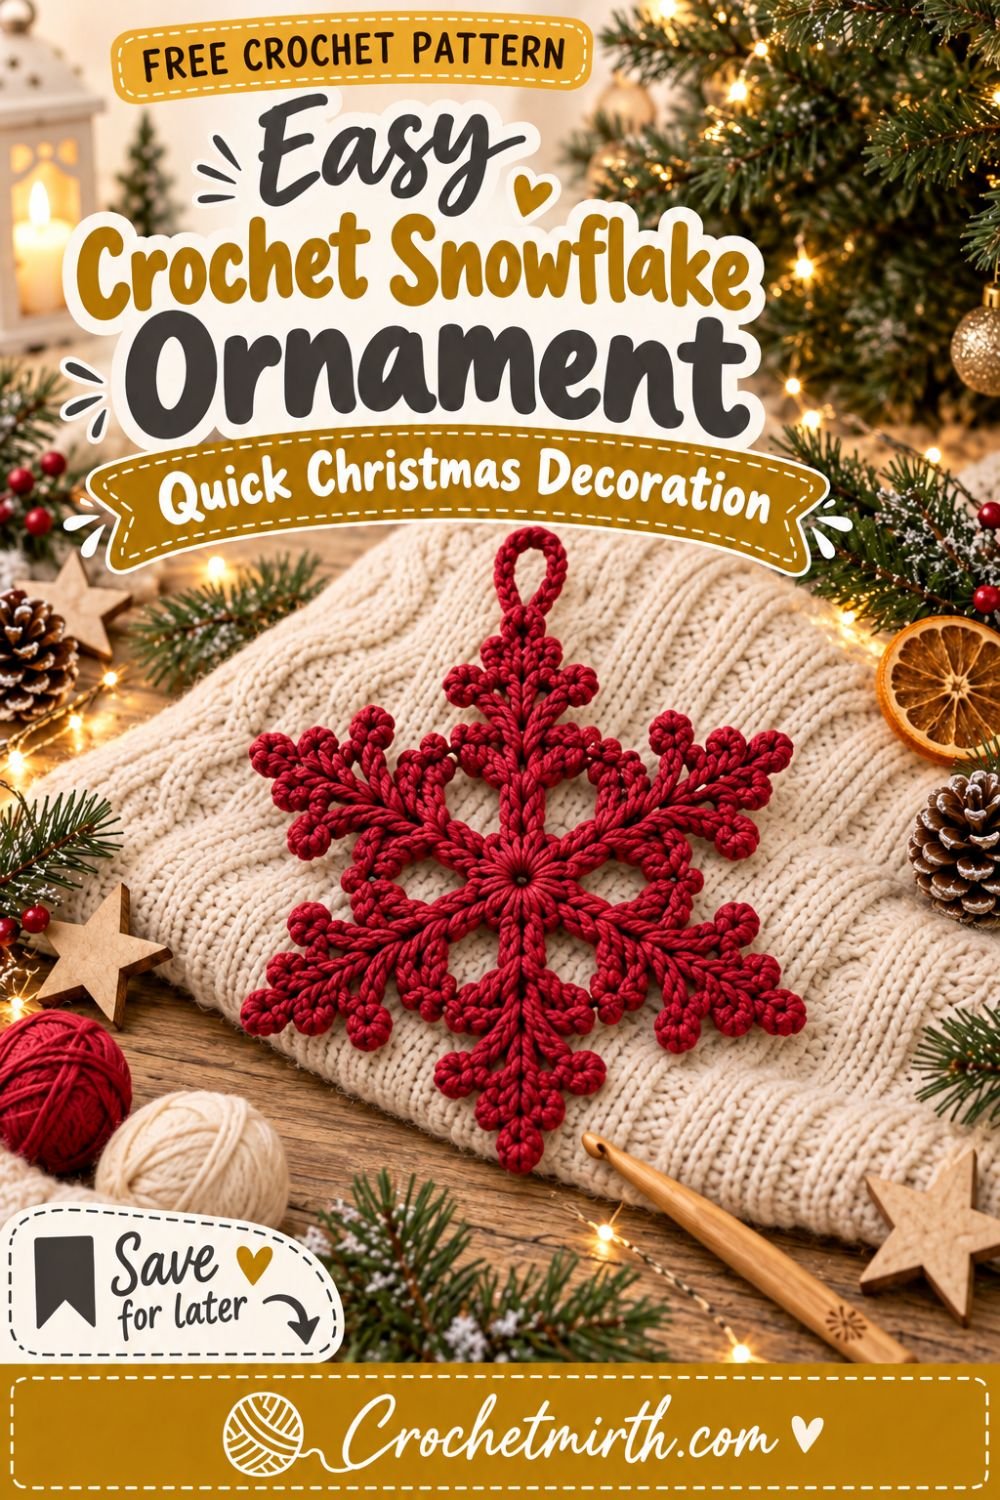
Easy Crochet Snowflake Ornament Pattern – Quick Christmas Decoration
Small handmade decorations are one of the easiest ways to bring crochet into your Christmas decor.
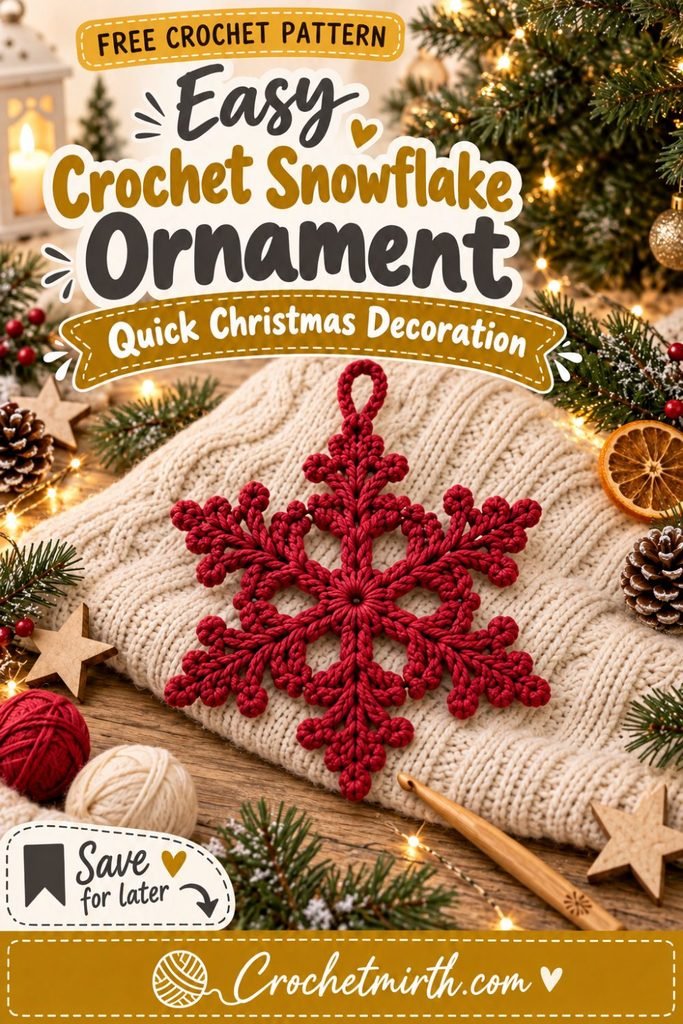
This easy crochet snowflake ornament pattern uses only three simple rounds, a tiny amount of yarn, and basic crochet stitches to create a delicate six-point snowflake that’s perfect for your Christmas tree.
The finished snowflake is lightweight, quick to make, and easy to customize.
Make traditional snowy-white snowflakes, crochet a whole set in cream and forest green, or use leftover Christmas yarn to create colorful ornaments.
Once blocked, the points become crisp and the open spaces give the motif that classic snowflake appearance.
It’s also a wonderful project when you need a quick handmade Christmas gift or a way to use small scraps of yarn.
Why You’ll Love This Crochet Snowflake
This pattern is:
- Beginner-friendly
- Only three rounds
- Quick to crochet
- Perfect for scrap yarn
- Lightweight
- Easy to batch-make
- Great for Christmas trees
- Easy to turn into garlands
- Beautiful as gift toppers
- Simple to customize
One small ball of leftover yarn can make several snowflakes.
Skill Level
Beginner / Easy
You should know how to:
- Make a magic ring
- Chain
- Single crochet
- Double crochet
- Slip stitch
- Work into chain spaces
- Make a simple picot
- Fasten off
- Weave in yarn ends
If you haven’t made a picot before, don’t worry—it’s simply a tiny chain loop that creates the pointed tip.
Materials
Yarn
Use a small amount of:
Category 3 DK-weight cotton yarn
Cotton is especially useful for snowflakes because it gives the stitches:
- Crisp definition
- Good structure
- Clean edges
- Easy blocking
Each ornament requires only a small amount.
For five ornaments, approximately:
35–50 yards total
should be plenty.
Crochet Hook
3.0 mm crochet hook
A relatively small hook creates firm stitches that hold the snowflake shape nicely.
Other Supplies
- Yarn needle
- Scissors
- Blocking mat
- Rust-resistant pins
- Measuring tape
- Optional fabric stiffener or diluted starch
Crochet Abbreviations
This pattern uses US crochet terminology.
ch – chain
sc – single crochet
dc – double crochet
sl st – slip stitch
sp – space
st – stitch
MR – magic ring
Special Stitch: Picot
For this pattern:
Ch 3, then sl st into the first chain of those 3 chains.
This creates a tiny pointed loop.
You’ll use one picot at the tip of every snowflake branch.
Finished Size
With DK cotton and a 3 mm hook, the finished snowflake should measure approximately:
3–3½ inches / 7.5–9 cm across
after blocking.
Different yarn weights will create different sizes.
Construction
The snowflake is worked:
From the center outward
in only:
3 rounds
Round 1 creates the center.
Round 2 creates six chain spaces.
Round 3 transforms those six spaces into the six snowflake points.
Easy Crochet Snowflake Ornament Pattern
Start
Make a magic ring.
If you don’t like magic rings, you can:
Ch 4 and join with a sl st
to create a small center ring.
Round 1 – Center
Ch 1.
Work:
12 sc
into the magic ring.
Pull the ring closed.
Join with a sl st to the first sc.
12 sts
Round 2 – Create Six Spaces
Ch 1.
Sc in the same stitch.
Then repeat:
Ch 4, skip the next stitch, sc in the next stitch
five times.
After the sixth sc:
Ch 4
Skip the final unused stitch.
Join with a sl st to the first sc.
You should now have:
6 ch-4 spaces
evenly arranged around the center.
Check Your Snowflake
Before continuing, count the chain spaces.
You need exactly:
6
because each space becomes one snowflake branch.
If you have five or seven, undo Round 2 and check the skipped stitches.
Round 3 – Snowflake Points
Work the following into the first ch-4 space:
Sc
Ch 2
2 dc
Picot
2 dc
Ch 2
Sc
One snowflake point is complete.
Continue Around
In every remaining ch-4 space, repeat:
Sc, ch 2, 2 dc, picot, 2 dc, ch 2, sc
When all six spaces are complete:
Join with a sl st to the beginning stitch.
Fasten off.
Count the Points
You should now have:
6 snowflake points
Each branch has:
- A low sc at the beginning
- Rising chains
- Two dc
- One pointed picot
- Two dc
- Falling chains
- A final sc
This creates a symmetrical six-point motif.
Weave In the Ends
Thread each yarn tail through a yarn needle.
Weave the ends through several stitches on the back.
Trim carefully.
Try not to pull the center out of shape.
Add the Hanging Loop
Join yarn behind one snowflake tip.
Ch approximately:
18–22
depending on how large you want the loop.
Bring the chain back to the starting point.
Sl st into the same spot.
Fasten off.
Weave in the ends.
Why Blocking Is Important
Your snowflake may look slightly curled or uneven immediately after crocheting.
That’s normal.
Blocking transforms it.
It helps:
- Open the chain spaces
- Separate the branches
- Sharpen the points
- Improve symmetry
- Flatten the ornament
For snowflake motifs, blocking often makes the biggest difference between “just crocheted” and “finished.”
How to Block the Snowflake
Place your snowflake on a blocking mat.
Gently stretch each of the six points outward.
Try to keep equal spacing between them.
Pin:
- Each main point
- Any sections that need additional shaping
Measure from the center to each point if you want very precise symmetry.
Wet Blocking
For cotton yarn:
Lightly dampen the snowflake.
Shape it.
Pin it.
Allow it to dry completely.
Do not remove the pins while it is still damp.
Optional Stiffening
For a firmer Christmas ornament, you can use a small amount of:
- Fabric stiffener
- Craft starch
- Diluted white craft glue designed for textile crafts
Follow the product instructions.
Use only enough to help the snowflake hold its shape.
You don’t need to make it completely rigid.
Soft Snowflake Version
Prefer a softer handmade look?
Skip the stiffener.
Simply block the ornament and let the natural cotton texture remain visible.
Traditional White Snowflakes
For classic Christmas decor, make several using:
Snowy white cotton
Hang them against dark green evergreen branches.
The contrast makes the crochet texture stand out beautifully.
Warm Cream Snowflakes
Warm cream creates a softer vintage-inspired Christmas look.
Pair it with:
- Natural wood
- Dried orange slices
- Pinecones
- Warm fairy lights
Forest Green Snowflakes
Snowflakes don’t have to be white.
Forest green creates a rich handmade Christmas look and pairs beautifully with:
- Cream
- Red
- Mustard
- Gold
Red Christmas Snowflakes
Muted cranberry or burgundy snowflakes create a more traditional Christmas palette.
Mix them with cream ornaments for contrast.
Sage Green Snowflakes
Sage is perfect for a softer modern holiday look.
Combine:
Sage + cream + natural wood
for a calm Scandinavian-inspired Christmas palette.
Metallic Snowflakes
For subtle sparkle, use cotton yarn with a fine metallic strand.
Try:
White + silver
Cream + gold
Keep the metallic effect subtle so the crochet stitches remain visible.
Make a Set of Five
For a Pinterest-friendly ornament set, crochet:
1 snowy white
1 cream
1 forest green
1 sage
1 cranberry red
The different colors look beautiful together while keeping the same snowflake pattern.
Make a Snowflake Garland
Crochet:
7–12 snowflakes
Skip the individual hanging loops.
Then crochet one long chain.
Attach a snowflake every:
20–30 chains
using a slip stitch.
Hang the garland across:
- Mantel
- Window
- Shelf
- Staircase
- Christmas tree
Mini Snowflake Garland
Use:
Fingering-weight cotton
and a smaller hook.
The smaller motifs work especially well for delicate garlands.
Use Snowflakes as Gift Toppers
Instead of disposable gift bows, attach one crochet snowflake to:
- Kraft paper
- Gift bags
- Cookie boxes
- Christmas baskets
The recipient can remove it and hang it on their tree.
Turn Them Into Gift Tags
Add a small kraft-paper tag behind the ornament.
Write:
To:
and
From:
on the paper.
After the gift is opened, the snowflake becomes a reusable ornament.
Add Snowflakes to a Wreath
Make:
3–5 snowflakes
in different sizes.
Attach them to an evergreen wreath.
Try:
- One larger center snowflake
- Several smaller surrounding motifs
Christmas Window Decorations
Crochet white snowflakes and hang them at different heights in a window.
Use clear hanging thread if you’d like the snowflakes to appear as if they’re floating.
Holiday Table Decor
Place one blocked snowflake under each place setting.
You can also tie one around:
- Napkin
- Cutlery bundle
- Small favor box
This creates a simple handmade Christmas table.
Christmas Card Embellishment
A very small crochet snowflake can be attached to a handmade Christmas card.
Use lightweight yarn and a smaller hook so the finished motif isn’t too bulky.
Make Smaller Snowflakes
Use:
Fingering yarn or crochet thread
with approximately a:
1.75–2.5 mm hook
The same pattern will produce a smaller, more delicate ornament.
Make Larger Snowflakes
Use:
Worsted-weight yarn
with approximately a:
4 mm hook
You’ll get a larger, softer decoration.
Chunky Snowflake Decoration
For an oversized mantel or wall ornament, try bulky yarn.
Use a hook appropriate for your yarn and block the finished snowflake carefully.
The motif will be much larger and more graphic.
Best Yarn for Crochet Snowflakes
Cotton
Cotton is one of the best options because it:
- Blocks well
- Shows stitches clearly
- Creates crisp points
- Has minimal fuzz
Acrylic
Acrylic can also work.
It creates a slightly softer motif.
Use careful steam blocking only if your yarn manufacturer allows it, and never touch acrylic directly with a hot iron.
Crochet Thread
Crochet thread creates delicate lace-like snowflakes.
It looks beautiful, but very fine thread can be less comfortable for complete beginners.
Start with DK cotton if this is your first snowflake.
Scrap Yarn Project
These ornaments use very little yarn.
Save leftover pieces from:
- Baby projects
- Dishcloths
- Garlands
- Christmas ornaments
- Small accessories
Even small remnants can become decorations.
Batch Crochet Method
Making a dozen snowflakes?
Work in batches.
First:
Make Round 1 on all motifs.
Then:
Complete Round 2.
Then:
Finish all Round 3s.
Finally:
Block everything together.
This can make production much faster.
Quick Handmade Christmas Gift
Make:
6 matching snowflakes
Block them carefully.
Tie them together with cream ribbon.
Place them inside a kraft gift box.
Add a label:
Handmade Crochet Snowflake Ornaments
This creates an easy handmade hostess or Christmas gift.
Common Beginner Mistakes
Having the Wrong Number of Points
The snowflake needs:
6 ch-4 spaces
after Round 2.
Count before starting Round 3.
Pulling Chain Stitches Too Tight
Loose, even chains help the points open during blocking.
Skipping Blocking
The motif may look disappointing before blocking.
Don’t judge the final shape too early.
Blocking Unevenly
Try to pull all six branches the same distance from the center.
Using a Hook That’s Too Large
Loose stitches can make the ornament floppy.
For crisp motifs, a slightly firm gauge works better.
Not Securing the Hanging Loop
The loop should be attached firmly because the ornament will be handled every Christmas season.
How Long Does One Snowflake Take?
Once you’re familiar with the pattern, the small three-round motif works up quickly.
Current simple snowflake patterns are commonly designed as short scrap-yarn projects, with some beginner versions described as taking only minutes.
For your first snowflake, focus on accurate stitch placement rather than speed.
Can Complete Beginners Make This?
Yes, especially if you’re already comfortable with:
- Chain
- Single crochet
- Double crochet
The only new techniques may be:
- Magic ring
- Working into chain spaces
- Picot
All three are useful skills for many future crochet projects.
Don’t Like the Magic Ring?
No problem.
Ch 4.
Join with a sl st to the first chain.
Work Round 1 into that small ring.
The center opening may be slightly larger, but the snowflake will still work.
Can I Skip the Picots?
Yes.
If you skip the picot, each branch will have a softer rounded tip rather than a sharp point.
For the classic snowflake appearance, I recommend keeping them.
Can I Use Any Yarn Weight?
Yes.
The motif structure stays the same.
Only the finished size changes.
Thinner yarn = smaller snowflake.
Thicker yarn = larger snowflake.
Do I Have to Stiffen Crochet Snowflakes?
No.
Blocking alone may be enough, particularly when using cotton and a firm gauge.
Stiffener is optional if you want extra-crisp ornaments.
Frequently Asked Questions
How many rounds are in this pattern?
Three.
How many points should the snowflake have?
Six.
What yarn does the pattern use?
Category 3 DK cotton.
What hook size is used?
3.0 mm.
How large is the finished ornament?
Approximately 3–3½ inches after blocking.
Is blocking necessary?
It’s strongly recommended because it helps define the six points and open the lace spaces.
Can I turn several snowflakes into a garland?
Yes. Crochet several motifs and connect them with a long chain.
Is this a scrap-yarn project?
Yes. Each ornament uses only a small amount of yarn.
Final Thoughts
Christmas decorations don’t have to be large or complicated to feel special.
This easy crochet snowflake ornament pattern uses only three rounds to create a classic six-point snowflake that can be made from tiny amounts of leftover yarn.
Crochet one for your tree, make an entire set, string them into a garland, attach them to gifts, or use them for your holiday table.
The real finishing step is blocking.
Once the six points are stretched evenly and allowed to dry, the simple crochet motif turns into a crisp handmade Christmas ornament.
Make yours in traditional snowy white, warm cream, forest green, cranberry red, or a coordinated mix.
Save this quick crochet snowflake ornament pattern for your Christmas crochet list!
SEO
Primary keyword: easy crochet snowflake ornament pattern
Secondary keywords: crochet snowflake ornament, crochet snowflake pattern, easy Christmas crochet ornament, quick crochet Christmas decoration, beginner crochet snowflake, scrap yarn Christmas crochet, crochet tree ornament, free crochet snowflake pattern
Slug: easy-crochet-snowflake-ornament-pattern
Meta description: Make an easy crochet snowflake ornament in just three rounds. This quick beginner Christmas pattern uses very little yarn and is perfect for trees, gifts, garlands, and holiday decor.