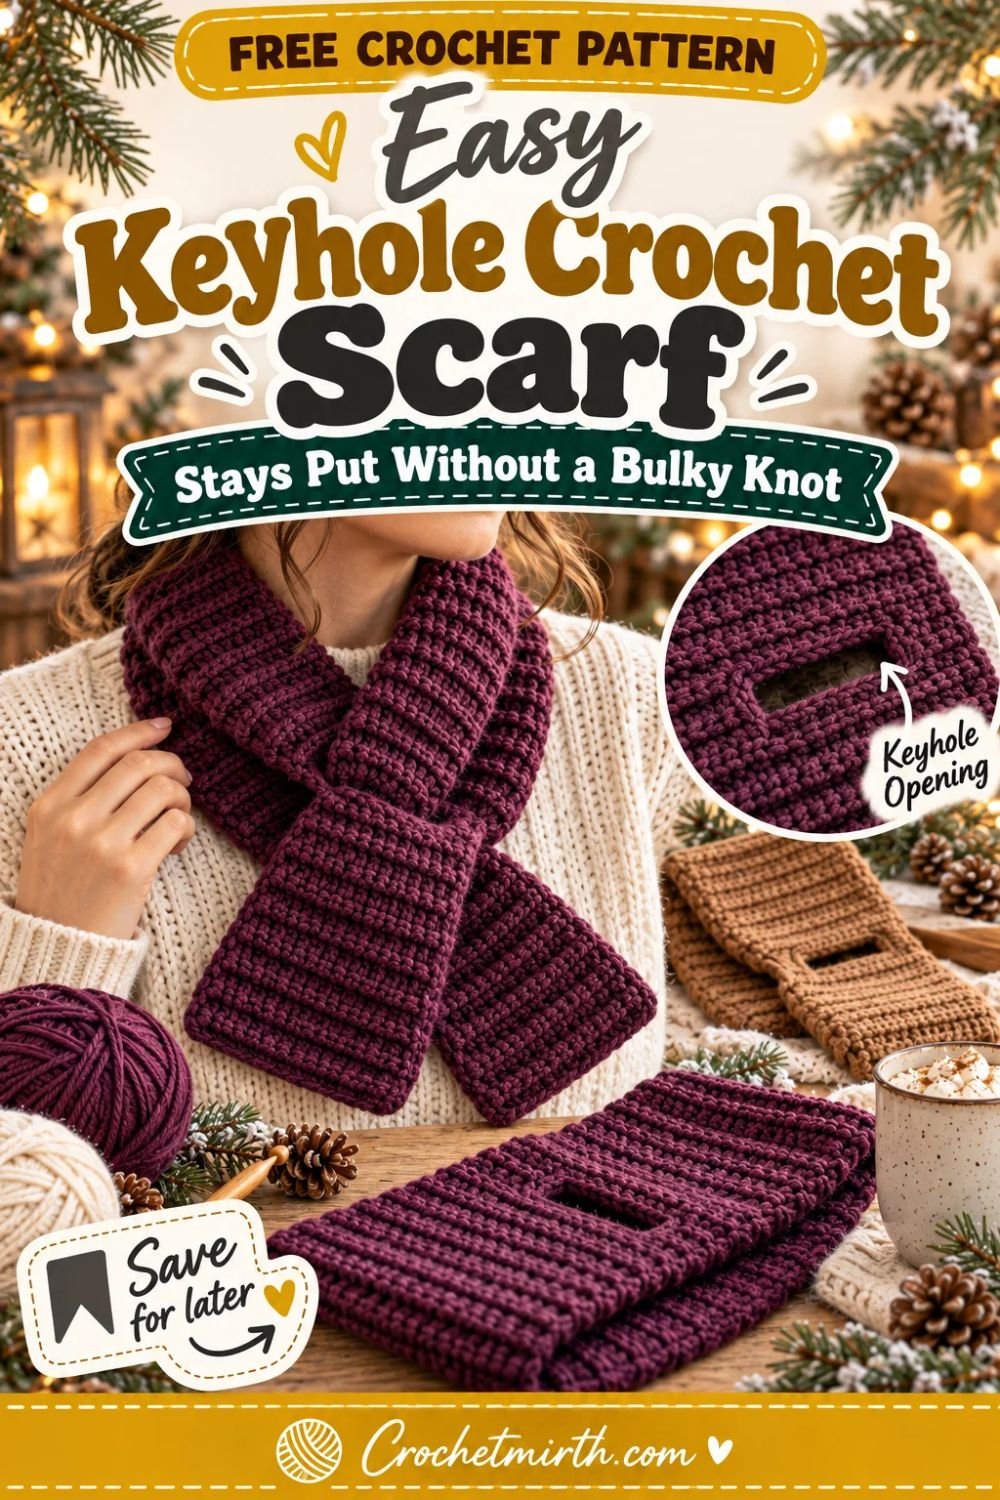
Crochet Keyhole Scarf Pattern – Beginner Scarf That Stays Put
Traditional scarves are cozy, but they have one annoying habit: the ends can slide, shift, or fall off your shoulders.
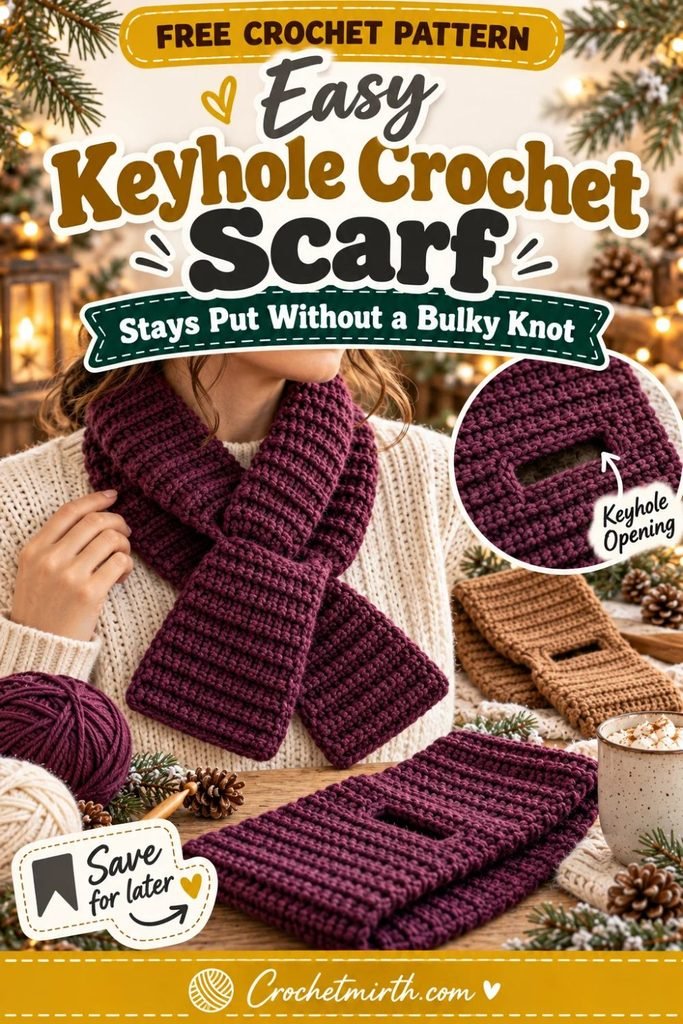
A keyhole scarf solves that with one simple crochet detail.
This crochet keyhole scarf pattern includes a rectangular opening near one end of the scarf. Wrap the longer end around your neck, slide it through the opening, and the scarf holds itself comfortably in place.
There’s no bulky knot.
No button.
No loose fringe.
And no long scarf ends constantly moving around.
The entire scarf is made primarily with half double crochet in the back loop, creating soft horizontal ribs that give a simple beginner stitch much more texture.
Why You’ll Love This Keyhole Scarf
This scarf is:
- Beginner-friendly
- Worked completely flat
- Made with worsted yarn
- Easy to resize
- Soft and flexible
- Designed to stay in place
- Free from buttons and hardware
- Shorter than a traditional long scarf
- Easy to wear under a coat
- Great for handmade gifts
The keyhole is crocheted directly into the scarf rather than cut or added afterward.
Skill Level
Beginner / Advanced Beginner
You should know how to:
- Chain
- Half double crochet
- Half double crochet through the back loop
- Work flat in rows
- Fasten off
- Rejoin yarn
- Count stitches
- Weave in yarn ends
The keyhole requires working two small sections separately for a few rows, but there is no difficult shaping.
Materials
Use approximately:
220–260 yards of Category 4 worsted-weight yarn
For the Crochetmirth sample:
Deep plum / aubergine
You’ll also need:
- 5.5 mm crochet hook
- Yarn needle
- Scissors
- Measuring tape
- Stitch markers
Finished Measurements
Approximately:
36 inches long
and:
5–5½ inches wide.
The keyhole opening measures approximately:
2½–3 inches wide
and:
about 3 inches long.
These dimensions create enough room to fold the opposite scarf end slightly and pull it comfortably through.
Gauge
In HDC BLO:
Approximately:
13 stitches = 4 inches
and:
9 rows = 4 inches.
Gauge isn’t extremely critical.
The most important measurements are:
- Approximately 5–5½ inches wide
- Approximately 36 inches long
- A keyhole large enough for the opposite scarf end
Crochet Abbreviations
This pattern uses US terminology.
ch – chain
hdc – half double crochet
hdc BLO – half double crochet in back loop only
st / sts – stitch / stitches
Construction Overview
The scarf is worked:
from one short end toward the other.
You’ll first crochet the short tail.
Then split the scarf into two narrow sections to create the keyhole.
After the keyhole is complete, the two sides are connected again.
From there, simply keep crocheting until the scarf reaches full length.
There is no sewing required.
PART 1: Foundation Chain
Using worsted yarn and the 5.5 mm hook:
Ch 17.
Row 1
Hdc in the second chain from the hook and across.
16 sts
Ch 1 and turn.
Your scarf should measure approximately:
5–5½ inches wide.
PART 2: Create the Ribbed Texture
Row 2
Working through the:
back loop only
Hdc across.
16 sts
Ch 1 and turn.
Rows 3–15
Repeat Row 2.
Maintain:
16 sts.
After Row 15, the short end should measure approximately:
6–7 inches long.
This becomes the short section that sits in front when the scarf is worn.
PART 3: Begin the Keyhole
The 16 stitches will now be divided into:
4 stitches + 8-stitch opening + 4 stitches.
We’ll crochet the first side of the opening.
Row 16
Hdc BLO in first:
4 sts
Leave the remaining stitches unworked.
Ch 1 and turn.
Rows 17–22
Hdc BLO across these:
4 sts only.
Ch 1 and turn after each row.
Fasten off after Row 22.
You now have one narrow side of the keyhole.
PART 4: Crochet the Second Side
Return to Row 15.
Count across and skip the center:
8 stitches.
Join yarn in the:
13th stitch of Row 15.
You should have four stitches remaining.
Row 16 – Second Side
Hdc BLO across the final:
4 sts.
Ch 1 and turn.
Rows 17–22
Hdc BLO across.
4 sts
Repeat until this side has the same number of rows as the first side.
Do not fasten off after Row 22.
Check the Opening
You should now have:
- Four-stitch strip on one side
- Four-stitch strip on the other
- Large open space between them
The opening should measure approximately:
2½–3 inches wide × about 3 inches long.
Both narrow sections must end at exactly the same height.
PART 5: Reconnect the Scarf
With your working yarn still attached to the second strip:
Row 23
Hdc BLO across the:
4 stitches of the current side.
Then:
Ch 8.
Reach across the keyhole.
Hdc BLO across the:
4 stitches of the opposite side.
You now have:
4 hdc + 8 chains + 4 hdc = 16 stitch positions.
Ch 1 and turn.
The top of the keyhole is now closed.
PART 6: Restore the Full Scarf Width
Row 24
Hdc BLO in first:
4 sts.
Work:
1 hdc into each of the 8 chains.
Hdc BLO in final:
4 sts.
16 sts
Ch 1 and turn.
The scarf is now one full-width piece again.
Check the Keyhole
Before continuing, fold the scarf’s short end and pass it through the opening.
It should slide through comfortably.
If it feels extremely tight, enlarge the hole before continuing.
If it is far too loose, you can reduce its width by one or two stitches on each side.
PART 7: Crochet the Long Scarf Section
Rows 25 onward
Hdc BLO across.
16 sts
Ch 1 and turn.
Continue until the entire scarf measures approximately:
36 inches from beginning to end.
At the written gauge, you’ll usually finish around:
80–84 rows total.
The exact row count isn’t important.
Measure the scarf instead.
PART 8: Finish the Final Edge
When the scarf reaches your preferred length:
Work one final row of ordinary:
hdc through both top loops.
This slightly stabilizes the final edge.
Fasten off.
Weave in all yarn tails carefully.
Your Keyhole Scarf Is Finished
The completed scarf should have:
- One short end
- One integrated rectangular keyhole
- One long end
- Ribbed texture across the whole scarf
There is no additional assembly.
How to Wear a Keyhole Scarf
Place the scarf around the back of your neck.
Position the keyhole end in front on one side.
Bring the long end across the opposite side.
Fold the tip slightly if necessary.
Push the long end through the keyhole.
Pull until the scarf sits comfortably against your neck.
Arrange the two front sections neatly.
That’s it.
Why It Stays Put
The keyhole acts as a simple friction closure.
The scarf end can’t slide away as easily as it can with a traditional open scarf.
This makes the style useful for:
- Walking
- Shopping
- Commuting
- Outdoor markets
- Wearing under a coat
Deep Plum Version
The Crochetmirth sample uses:
deep plum / aubergine worsted yarn.
This rich medium-dark shade highlights the ribbed texture while giving the scarf a slightly more sophisticated winter look.
Warm Camel Version
Camel creates a highly versatile neutral scarf.
It pairs easily with:
- Cream
- Black
- Forest green
- Burgundy
- Navy
Forest Green Version
Deep forest green creates a classic winter look.
Use a smooth yarn so the ribs remain clearly visible.
Cranberry Version
Deep cranberry works beautifully from Christmas through the rest of winter.
Cream Version
Warm cream emphasizes every crochet ridge.
Choose a soft washable yarn if the scarf will be worn frequently.
Charcoal Version
Charcoal is practical, understated, and easy to coordinate with winter coats.
Mustard Version
Muted mustard-gold creates a stronger statement scarf and photographs particularly well against neutral outerwear.
Make It Longer
Prefer more wrap around the neck?
Continue the long section until the scarf measures:
40–42 inches.
You may need approximately:
30–50 additional yards.
Make It Shorter
For a compact neck-warmer style:
Stop at approximately:
30–32 inches.
Make sure the long end still reaches comfortably through the keyhole before fastening off.
Make It Wider
For maximum coverage:
Start with:
Ch 20
and work:
19 hdc.
Aim for approximately:
6–6½ inches wide.
Make the keyhole proportionally wider.
Make It Narrower
For a lighter accessory:
Start with:
Ch 14
and work:
13 hdc.
The scarf will finish around:
4–4½ inches wide.
Adjust the Keyhole Width
The written version leaves:
8 center stitches open.
For a smaller opening:
Leave:
6 center stitches.
For a larger opening:
Leave:
10 center stitches.
Make sure equal numbers of stitches remain on both outer sides.
Adjust the Keyhole Length
The written opening is approximately:
7 rows tall.
For a shorter opening:
Work:
5–6 rows.
For a longer opening:
Work:
8–9 rows.
Always test the opposite scarf end through the hole before continuing.
Why Make a Rectangular Keyhole?
A longer rectangular opening is easier to use than a very narrow one-row chain space.
It allows the scarf end to:
- Fold naturally
- Slide through without forcing
- Lie flatter after insertion
This is especially helpful when using medium-weight yarn.
Why HDC BLO?
Half double crochet in the back loop creates:
- Soft ribs
- Moderate stretch
- More texture than ordinary HDC
- Comfortable drape
- An easy repetitive pattern
It also remains beginner-friendly.
Why Worsted Instead of Bulky Yarn?
Your infinity scarf already fills the chunky-scarf role.
Worsted yarn makes this keyhole scarf:
- Slimmer under a coat
- Easier to pass through the opening
- Less bulky at the neck
- Suitable for longer seasonal use
Best Yarn Fibers
Merino Blend
Soft, warm, and excellent against the neck.
Wool/Acrylic Blend
Combines warmth with easier care.
Acrylic
Affordable, washable, and useful for gifts.
Alpaca Blend
Warm and soft, although some blends may stretch with use.
Choose a yarn that feels comfortable directly against the neck.
Test the Yarn Against Your Skin
Rub the yarn gently against your neck before beginning.
Scarves sit against more sensitive skin than many crochet projects.
If it feels scratchy during the test, choose another yarn.
Two-Color Version
Make the first:
15 rows
and the keyhole section in:
warm cream.
Change to:
deep plum
for the remaining long end.
This makes the keyhole easy to see while creating subtle color blocking.
Contrast End Version
Work the entire scarf in one main color.
Switch to a contrast color for the final:
6–8 inches.
When threaded through the keyhole, the contrast end becomes a decorative focal point.
Striped Keyhole Scarf
Add simple wide stripes every:
8–10 rows.
Avoid very narrow stripes around the actual keyhole section so the construction remains visually clean.
Monochrome Minimalist Version
Use one neutral yarn throughout.
Camel, oatmeal, charcoal, or cream work especially well with the ribbed texture.
Can I Add Fringe?
You can, but this design is intended to stay clean and practical.
Fringe on the long end may become bulky when passed through the keyhole.
For that reason, the main version has:
no fringe.
Can I Add a Button?
It isn’t necessary.
The keyhole already functions as the scarf closure.
Removing hardware also keeps the project beginner-friendly.
Why Work It Flat?
Flat construction makes it easy to:
- Adjust scarf length
- Create the keyhole
- Check the width
- Correct mistakes
There is no complicated circular foundation chain or seam.
Beginner Tip: Mark the Keyhole Rows
Place a stitch marker in the first keyhole row.
This makes it much easier to ensure both narrow side strips contain exactly the same number of rows.
Beginner Tip: Count the Main Width
After reconnecting the scarf, you should return to:
16 stitches.
Count every few rows.
Accidentally losing one edge stitch can gradually make the scarf narrower.
Common Beginner Problems
My Keyhole Is Too Small
Undo the reconnecting row and work additional rows on both side strips.
Or increase the number of center stitches left open.
My Keyhole Is Too Large
Reduce the number of center stitches or shorten the split section.
The Two Sides of the Keyhole Are Uneven
Count the rows carefully.
Both strips must have the same number.
Scarf Gets Narrower
You’re probably missing the first or last stitch.
Count:
16 stitches
regularly.
Scarf Gets Wider
Don’t accidentally work into the turning chain.
Scarf Feels Too Stiff
Use a larger hook.
Scarf Slips Through the Keyhole Too Easily
Make the opening slightly narrower or choose a yarn with more texture.
Long End Doesn’t Reach the Keyhole
Simply crochet additional rows before finishing.
Blocking
Light blocking helps the scarf lie flat.
Dampen according to your yarn care instructions.
Straighten:
- Long edges
- Short ends
- Keyhole strips
Make sure the keyhole remains rectangular.
Allow the scarf to dry completely.
Washing
Follow the care instructions for your yarn.
Support the scarf when wet so it doesn’t stretch excessively.
Lay flat to dry when appropriate.
Storage
Fold the scarf loosely.
Avoid hanging it through the keyhole for months at a time, because constant tension can stretch the opening.
Handmade Gift Idea
Keyhole scarves are especially good gifts because the fit isn’t as precise as:
- Hats
- Gloves
- Sweaters
Choose a soft neutral yarn and the recipient can simply adjust how far the end is pulled through the opening.
Matching Winter Set
Pair this scarf with:
- Alpine Stitch Beanie
- Waffle Stitch Beanie
- Chunky Button Ear Warmer
- Braided Ear Warmer
- Crochet Mittens
- Thermal Wrist Warmers
A coordinated yarn palette can turn several small projects into a complete handmade winter gift set.
Frequently Asked Questions
What is a keyhole scarf?
It’s a scarf with an opening near one end. The opposite end passes through the opening to hold the scarf in place.
What yarn weight is used?
Category 4 worsted-weight yarn.
What hook size is used?
5.5 mm.
How much yarn do I need?
Approximately 220–260 yards.
How large is the scarf?
Approximately 36 × 5–5½ inches.
How large is the keyhole?
Approximately 2½–3 inches wide and 3 inches long.
Does it require a button?
No.
Is it worked in the round?
No. The entire scarf is worked flat.
Can beginners make it?
Yes. The only unusual section is splitting the work temporarily to create the keyhole.
Can I make it longer?
Yes. Simply continue the final full-width section.
Why doesn’t this scarf need fringe?
Fringe would add unnecessary bulk when the end is passed through the keyhole.
Final Thoughts
A scarf doesn’t have to be long or heavily wrapped to keep your neck warm.
This crochet keyhole scarf pattern uses one simple opening to solve one of the biggest problems with traditional scarves: keeping the ends in place.
The short end holds the keyhole.
The longer end passes through it.
And the soft HDC BLO ribbing gives the entire scarf a comfortable textured finish without requiring complicated stitches.
Use deep plum for the Crochetmirth version, camel for a classic neutral, forest green for winter, or cream for a soft minimalist look.
It’s beginner-friendly, practical, easy to customize, and considerably less bulky than tying a traditional scarf into a large knot.
Save this beginner keyhole scarf pattern for your winter crochet list!