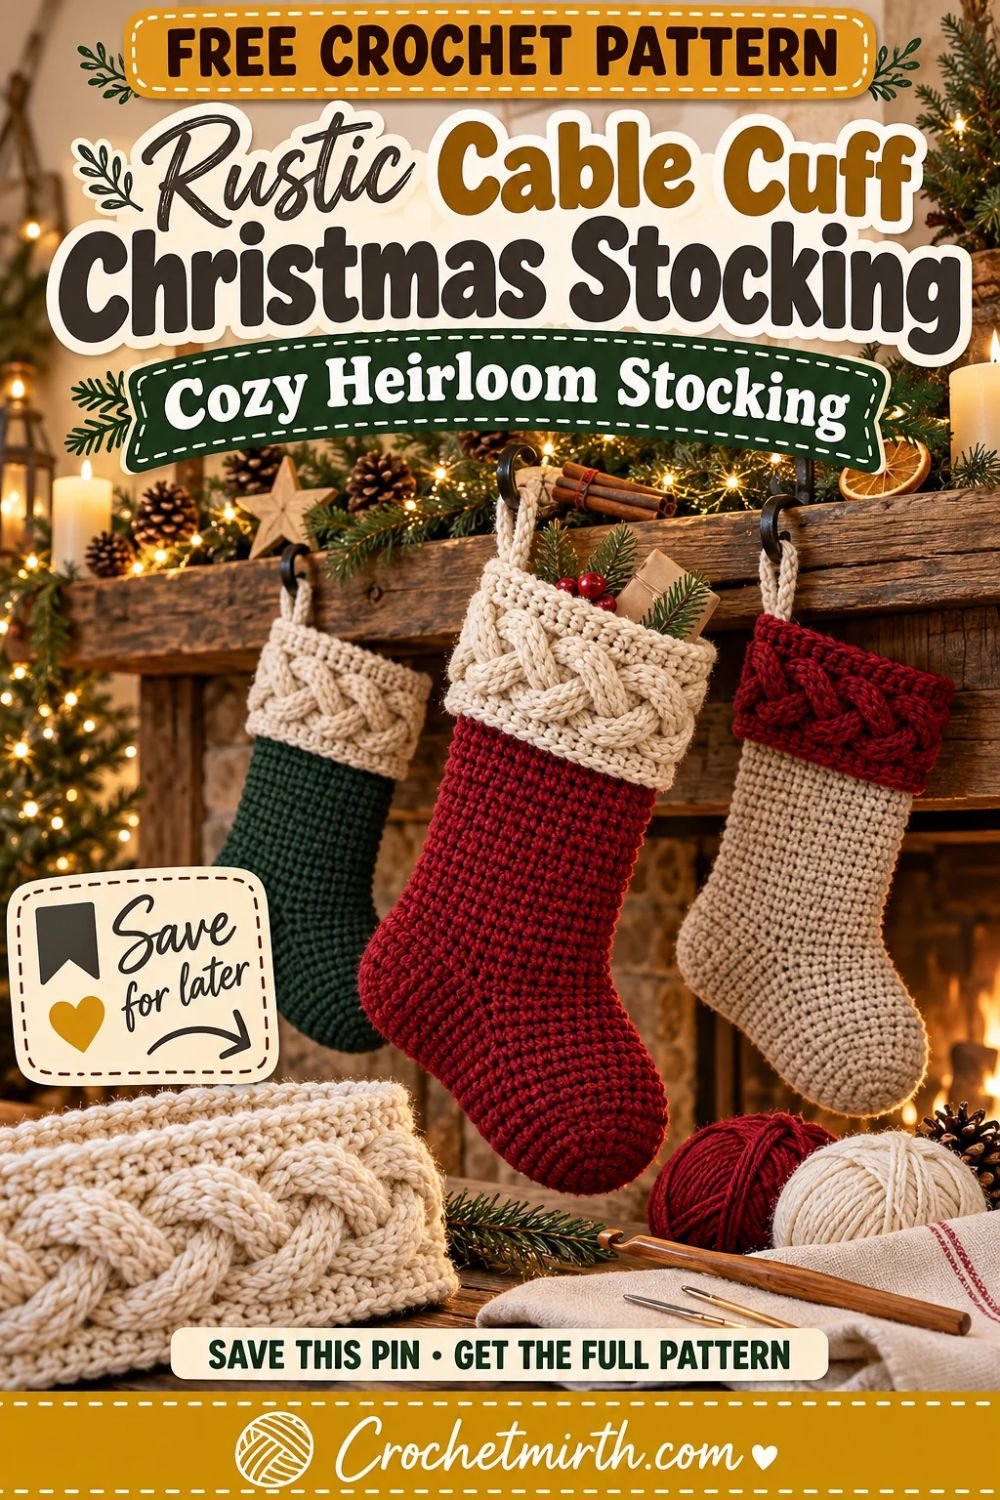
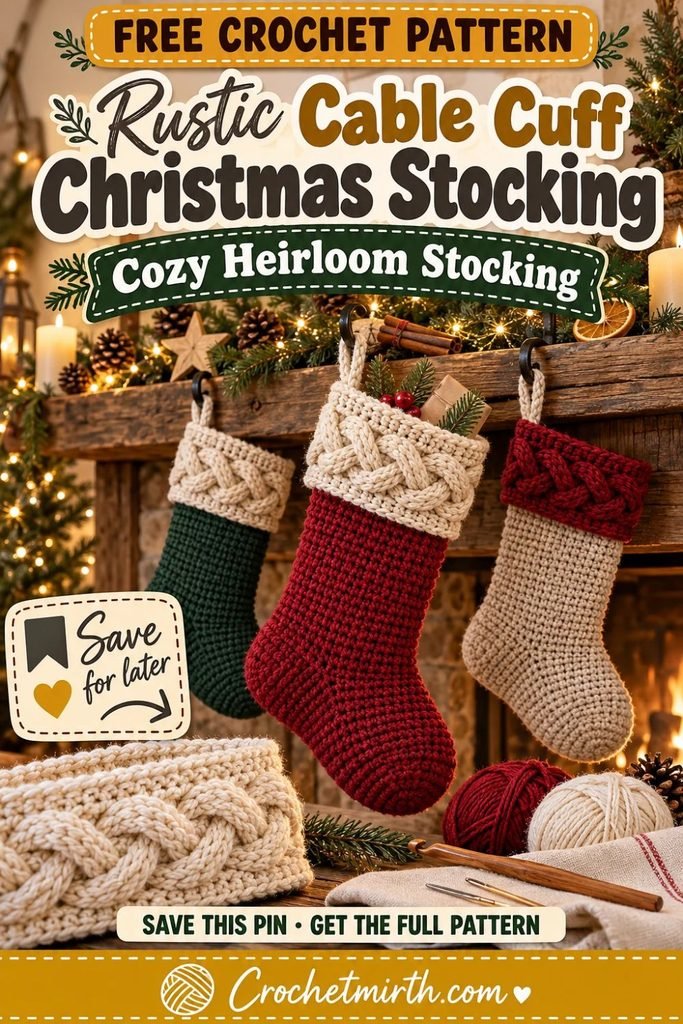
Free Crochet Christmas Stocking Pattern with Cable Cuff – Rustic Heirloom Stocking
Some Christmas decorations are made for one season.
Others become part of the family Christmas box and come back to the mantel year after year.
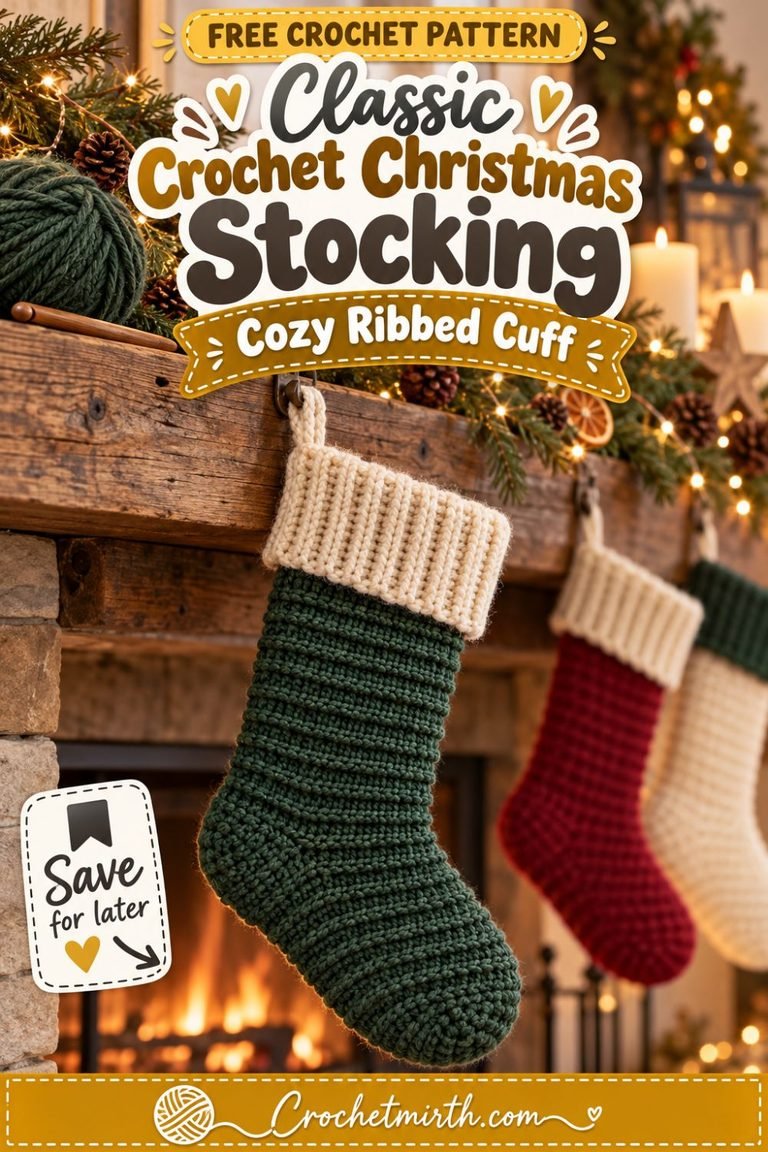
This free crochet Christmas stocking pattern with cable cuff is designed to feel like the second kind.
The stocking combines a simple, practical worsted-weight body with one statement detail: a wide raised crochet cable cuff.
Instead of covering the entire stocking in complicated cables, the body stays clean and classic.
That makes the cable cuff stand out while keeping most of the project relatively straightforward.
The stocking is worked from the toe upward in rounds, with an opening left for an afterthought heel.
Once the leg is finished, you’ll crochet a separate cream cable band, seam it into a ring, and attach it around the upper edge.
Add a reinforced hanging loop and you have a full-size Christmas stocking suitable for treats, small gifts, or a matching family mantel display.
Why You’ll Love This Crochet Stocking
This design features:
- Full-size Christmas stocking
- Worsted-weight yarn
- Smooth classic body
- Rounded toe
- Afterthought heel
- Wide contrast cuff
- True raised crochet cable
- Strong hanging loop
- Easy color customization
- Matching-family potential
- Rustic heirloom styling
It gives you the visual impact of a cable stocking without asking you to work complicated cables through the entire foot, heel, and toe.
Skill Level
Advanced Beginner / Intermediate
Most of the stocking body is beginner-friendly.
The cuff requires familiarity with post stitches.
You should know how to:
- Make a magic ring
- Half double crochet
- Increase
- Decrease
- Chain
- Skip stitches
- Work in rounds
- Single crochet
- Front post double crochet
- Back post double crochet
- Front post treble crochet
- Sew crochet pieces together
- Weave in ends
If crochet cables are new to you, practice the cuff repeat on a small swatch first.
Finished Measurements
Approximately:
17 inches from cuff to toe
and:
6½–7 inches wide when laid flat.
Cuff depth:
approximately 3½ inches
Foot length:
approximately 9–10 inches
The stocking is generously sized for small Christmas gifts and treats.
Materials
Use Category 4 worsted-weight yarn.
For one stocking, plan on approximately:
380–430 yards total.
For the Crochetmirth sample:
Main Color — Deep Cranberry
Approximately:
290–330 yards
Cuff + Hanging Loop — Warm Cream
Approximately:
80–100 yards
You’ll also need:
- 5.0 mm crochet hook for the stocking body
- 5.0 mm crochet hook for the cable cuff
- 4.5 mm hook, optional for hanging loop
- Yarn needle
- Scissors
- Measuring tape
- Stitch markers
Gauge
For the main body:
Approximately:
14 hdc = 4 inches
and:
11 rounds = 4 inches
Exact gauge is less critical than for wearable clothing, but it affects final stocking size and yarn usage.
Make sure the fabric is dense enough that small gifts don’t easily poke through the stitches.
Crochet Abbreviations
This pattern uses US terminology.
MR – magic ring
ch – chain
sc – single crochet
hdc – half double crochet
hdc2tog – half double crochet two together
FPdc – front post double crochet
BPdc – back post double crochet
FPtr – front post treble crochet
sl st – slip stitch
st / sts – stitch / stitches
rnd – round
RS – right side
WS – wrong side
Construction Overview
You’ll make the stocking in five stages:
- Toe
- Foot
- Heel opening
- Leg
- Cable cuff and hanging loop
The stocking body is worked in joined rounds.
The heel is added afterward.
The cable cuff is worked separately as one long strip, seamed into a ring, and attached to the stocking.
PART 1: Crochet the Toe
Using cranberry yarn and the 5 mm hook:
Make a magic ring.
Round 1
Work:
8 hdc
into the ring.
Join.
8 sts
Round 2
Work:
2 hdc in every stitch
around.
16 sts
Round 3
Repeat:
1 hdc, 2 hdc in next stitch
around.
24 sts
Round 4
Repeat:
hdc in next 2 sts, 2 hdc in next
around.
32 sts
Round 5
Repeat:
hdc in next 3 sts, 2 hdc in next
around.
40 sts
Round 6
Repeat:
hdc in next 4 sts, 2 hdc in next
around.
48 sts
The toe should now form a broad rounded cup.
PART 2: Crochet the Foot
Rounds 7–23
Hdc in every stitch around.
Join after each round.
48 sts
After Round 23, measure from the toe tip.
Aim for approximately:
8–8½ inches
before creating the heel opening.
If your gauge is shorter, add one or two plain rounds.
If it’s longer, stop slightly earlier.
PART 3: Create the Heel Opening
Round 24
Hdc in first:
12 sts
Then:
Ch 24
Skip:
24 sts
Hdc in final:
12 sts
Join.
You have created the opening where the heel will be added later.
The round still has the equivalent of:
48 stitch positions.
PART 4: Restore the Leg
Round 25
Hdc in first:
12 sts
Work:
1 hdc in each of the 24 chains
Hdc in final:
12 sts
Join.
48 sts
PART 5: Crochet the Leg
Rounds 26–49
Hdc in every stitch around.
48 sts
Join after each round.
Measure from the heel opening upward.
Aim for approximately:
8½–9 inches of leg.
Fasten off after the final round.
Don’t add the cuff yet.
PART 6: Crochet the Heel
Return to the heel opening.
Join cranberry yarn at one corner.
Pick up approximately:
24 sts along the lower edge
and:
24 sts along the upper chain edge.
You should have:
48 sts.
If you need one extra stitch at a corner to close a visible gap, add it temporarily and decrease it on the next round.
Heel Round 1
Hdc around.
48 sts
Heel Round 2
Repeat:
hdc 4, hdc2tog
around.
40 sts
Heel Round 3
Hdc around.
40 sts
Heel Round 4
Repeat:
hdc 3, hdc2tog
around.
32 sts
Heel Round 5
Hdc around.
32 sts
Heel Round 6
Repeat:
hdc 2, hdc2tog
around.
24 sts
Heel Round 7
Repeat:
hdc 1, hdc2tog
around.
16 sts
Heel Round 8
Hdc2tog around.
8 sts
Fasten off, leaving a long tail.
Close the Heel
Thread the yarn tail onto a yarn needle.
Pass through the front loops of the remaining:
8 stitches.
Pull firmly closed.
Secure.
Use the remaining tail to close any tiny gaps at the heel corners.
Weave in securely.
PART 7: Begin the Cable Cuff
The cuff is worked separately.
This keeps the cable construction much easier than trying to work cables directly around the stocking.
Using warm-cream yarn:
Ch 13.
Cuff Row 1 — WS
Hdc in second chain from hook and across.
12 sts
Ch 1 and turn.
PART 8: Establish the Cable
The cuff is divided into:
3 border stitches + 6 cable stitches + 3 border stitches
Row 2 — RS
Hdc in first:
3 sts
Work:
FPdc around each of the next 6 stitch posts
Hdc in final:
3 sts
Ch 1 and turn.
Row 3 — WS
Hdc in first:
3 sts
Work:
BPdc around each of the next 6 cable posts
Hdc in final:
3 sts
Ch 1 and turn.
PART 9: First Cable Crossing
Row 4 — RS
Hdc in first:
3 sts
Now work the six cable stitches.
Skip the first:
3 cable posts
Work:
1 FPtr around each of the next 3 cable posts
Then, working in front of those stitches, return to the three skipped posts.
Work:
1 FPtr around each skipped post
in their original order.
Hdc in final:
3 sts
Ch 1 and turn.
You have created the first large braid crossing.
Row 5 — WS
Hdc 3.
BPdc around all 6 cable posts.
Hdc 3.
Ch 1 and turn.
Row 6 — RS
Hdc 3.
FPdc around all 6 cable posts.
Hdc 3.
Ch 1 and turn.
Row 7 — WS
Hdc 3.
BPdc around all 6 cable posts.
Hdc 3.
Ch 1 and turn.
Row 8 — RS
Repeat the cable crossing from Row 4.
Cable Cuff Repeat
Continue repeating:
Rows 5–8
until the cuff strip measures approximately:
13–13½ inches long
when relaxed.
This should be close to the circumference of the stocking opening.
Do not stretch the strip while measuring.
Test the Cuff
Wrap the cable strip around the upper edge of the stocking.
The short ends should meet comfortably.
If they don’t meet, add another cable repeat.
If the cuff is noticeably too long, remove the final repeat.
The cuff should sit neatly without gathering the stocking body.
PART 10: Seam the Cuff
Finish after a WS support row rather than directly after a cable-crossing row if possible.
Fasten off, leaving a long tail.
Place the two short ends together.
Using mattress stitch or whip stitch:
Sew the ends together.
You now have a circular cable cuff.
Position the seam at what will become the back of the stocking.
PART 11: Attach the Cuff
Place the cable cuff around the upper edge of the stocking.
The right side of the cable should face outward.
Align:
- Cuff seam
- Center back of stocking
Using cream yarn, join through both:
- lower long edge of cuff
- upper edge of stocking
Work:
1 sc evenly around
attaching the two pieces.
Don’t make the attachment round too tight.
The stocking opening should remain flexible.
Join.
Fasten off.
Check the Cable Direction
Once attached, the raised braid should wrap continuously around the cuff like a thick heirloom cable band.
Arrange the cable crossings with your fingers so they sit prominently toward the front.
PART 12: Add the Hanging Loop
Using cream yarn and optionally the 4.5 mm hook:
Ch 32.
Starting in the second chain from hook:
Sl st back through every chain.
This creates a strong cord.
Fasten off, leaving two long tails.
Fold the cord in half.
Position it on the inside back edge of the stocking, directly beside or over the cuff seam.
Sew both ends firmly into the stocking body below the cuff.
Don’t rely on the decorative cuff alone to support the stocking’s weight.
Reinforce the Hanging Loop
Sew through several body stitches.
Create a small square of reinforcing stitches.
Then sew diagonally across that square.
This distributes the weight more effectively than attaching the loop at only one point.
Your Cable Cuff Stocking Is Finished
You should now have:
- Rounded crochet toe
- Roomy foot
- Shaped heel
- Straight classic leg
- Wide cream cable cuff
- Strong hanging loop
Lightly shape the stocking with your hands before blocking.
Deep Cranberry Heirloom Version
The Crochetmirth sample uses:
Deep cranberry body
with:
warm-cream cable cuff.
This gives the cable excellent contrast while keeping the stocking traditional.
Forest Green Version
Use:
Deep forest-green body
with:
cream cuff.
This creates a beautiful matching partner for the cranberry stocking.
Oatmeal Farmhouse Version
Use:
Warm oatmeal body
with either:
cream
or:
cranberry cable cuff.
This produces a softer rustic-farmhouse look.
All-Cream Stocking
Make both body and cuff cream.
The raised cable still shows clearly because of light and shadow.
This works especially well for neutral Christmas decor.
Navy Heirloom Version
Deep navy with an oatmeal cuff gives the stocking a classic winter appearance without looking overly Christmas-specific.
Matching Family Stockings
For a coordinated family mantel, keep the cuff color consistent.
For example:
- Cranberry body + cream cuff
- Forest body + cream cuff
- Oatmeal body + cream cuff
- Camel body + cream cuff
The shared cable cuff makes different body colors look like one intentional collection.
Add a Name
If you want to personalize the stocking, embroider a name onto the plain body immediately below the cuff.
Use simple chain stitch or backstitch.
Avoid embroidering directly across the raised cable because the lettering may become difficult to read.
Add an Initial
For a subtler personalized version, embroider one large initial approximately:
2 inches below the cuff.
Use cream on dark stockings or cranberry/green on light stockings.
Optional Tassel
A small yarn tassel can be attached near the hanging loop.
Keep it lightweight.
The cable cuff is already a strong visual feature, so a very large tassel isn’t necessary.
Optional Wooden Tag
A removable wooden or kraft-paper name tag can be tied to the hanging loop.
This is useful if you want names without permanently embroidering the stocking.
Why Keep the Body Simple?
The plain HDC body does three useful things.
It:
- Keeps the pattern manageable
- Lets the cable cuff become the focal point
- Makes personalization easier
It also makes the stocking faster to reproduce when you’re making several for a family.
Why Use Worsted Yarn?
Worsted yarn works particularly well for Christmas stockings because it provides:
- Good structure
- Durable fabric
- Clear cable definition
- Manageable yarn consumption
- Faster progress than lightweight yarn
It’s also widely available in coordinated Christmas colors.
Why Work the Cuff Separately?
A separately crocheted cable strip is easier to control than complex cable rounds.
It also lets you adjust the cuff circumference independently from the stocking body.
If your cable gauge is slightly different from the HDC gauge, you simply work the strip until it fits.
Make the Cuff Deeper
For an even more dramatic heirloom look:
Ch 15–17
instead of Ch 13.
Add one or two plain border stitches to each side of the six-stitch cable.
Aim for a finished cuff around:
4–4½ inches deep.
Make the Cuff Narrower
For a simpler version:
Start with:
Ch 11.
Use:
2 border stitches + 6 cable stitches + 2 border stitches.
This produces a cuff around:
3 inches deep.
Longer Stocking
Add plain HDC rounds to the leg before attaching the cuff.
Each additional few rounds increases the stocking’s hanging length without changing the foot.
Shorter Stocking
Remove several leg rounds.
Keep enough height between the heel and cuff that the stocking still looks proportionate.
Wider Stocking
Increase the toe to:
52 or 56 stitches
instead of 48.
Adjust the heel opening proportionally.
You’ll also need a longer cable cuff.
Why Use an Afterthought Heel?
The heel opening lets you work most of the stocking as one simple tube.
The heel can then be shaped independently.
This means:
- Easier length adjustments
- Cleaner main-body construction
- No complicated heel-turning rows
Filling the Stocking
This stocking is suitable for lightweight holiday gifts such as:
- Candy
- Gift cards
- Socks
- Small toys
- Beauty items
- Mini books
- Ornaments
For very heavy gifts, support the bottom rather than relying only on the hanging loop.
Crochet fabric can stretch under significant weight.
Optional Fabric Lining
If you expect to fill the stocking heavily every Christmas, add a fabric lining.
Trace the completed stocking onto folded cotton fabric.
Add approximately:
½ inch seam allowance.
Sew the two fabric pieces together.
Insert the lining.
Hand-sew its upper edge just inside the crochet stocking below the cable cuff.
The lining helps the stocking hold its shape and reduces stretching.
Common Beginner Problems
Cable Looks Flat
Make sure you’re working around the stitch posts rather than into the top loops.
Cable Is Too Tight
Front-post treble stitches need enough height to cross three stitches.
Relax your tension.
Cuff Is Too Short
Simply add another cable repeat before seaming.
Cuff Is Too Long
Remove the final repeat.
Stocking Twists
Joined rounds can shift slightly.
Blocking usually corrects minor twisting.
Heel Has Gaps
Pick up one extra stitch at each corner and decrease those stitches on the following round.
Toe Looks Pointed
Check that your increase rounds are evenly spaced.
Hanging Loop Stretches
Attach it through the stocking body, not only through the cuff.
Stocking Sags When Filled
Add an optional fabric lining or support the bottom.
Blocking
Blocking is particularly useful for this pattern because it helps both the plain body and cable cuff look polished.
Lightly dampen according to your yarn’s care instructions.
Shape:
- Toe
- Heel
- Leg
- Cuff
Don’t flatten the cable.
Use your fingers to encourage the raised braid forward.
Allow the stocking to dry completely.
Washing
Follow the care instructions for your yarn.
Remove:
- Tags
- Natural greenery
- Gifts
- Paper
- Non-washable decorations
before washing.
Reshape while damp.
Storage After Christmas
Lay the stocking flat.
Don’t sharply fold directly across the cable cuff.
Store in a dry box or fabric bag.
For several matching stockings, place clean tissue between the raised cuffs so the cables aren’t compressed for months.
Frequently Asked Questions
What yarn weight is used?
Category 4 worsted-weight yarn.
What hook size is used?
5 mm.
How large is the stocking?
Approximately 17 inches tall × 6½–7 inches wide.
How much yarn do I need?
Approximately 380–430 yards total.
Is the whole stocking cabled?
No. The body is simple HDC and the main cable detail is concentrated on the cuff.
Is the cuff crocheted separately?
Yes.
What creates the cable?
Front-post double, back-post double, and front-post treble crochet.
How is the heel made?
An opening is created in the body and the heel is added afterward.
Can I personalize the stocking?
Yes. Embroider the name below the cable cuff.
Can I line the stocking?
Yes, especially if it will hold heavier gifts.
Final Thoughts
A Christmas stocking doesn’t need complicated stitches from toe to cuff to feel special.
Sometimes one strong handmade detail is enough.
This free crochet Christmas stocking pattern with cable cuff keeps the body clean and traditional while using a raised braided cable around the top to create a much more distinctive heirloom look.
Make one in deep cranberry.
Add another in forest green.
Use oatmeal for a neutral version.
Keep every cuff cream and you’ll have a matching family collection that can grow year after year.
Save this Pin and click through to Crochetmirth.com for the full cable-cuff Christmas stocking instructions!