Free Waffle Stitch Crochet Beanie Pattern – Warm Textured Winter Hat
When you want a crochet hat that looks simple from a distance but beautifully textured up close, waffle stitch is hard to beat.

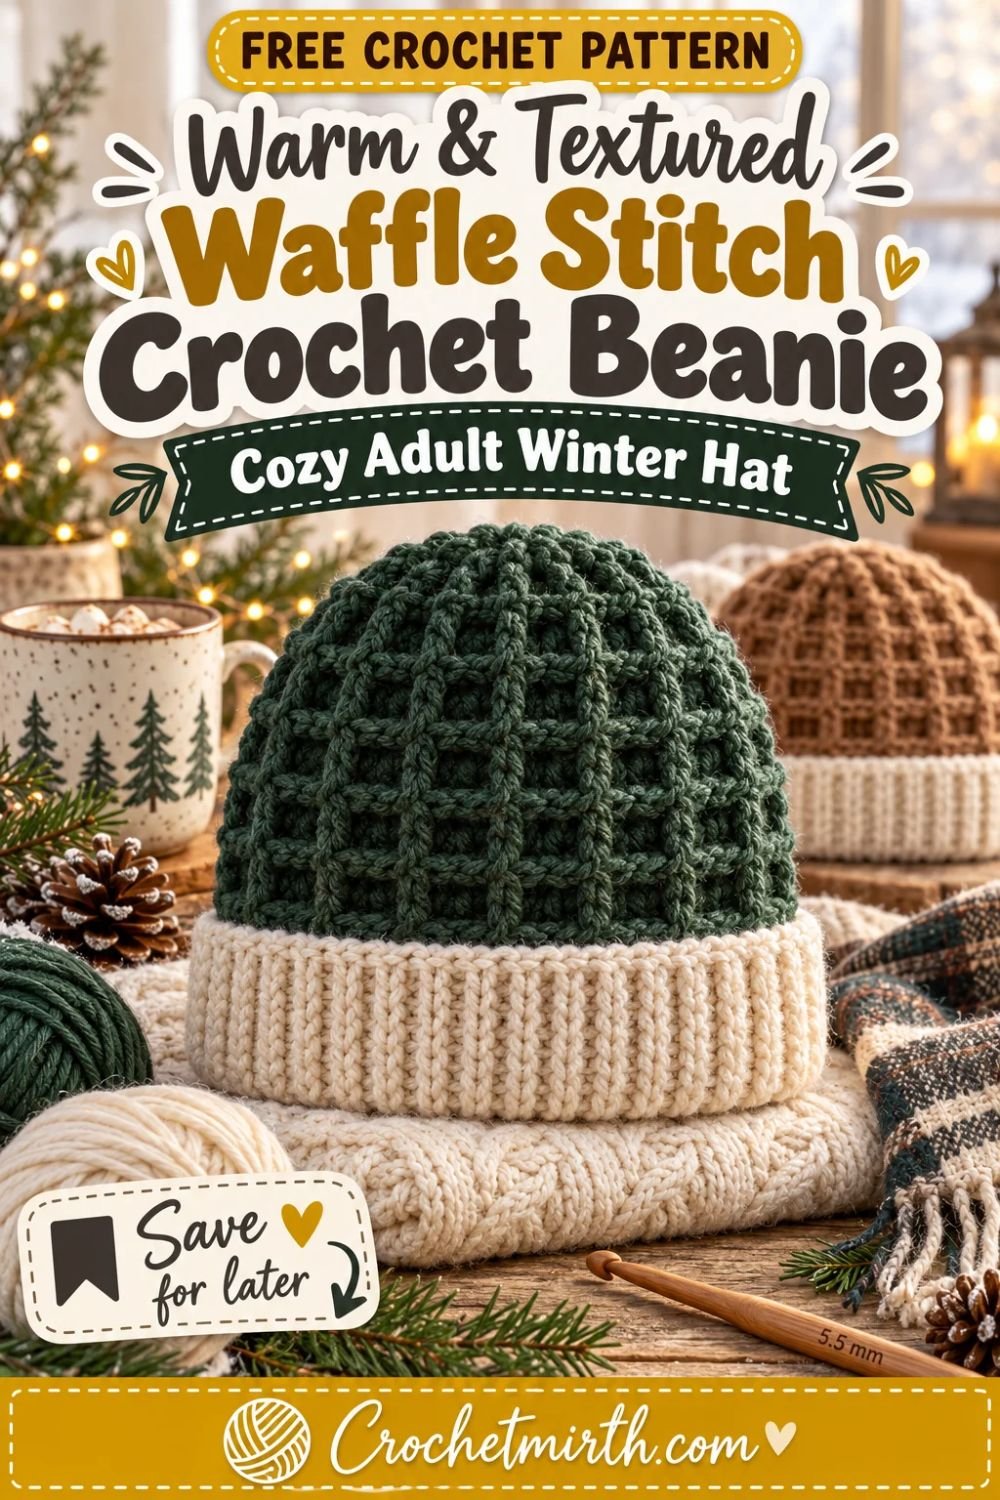
This free waffle stitch crochet beanie pattern combines a deep forest-green waffle-textured body with a warm-cream fold-over ribbed brim.
The raised post stitches create small recessed squares throughout the hat, producing a thick, warm fabric that’s ideal for winter.
The pattern is written for an average adult head measuring approximately:
21–23 inches
and uses worsted-weight yarn with a 5 mm hook.
Unlike your standard ribbed crochet beanie, the entire upper section uses a genuine waffle-style stitch pattern.
That gives this hat a completely different appearance while keeping the silhouette classic and wearable.
Why You’ll Love This Waffle Stitch Beanie
This winter hat has:
- Deep crochet texture
- Fold-over ribbed cuff
- Warm dense fabric
- Classic adult fit
- Unisex styling
- No complicated sewing
- Simple two-round waffle repeat
- Easy color customization
- Optional pom-pom
- Excellent handmade-gift potential
The finished design works equally well in neutral yarn, traditional winter shades, or brighter colors.
Skill Level
Advanced Beginner / Intermediate
The basic stitches are straightforward, but you should be comfortable working post stitches.
You’ll need to know:
- Chain
- Single crochet
- Single crochet back loop only
- Double crochet
- Front post double crochet
- Double crochet two together
- Single crochet two together
- Slip stitch
- Joined rounds
- Turning joined rounds
- Sewing a short seam
Materials
Main Color
Approximately:
160–190 yards Category 4 worsted-weight yarn
in deep forest green.
Contrast Cuff
Approximately:
60–80 yards Category 4 worsted-weight yarn
in warm cream.
Plan on approximately:
220–260 yards total
for the adult hat.
Yardage varies depending on tension and whether you make the cuff deeper.
Hooks
Use:
5.0 mm crochet hook for the waffle body.
Use:
4.5 mm crochet hook for the ribbed cuff.
Other Supplies
- Yarn needle
- Scissors
- Measuring tape
- Stitch markers
- Optional pom-pom
Finished Measurements
Designed for approximately:
21–23 inch adult head circumference
Finished unstretched circumference:
18½–19½ inches
Approximate finished hat height:
8½–9 inches
with the brim folded.
The hat uses negative ease so it stretches comfortably around the head.
Gauge
In waffle stitch with the 5 mm hook:
Approximately:
14 stitches = 4 inches
and:
9–10 rounds = 4 inches
Gauge matters more for a hat than for a decorative project.
Make a swatch before starting if your crochet tension tends to be especially loose or tight.
Crochet Abbreviations
This pattern uses US terminology.
ch – chain
sc – single crochet
sc BLO – single crochet in back loop only
dc – double crochet
FPdc – front post double crochet
dc2tog – double crochet two together
sc2tog – single crochet two together
sl st – slip stitch
st / sts – stitch / stitches
rnd – round
Special Stitch: Front Post Double Crochet
Yarn over.
Insert the hook from front to back and then back to front around the post of the indicated stitch.
Yarn over and pull up a loop.
Complete the double crochet normally.
The stitch wraps around the post rather than being worked into the top loops.
This is what creates the raised grid texture.
Waffle Stitch Repeat
The waffle body alternates two rounds.
Waffle Round A
Repeat:
FPdc around next stitch, dc in next 2 stitches
Waffle Round B
Repeat:
dc in next stitch, FPdc around next 2 stitches
Alternating these placements creates raised rectangular waffle sections.
The stitch count must remain divisible by:
3
Our adult sample uses:
66 stitches.
PART 1: Crochet the Fold-Over Ribbed Brim
Using warm-cream yarn and the:
4.5 mm hook
Ch:
21
Row 1
Sc in the second chain from the hook and across.
20 sts
Ch 1 and turn.
Row 2
Working in the:
back loop only
Sc across.
20 sts
Ch 1 and turn.
Continue
Repeat Row 2 until the strip measures approximately:
18½–19 inches long
when relaxed.
Depending on your row gauge, this will usually be around:
72–78 rows.
Don’t rely only on row count.
Measure the actual strip.
Check the Brim Fit
Wrap the strip gently around the head.
It should stretch comfortably without feeling loose.
Remember that the strip will be folded in half, but the circumference stays the same.
Join the Ribbed Brim
Bring the two short ends together.
Make sure the ribbing isn’t twisted.
Slip stitch or sew the two ends together.
You now have a tall ribbed ring approximately:
5 inches deep.
Fasten off.
Fold the Brim
Fold the ring in half so the long edges meet.
Your doubled brim should now measure approximately:
2½ inches deep.
Line up the two long edges.
Place stitch markers at:
- Quarter point
- Halfway point
- Three-quarter point
This helps you distribute the body stitches evenly.
PART 2: Join the Forest-Green Yarn
Switch to the:
5.0 mm hook
and deep forest-green yarn.
Join yarn through both long edges of the folded cuff.
This first round will permanently hold the brim folded.
Setup Round
Ch 2.
Work:
66 dc evenly around the cuff
working through both layers.
Join with a sl st to the first dc.
66 sts
The ch 2 does not count as a stitch.
Distribution Tip
You don’t need one stitch in every ribbing row.
The important goal is:
66 evenly distributed stitches
with no bunching or large gaps.
Check that the cuff still stretches before continuing.
PART 3: Begin the Waffle Texture
The waffle rounds will be:
joined and turned.
Turning helps keep the texture more balanced.
Waffle Round 1
Ch 2.
Turn.
Repeat around:
FPdc around next st, dc in next 2 sts
Repeat a total of:
22 times
Join.
66 sts
Waffle Round 2
Ch 2.
Turn.
Repeat:
dc in next st, FPdc around next 2 sts
around.
Join.
66 sts
Waffle Round 3
Repeat Waffle Round 1.
Waffle Round 4
Repeat Waffle Round 2.
Continue alternating these two rounds.
PART 4: Build the Textured Body
Continue until you’ve completed approximately:
12 waffle rounds
or until the waffle section measures about:
4½–5 inches above the folded cuff.
Try the hat on if possible.
Before crown shaping, the piece should resemble a textured cylinder.
Don’t make the straight section too tall unless you want a slouchy beanie.
For the classic fitted version, begin decreasing when the hat measures approximately:
7–7½ inches from the lower folded edge.
PART 5: Prepare the Crown
After the final waffle round, stop the waffle repeat.
From this point onward, we’ll use single crochet decreases.
Why switch stitches?
Single crochet decrease rounds are much shorter than double-crochet rounds.
That lets the crown close gradually without making the beanie unusually tall.
Crown Setup Round
Ch 1.
Turn.
Sc in every stitch around.
Join.
66 sts
PART 6: Shape the Crown
Decrease Round 1
Repeat:
sc in next 9 sts, sc2tog
around.
Repeat 6 times.
60 sts
Round 2
Repeat:
sc in next 8 sts, sc2tog
around.
54 sts
Round 3
Repeat:
sc in next 7 sts, sc2tog
around.
48 sts
Round 4
Repeat:
sc in next 6 sts, sc2tog
around.
42 sts
Round 5
Repeat:
sc in next 5 sts, sc2tog
around.
36 sts
Round 6
Repeat:
sc in next 4 sts, sc2tog
around.
30 sts
Round 7
Repeat:
sc in next 3 sts, sc2tog
around.
24 sts
Round 8
Repeat:
sc in next 2 sts, sc2tog
around.
18 sts
Round 9
Repeat:
sc in next st, sc2tog
around.
12 sts
Final Decrease Round
Sc2tog around.
6 sts
Fasten off, leaving approximately:
10 inches of yarn tail.
PART 7: Close the Crown
Thread the yarn tail through a yarn needle.
Pass the needle through the front loops of all:
6 remaining stitches.
Pull firmly.
The opening should close completely.
Take the yarn through the crown several times to secure it.
Weave in the end on the inside.
Shape the Crown
Turn the hat right side out.
Use your fingers to smooth the transition from waffle stitch to the single-crochet crown.
The decrease area should form a softly rounded top rather than a pointed cone.
Your Waffle Stitch Beanie Is Finished
You should now have:
- Folded ribbed cuff
- Deep waffle body
- Rounded crown
- Warm dense fabric
- Classic winter-beanie shape
Forest Green + Cream Version
The Crochetmirth sample uses:
Deep forest-green waffle body
with:
Warm-cream ribbed cuff
This combination makes the waffle texture highly visible while keeping the winter aesthetic soft and handmade.
All-Forest-Green Beanie
Use the same yarn for both brim and body.
This creates a more traditional single-color hat.
The difference between ribbed and waffle textures still gives plenty of visual interest.
Charcoal Beanie
Charcoal gray is especially good for:
- Men’s winter hats
- Minimalist wardrobes
- Neutral gifts
Use a camel or cream cuff if you want subtle contrast.
Warm Camel Version
Crochet the entire hat in warm camel brown.
The shadows created by the waffle texture show particularly well in medium-tone yarn.
Cream Waffle Beanie
An all-cream version gives the waffle texture a cozy winter look.
It’s especially attractive with neutral coats and scarves.
Cranberry Version
Deep cranberry makes a strong holiday-to-winter transition color.
Pair it with a cream brim.
Navy Version
Navy gives the pattern a classic unisex appearance.
Use oatmeal or gray for the cuff.
Optional Pom-Pom
The written sample doesn’t require a pom-pom.
This keeps the waffle crown visible.
If you’d like one, attach a:
3–4 inch yarn or faux-fur pom-pom
to the center of the crown.
Use a removable attachment if you want easier washing.
Without a Folded Brim
Prefer a shorter hat?
Make the ribbed strip only:
2½–3 inches wide
instead of 5 inches.
Don’t fold it.
Join the waffle body directly to one edge.
This saves yarn and produces a lighter beanie.
Make the Cuff Deeper
For a very cozy watch-cap style:
Increase the starting chain from:
21
to:
25
The folded brim will become approximately:
3 inches deep.
Adult Sizing Guide
The written pattern is the Medium Adult size.
For other sizes, keep the waffle stitch count divisible by three.
| Size | Head Circumference | Finished Brim Circumference | Body Stitches |
|---|---|---|---|
| Teen / Small Adult | 20–21″ | 17½–18″ | 60 |
| Adult Medium | 21–23″ | 18½–19½” | 66 |
| Adult Large | 23–24″ | 20–20½” | 72 |
For every size, crochet the ribbed strip to the stated relaxed circumference before joining.
Then distribute the corresponding body stitch count evenly around the folded cuff.
Adjust the Hat Height
For a fitted adult beanie, aim for approximately:
8½–9 inches total height
For a slightly slouchy beanie:
Add:
2–4 additional waffle rounds
before beginning the crown.
For a shorter fitted hat:
Remove one waffle repeat.
Why Waffle Stitch Is Warm
The raised post stitches create a thicker three-dimensional fabric than ordinary flat double crochet.
The ridges trap small pockets of air and create multiple layers of yarn across parts of the fabric.
The result feels substantial and cozy without requiring super-bulky yarn.
Why Use Worsted Yarn?
Worsted yarn provides enough thickness for the waffle texture to stand out while keeping the hat practical.
A recent free waffle beanie listing uses worsted yarn with a 5.5 mm hook and around 120+ yards, while another established adult waffle beanie uses worsted, a 5 mm hook and approximately 190–205 yards.
Our version uses a deeper doubled brim, which is why the total yardage allowance is higher.
Why Turn the Waffle Rounds?
Turning joined rounds helps keep the post-stitch texture visually balanced.
It also reduces the obvious spiral shift that can happen when every round is worked only in one direction.
Keep the Post Stitches Relaxed
Don’t pull FPdc stitches extremely tight.
Post stitches naturally use more yarn than ordinary double crochet.
If they’re too tight:
- The hat narrows
- The waffle squares distort
- The fabric becomes stiff
Keep your tension comfortable and consistent.
Count Every Waffle Round
You should always have:
66 stitches
until crown shaping begins.
A missing stitch can shift the waffle pattern across every later round.
Count periodically rather than waiting until the hat is almost finished.
Reading the Waffle Texture
The pattern should form raised lines that frame small recessed rectangles.
If you’re getting vertical ribs but no obvious boxes, check that you’re alternating:
Round A and Round B
rather than repeating the same post placement every round.
Common Beginner Problems
Waffle Pattern Looks Like Ribbing
You’re probably placing the front-post stitches in the same positions every round.
Alternate the two waffle rounds.
Body Becomes Too Tight
Your front-post tension may be tighter than your ordinary double crochet tension.
Use a 5.5 mm hook for the body if necessary.
Brim Is Too Loose
Shorten the ribbed strip before joining.
Crochet hat brims should generally have negative ease.
Brim Twists
Lay the strip flat before joining and verify that both long edges line up without twisting.
Folded Cuff Separates
Make sure the 66 setup stitches are worked through both long edges.
Crown Looks Pointed
Don’t add plain rounds between the decrease rounds.
Continuous decreases create a smoother rounded crown.
Crown Has a Hole
Pull the final six stitches tightly closed and sew through them more than once.
Blocking
Heavy blocking isn’t recommended for a fitted waffle beanie because it can flatten the texture.
If needed:
Lightly dampen.
Shape the brim.
Smooth the crown.
Allow the hat to dry naturally without stretching the waffle squares.
Washing
Always follow the care instructions for your yarn.
If using a removable pom-pom, remove it first.
Reshape the cuff and crown while damp.
Avoid pressing the waffle texture flat.
Handmade Gift Idea
This pattern makes an especially useful winter gift because the design is:
- Unisex
- Practical
- Warm
- Easy to customize by color
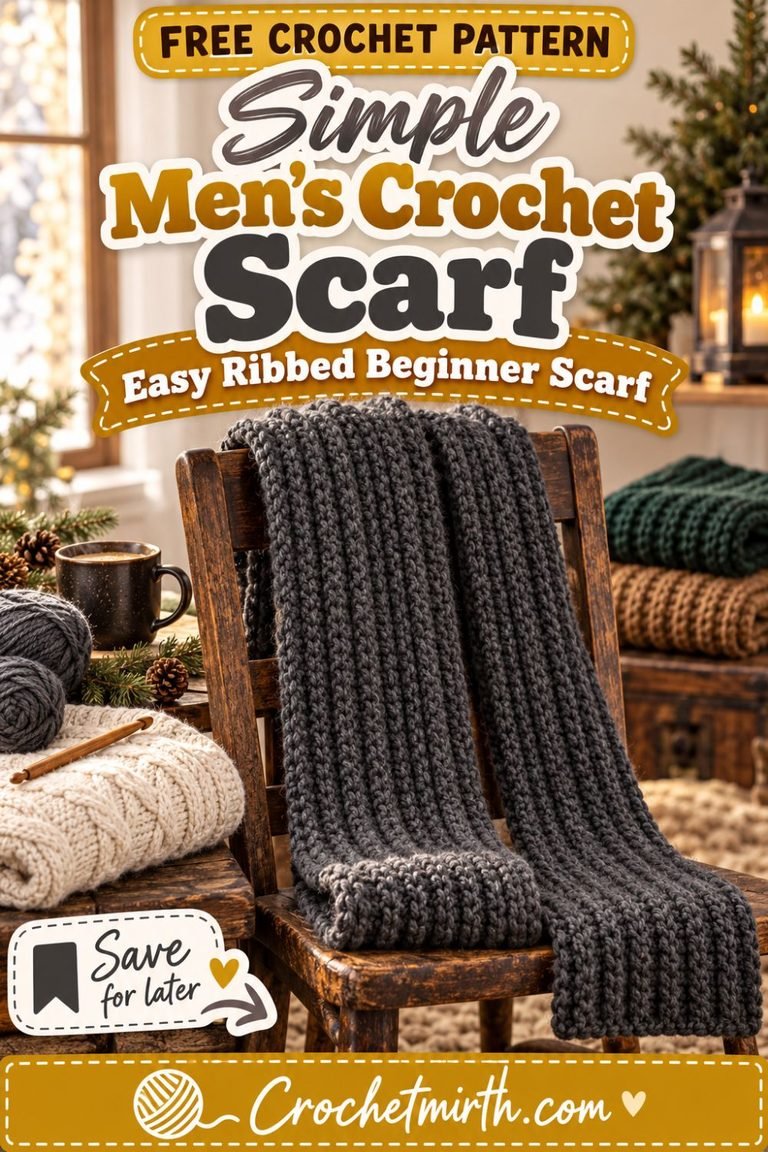
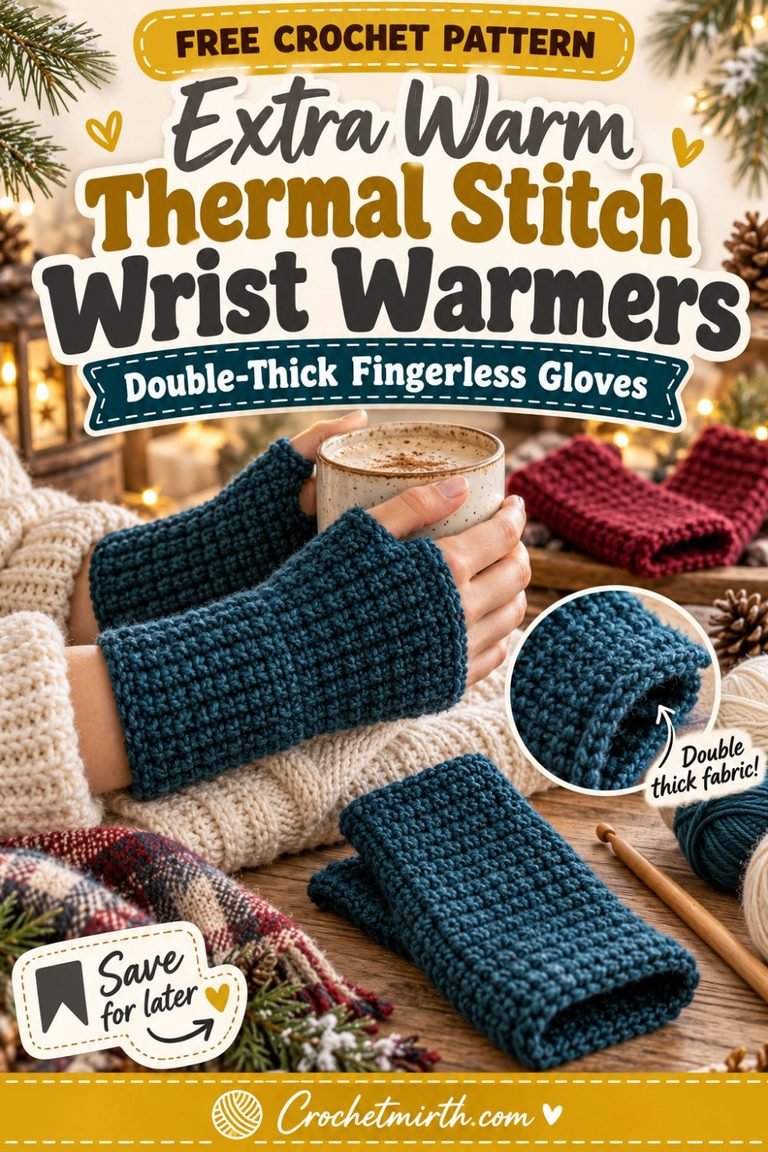
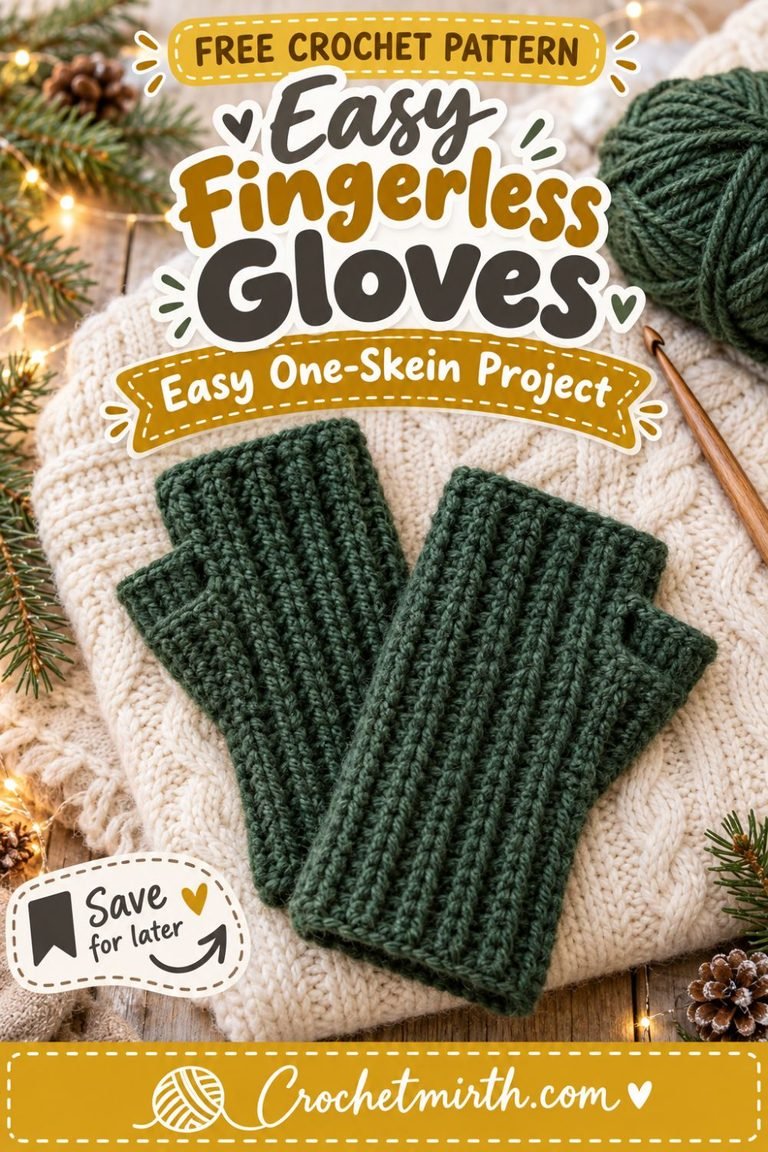
Pair it with a matching scarf or fingerless gloves for a complete handmade winter set.
Matching Waffle Scarf
If you want to create a matching accessory later, use the same two-round waffle repeat in flat rows.
A scarf in the same forest-green yarn would pair naturally with this beanie and could become another article in your winter-accessories cluster.
Frequently Asked Questions
What yarn weight is used?
Category 4 worsted-weight yarn.
What hook size is used?
5 mm for the body and 4.5 mm for the cuff.
How much yarn do I need?
Approximately 220–260 yards for the adult version with a doubled brim.
What adult head size does it fit?
Approximately 21–23 inches.
Is waffle stitch difficult?
The stitch itself is repetitive once you’re comfortable with front-post double crochet.
Is this hat worked top down?
No. It is worked bottom up from the ribbed cuff.
Is the brim folded?
Yes. The written version has a doubled 2½-inch ribbed brim.
Does it need a pom-pom?
No. The sample is designed without one.
Can I make it slouchy?
Yes. Add several additional waffle rounds before crown shaping.
Can I make it for men?
Absolutely. The pattern is unisex.
Can I make a larger adult size?
Yes. Use a 72-stitch body and make the brim approximately 20 inches before joining.
Final Thoughts
Waffle stitch gives a crochet beanie something ordinary stitches can’t quite replicate: deep geometric texture without complicated cables or colorwork.
This free waffle stitch crochet beanie pattern combines that texture with a warm doubled ribbed cuff and a straightforward bottom-up construction.
Make the forest-green and cream version for a cozy woodland winter look.
Try charcoal for a classic men’s hat.
Use camel for a neutral everyday beanie.
Or crochet several colors for handmade Christmas gifts.
Once you understand the two-round waffle repeat, the textured body becomes rhythmic and surprisingly satisfying to make.
Save this free waffle stitch beanie pattern for your winter crochet list!