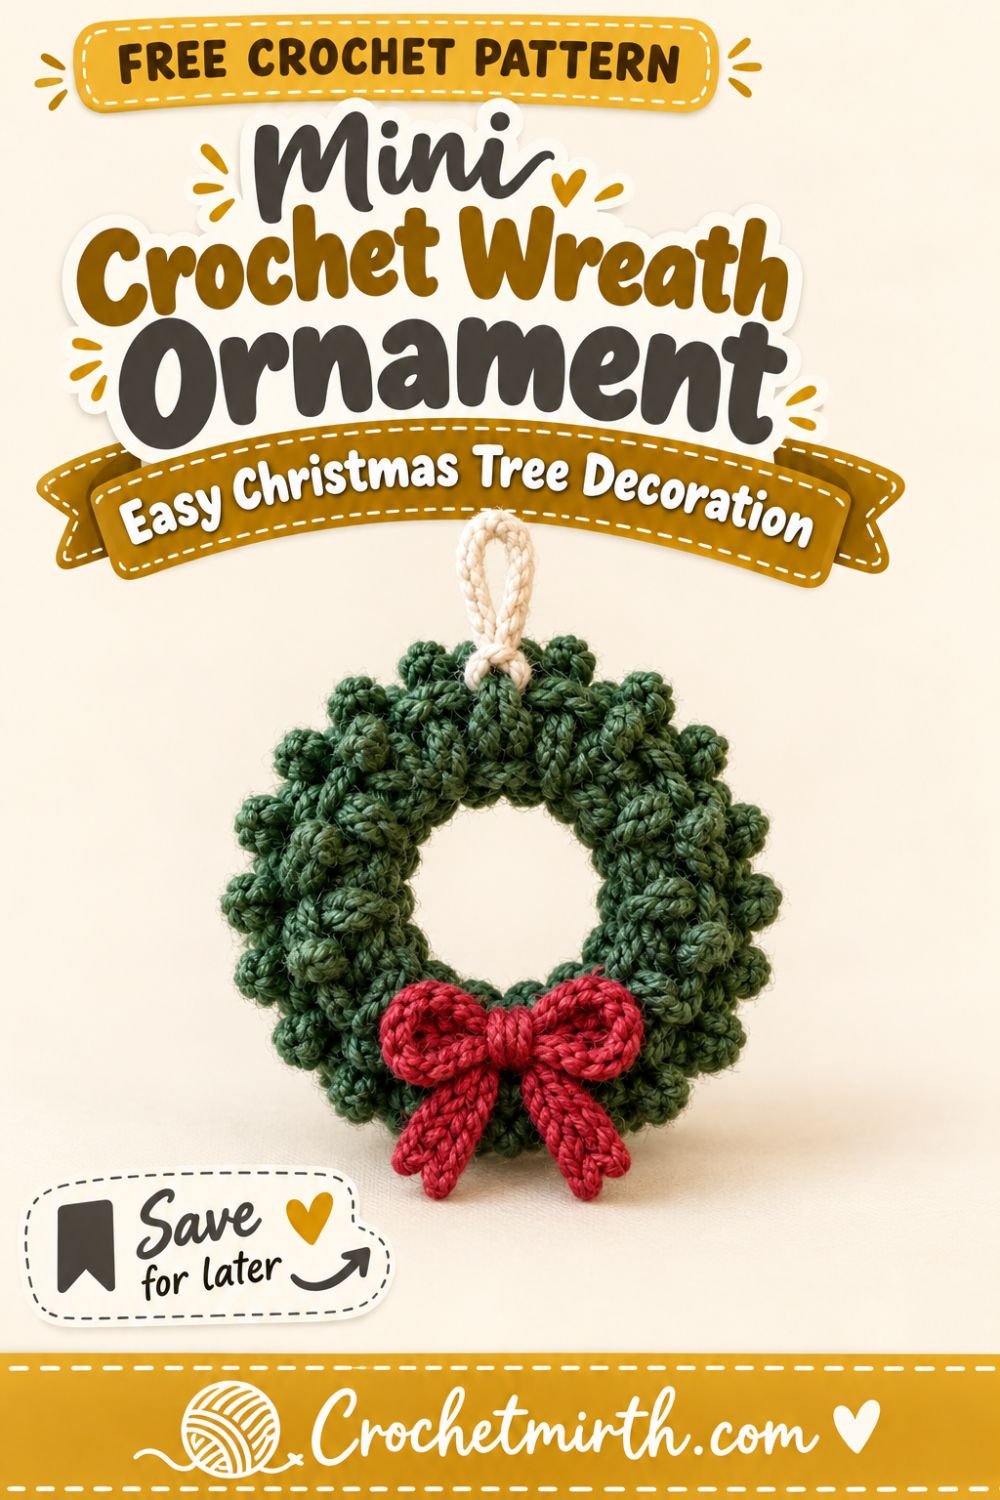
Mini Crochet Wreath Ornament Pattern – Easy Christmas Tree Decoration
Small crochet ornaments are one of the easiest ways to add handmade charm to your Christmas tree.
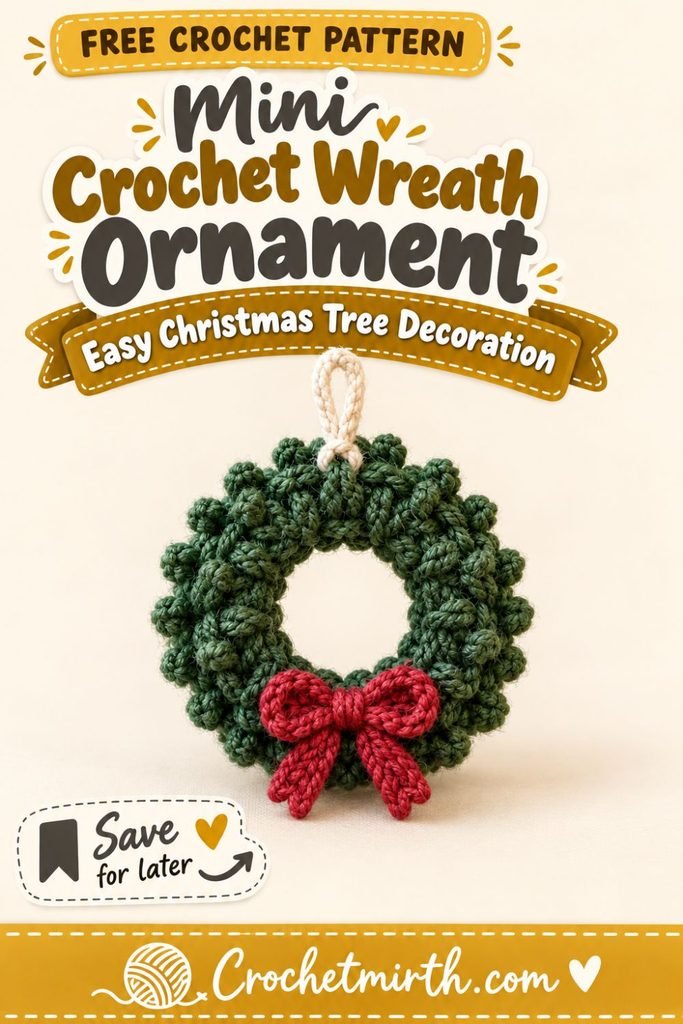
This mini crochet wreath ornament pattern turns a tiny amount of green yarn into a festive little wreath with an open center, textured crochet foliage, a red bow, and a simple hanging loop.
It’s quick enough to make several in one sitting and small enough to use leftover yarn from other Christmas projects.
Hang one on your tree, make a matching set, attach one to a wrapped present, or crochet several and turn them into a festive garland.
The basic wreath uses only simple stitches, so it’s a great Christmas project for beginners.
Why You’ll Love This Mini Crochet Wreath
This project is:
- Beginner-friendly
- Quick to crochet
- Perfect for scrap yarn
- Lightweight for a Christmas tree
- Worked mostly in the round
- Easy to customize
- Great for batch-making
- Cute as a gift topper
- Easy to turn into a garland
- Perfect for traditional Christmas colors
The tiny red bow makes the ornament look detailed even though the construction is simple.
Skill Level
Beginner / Easy
You should know how to:
- Chain
- Slip stitch
- Single crochet
- Half double crochet
- Double crochet
- Work around a chain ring
- Fasten off
- Sew a small crochet piece
- Weave in ends
Materials
Green Yarn
Use a small amount of:
Category 3 DK-weight yarn
in:
Forest green
Approximately:
10–15 yards
is enough for one ornament.
Bow Yarn
Use a tiny amount of DK yarn in:
Cranberry red
or another contrasting Christmas color.
Hanging Loop
Use:
- Cream yarn
- Green yarn
- Or the same yarn as the wreath
Crochet Hook
3.5 mm crochet hook
A relatively firm gauge helps the wreath hold its shape.
Other Supplies
- Yarn needle
- Scissors
- Measuring tape
- Blocking mat, optional
- Rust-resistant pins, optional
Crochet Abbreviations
This pattern uses US crochet terminology.
ch – chain
sc – single crochet
hdc – half double crochet
dc – double crochet
sl st – slip stitch
st – stitch
sts – stitches
sp – space
Finished Size
The finished ornament measures approximately:
3–3½ inches / 7.5–9 cm across
depending on your yarn and tension.
The center remains open so the finished piece has the recognizable shape of a miniature Christmas wreath.
Construction Overview
You’ll make the ornament in three parts:
- Crochet the green wreath.
- Crochet a tiny red bow.
- Add a hanging loop.
The wreath begins with a large chain ring rather than a solid circle.
That keeps the center open.
PART 1: CROCHET THE WREATH
Starting Ring
Ch 20.
Being careful not to twist the chain:
Join with a sl st into the first chain.
You now have a large chain ring.
Round 1 – Build the Wreath Base
Ch 1.
Work 30 sc around the entire chain ring.
Important:
Do not work into individual chains.
Insert your hook through the center of the ring and crochet around the whole chain.
This covers the starting chain and creates a thicker circular base.
Join with a sl st to the first sc.
30 sts
Check the Center
Your wreath should already have:
- A round outer shape
- A visible center opening
- A dense green ring
Gently spread the stitches around the chain foundation so they’re distributed evenly.
Round 2 – Add Texture
Ch 1.
In the first stitch work:
sc, hdc, sc
all in the same stitch.
Sl st into the next stitch.
Then repeat around:
(sc, hdc, sc) in next st, sl st in next st
You will create small raised sections around the wreath.
Join to the beginning with a sl st.
Why This Round Works
Each little group creates a soft bump of crochet fabric.
Repeated around the circle, those bumps resemble miniature evergreen texture without requiring advanced stitches.
Round 3 – Add Small Foliage Loops
Working around the outside edge, repeat:
Sl st into next suitable stitch, ch 3, sl st back into the same area
around the wreath.
You don’t need to place one loop into every single stitch.
Aim for approximately:
12–15 small loops
evenly spaced around the outer edge.
These little chain loops add extra dimension.
Finish the Wreath
Fasten off.
Leave a short yarn tail.
Weave the tail securely through the back.
Shape the Ornament
Use your fingers to arrange:
- Outer crochet texture
- Small foliage loops
- Inner opening
The wreath should remain circular.
If the center looks too small, gently pull outward around the inside edge.
PART 2: CROCHET THE MINI BOW
Using cranberry-red yarn:
Ch 10.
Bow Row 1
Hdc in the second chain from the hook.
Hdc across.
9 sts
Ch 1 and turn.
Bow Row 2
Hdc across.
9 sts
Fasten off.
Leave a sewing tail.
Shape the Bow
Lay the small rectangle horizontally.
Bring both short edges toward the center.
Allow them to overlap slightly.
Use the yarn tail to sew the center together.
Pinch the Middle
Pinch the crochet rectangle in the center.
Wrap the yarn around the middle:
3–4 times
Pull gently.
The sides should puff outward into two small loops.
Tie securely at the back.
Create the Bow Center
Using a separate piece of red yarn:
Wrap the center another:
2–3 times
or crochet a tiny chain of approximately:
5 chains
and wrap it around the middle.
Secure at the back.
Add Tiny Bow Tails
Cut two short strands of red yarn approximately:
2½–3 inches long
Fold them in half behind the bow.
Stitch securely to the center.
Trim to the same length.
Alternatively, leave the bow without tails for an even simpler ornament.
Attach the Bow
Position the red bow at the:
bottom center of the wreath
Use the red yarn tail to sew through:
- Bow center
- Green wreath stitches
several times.
Secure at the back.
Weave in the yarn end.
PART 3: ADD THE HANGING LOOP
Join cream or green yarn at the top of the wreath.
Ch approximately:
18–20
Bring the chain back to the starting point.
Sl st into the same area.
Fasten off.
Weave in the ends.
Your Mini Wreath Ornament Is Finished
You should now have:
- Open green wreath
- Textured foliage
- Red crochet bow
- Small hanging loop
Gently reshape it before hanging.
Optional Blocking
Blocking isn’t always necessary.
However, if your wreath looks uneven:
- Lightly dampen it.
- Place it on a blocking mat.
- Shape the center into a circle.
- Pin around the outer edge.
- Let it dry completely.
Avoid flattening all the textured stitches.
You want the wreath to remain slightly dimensional.
Classic Christmas Version
Use:
Forest green wreath
Cranberry red bow
Cream loop
This creates the classic Christmas look.
Snowy Wreath
Use a green wreath.
Add tiny touches of white yarn to the outer loops.
You can embroider short white stitches randomly around the wreath to suggest snow.
Cream Christmas Wreath
Crochet the entire wreath in:
Warm cream
Add a:
Forest-green bow
This creates a softer neutral Christmas look.
Sage Green Wreath
Use:
Sage green
with:
Cream or muted red bow
This works beautifully for modern farmhouse or Scandinavian-inspired Christmas decor.
Burgundy Bow Version
Replace bright red with:
Deep burgundy
for a more elegant holiday palette.
Gold Bow Version
Use muted mustard or soft gold-colored yarn for the bow.
Pair with forest green for a warm vintage look.
Make a Set of Five
Create:
- 2 forest green + red
- 1 sage + cream
- 1 cream + green
- 1 forest green + mustard
Hang them across different parts of your Christmas tree.
Make Smaller Wreaths
Use:
Sport or fingering-weight yarn
with a smaller hook.
You can also begin with:
Ch 16
instead of 20.
The ornament will become smaller and more delicate.
Make Larger Wreaths
Use:
Worsted-weight yarn
and a:
4.5–5 mm hook
Begin with a slightly larger chain ring if necessary.
The same basic construction works.
Chunky Mini Wreath
Use Category 5 bulky yarn for a larger, plush decoration.
This version works especially well for:
- Mantels
- Door handles
- Garlands
- Large Christmas trees
Add Small Crochet Berries
Using red yarn, make several tiny French knots with a yarn needle.
Place them around the wreath.
Three to five small red accents are enough.
Don’t overcrowd the ornament.
Add White Snow Details
Using cream or white yarn:
Embroider tiny straight stitches around a few green loops.
This creates a snowy effect without adding beads or plastic decorations.
Add a Second Bow
For a playful ornament, add:
- One bow at bottom
- One much smaller bow near top
For the cleanest classic design, one bow is usually enough.
Use It as a Gift Topper
Skip the hanging loop.
Tie the wreath to:
- Kraft paper
- Gift bag
- Cookie tin
- Christmas box
After the gift is opened, the recipient can add a loop and reuse it as an ornament.
Use It as a Gift Tag
Attach a small kraft tag behind the wreath.
Write:
To:
and:
From:
The crochet ornament becomes part of the gift.
Make a Wreath Garland
Crochet:
7–10 wreaths
Skip the individual hanging loops.
Make one long cream crochet chain.
Attach one wreath every:
20–25 chains
using a slip stitch through the top of each ornament.
Hang the garland across:
- Mantel
- Window
- Shelf
- Staircase
Mix It With Other Ornaments
Create a mixed crochet garland using:
- Wreaths
- Snowflakes
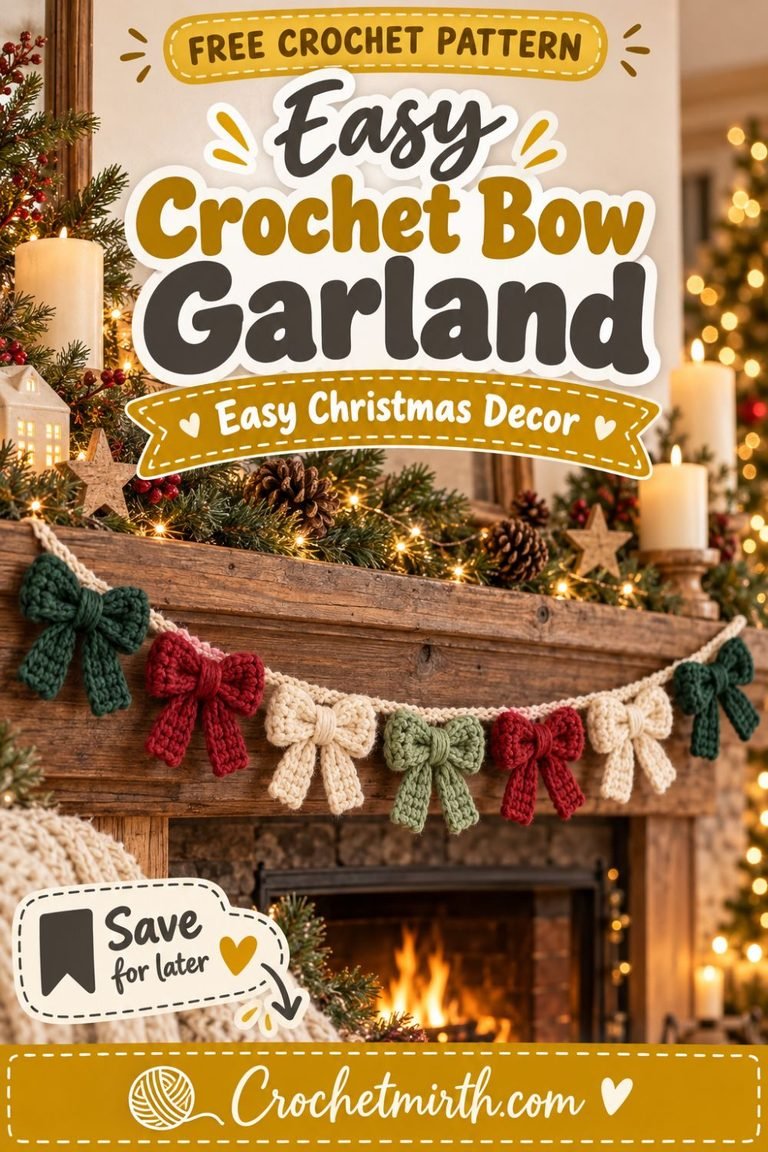
- Mini bows
- Christmas trees
- Stockings
Using the same yarn palette makes the collection look coordinated.
Add It to a Christmas Stocking
Sew one mini wreath securely to the front of a plain crochet stocking.
This adds a three-dimensional Christmas decoration without changing the stocking pattern.
Napkin Ring Decoration
Attach the wreath to a simple crochet chain loop.
Slide it around a folded napkin.
This makes a cute handmade Christmas place setting.
Christmas Card Decoration
Make a smaller version.
Attach it carefully to the front of a handmade card.
Use lightweight yarn so the card doesn’t become too bulky.
Why This Is a Good Scrap-Yarn Project
One ornament requires only small amounts of:
- Green yarn
- Red yarn
- Cream yarn
You can use leftovers from larger Christmas crochet projects.
This is especially useful after making:
- Sweaters
- Scarves
- Christmas garlands
- Stockings
- Other ornaments
Best Yarn for Mini Wreaths
DK Acrylic
Acrylic is:
- Affordable
- Easy to find
- Lightweight
- Available in many colors
It creates a soft, slightly fluffy wreath.
DK Cotton
Cotton creates:
- Crisp stitches
- Better structure
- Less fuzz
- A clean modern look
It’s especially good for very neat ornaments.
Wool Blend
A soft wool blend gives the wreath:
- Cozy texture
- Slight natural fuzz
- Traditional handmade appearance
Avoid Very Thick Fuzzy Yarn at First
Extremely fuzzy yarn can hide small stitches.
For your first wreath, choose yarn with clear stitch definition.
How Many Can You Make From Leftover Yarn?
That depends on the amount of scrap yarn you have.
Since each wreath only requires a small quantity, even a partial ball can produce several ornaments.
Batch-Making Method
Making ten wreaths?
Work in batches.
Step 1
Make all chain rings.
Step 2
Complete Round 1 on every wreath.
Step 3
Add texture rounds.
Step 4
Make all red bows.
Step 5
Attach bows.
Step 6
Add hanging loops.
Batching repetitive steps can make the process feel much faster.
Handmade Christmas Gift Idea
Make a coordinated set of:
4–6 mini crochet wreath ornaments
Use:
- Forest green
- Cream
- Sage
Add matching red bows.
Place them in a small kraft box with tissue paper.
Tie the box with ribbon.
Craft Fair Idea
Mini ornaments work well for seasonal displays because they’re:
- Small
- Easy to understand
- Giftable
- Available in multiple colorways
Display:
- Individual wreaths
- Sets of three
- Mixed ornament sets
Calculate your own selling price from your materials, time, packaging, and local market.
Photographing Your Mini Wreath
For Pinterest-style photos:
Use:
- Cream knit fabric
- Natural wood
- Evergreen sprigs
- Pinecones
- Warm fairy lights
Take one close-up photo so the crochet foliage texture and bow are clearly visible.
Then take a second photo showing it hanging on a tree branch.
Common Beginner Mistakes
Twisting the Starting Chain
Before joining the chain into a ring, make sure it lies flat.
Working Into Individual Starting Chains
For Round 1, work around the entire chain ring.
This helps create the thicker wreath base.
Losing the Center Opening
Don’t pull the stitches too tightly toward the center.
Spread them evenly around the ring.
Adding Too Much Texture
The outer loops should enhance the wreath, not completely cover the open center.
Making the Bow Too Large
The wreath should remain the main shape.
Keep the bow small enough to fit comfortably at the bottom.
Sewing the Bow Off-Center
Find the point directly opposite the hanging loop.
Attach the bow there.
Making the Hanging Loop Too Short
Test the loop on a branch before weaving in the final yarn ends.
How Long Does One Mini Wreath Take?
The exact time varies by crocheter.
Because the ornament is small and uses repetitive stitches, it can become a quick project once you’ve made the first one.
Current mini wreath patterns are commonly promoted as quick holiday or scrap-yarn projects for this reason.
Is It Beginner-Friendly?
Yes.
The main wreath uses basic stitches.
The bow is simply a tiny rectangle that’s folded and wrapped.
The only slightly unusual technique is crocheting around the starting chain ring.
Once you try it, it’s straightforward.
Can I Use a Plastic Ring?
Yes, some crochet wreath designs are worked around a craft ring.
But this pattern doesn’t require one.
The crocheted chain base keeps the ornament:
- Lightweight
- Flexible
- Yarn-only
- Easy to make from supplies you already have
Can I Skip the Bow?
Yes.
You can decorate the wreath with:
- Embroidered berries
- Contrasting yarn
- A simple cream hanging loop
The wreath works without the bow.
Can I Make It in One Color?
Absolutely.
An all-cream or all-green wreath can look beautiful.
Use texture rather than color for visual interest.
Can I Add Beads?
For a tree ornament used only as seasonal decor, beads can be added if they’re securely attached and appropriate for your household.
For the simplest durable version, yarn-only embellishments are preferable.
Can I Wash the Ornament?
If necessary, follow the yarn manufacturer’s care instructions.
Hand washing gently is often easiest for small shaped ornaments.
Reshape and lay flat to dry.
Storage After Christmas
Before packing the ornament away:
Make sure it is completely dry.
Lay it flat in a shallow box.
Avoid storing heavy decorations directly on top.
This helps preserve:
- Round shape
- Bow loops
- Outer texture
Frequently Asked Questions
How large is the finished wreath?
Approximately 3–3½ inches across.
What yarn weight is used?
Category 3 DK yarn.
What hook size is used?
3.5 mm.
Is the center supposed to stay open?
Yes. The open center creates the traditional wreath shape.
Is a craft ring required?
No. The wreath base is made entirely from crochet.
Can I use scrap yarn?
Yes. This is an excellent scrap-yarn project.
Can I turn several wreaths into a garland?
Yes. Connect them with a long crochet chain.
Is the red bow crocheted?
Yes. It’s made from a tiny crochet rectangle and then shaped.
Final Thoughts
A handmade Christmas tree doesn’t need complicated ornaments to feel special.
This mini crochet wreath ornament pattern uses a tiny amount of yarn and basic stitches to create a classic holiday decoration with a textured green wreath, red bow, and simple hanging loop.
Make one for your tree or crochet an entire matching set.
Use them as gift toppers.
String them into a garland.
Attach them to Christmas stockings.
Or combine them with your crochet snowflakes, bows, and mini Christmas trees for a complete handmade ornament collection.
Save this easy mini crochet wreath pattern for your Christmas crochet list!