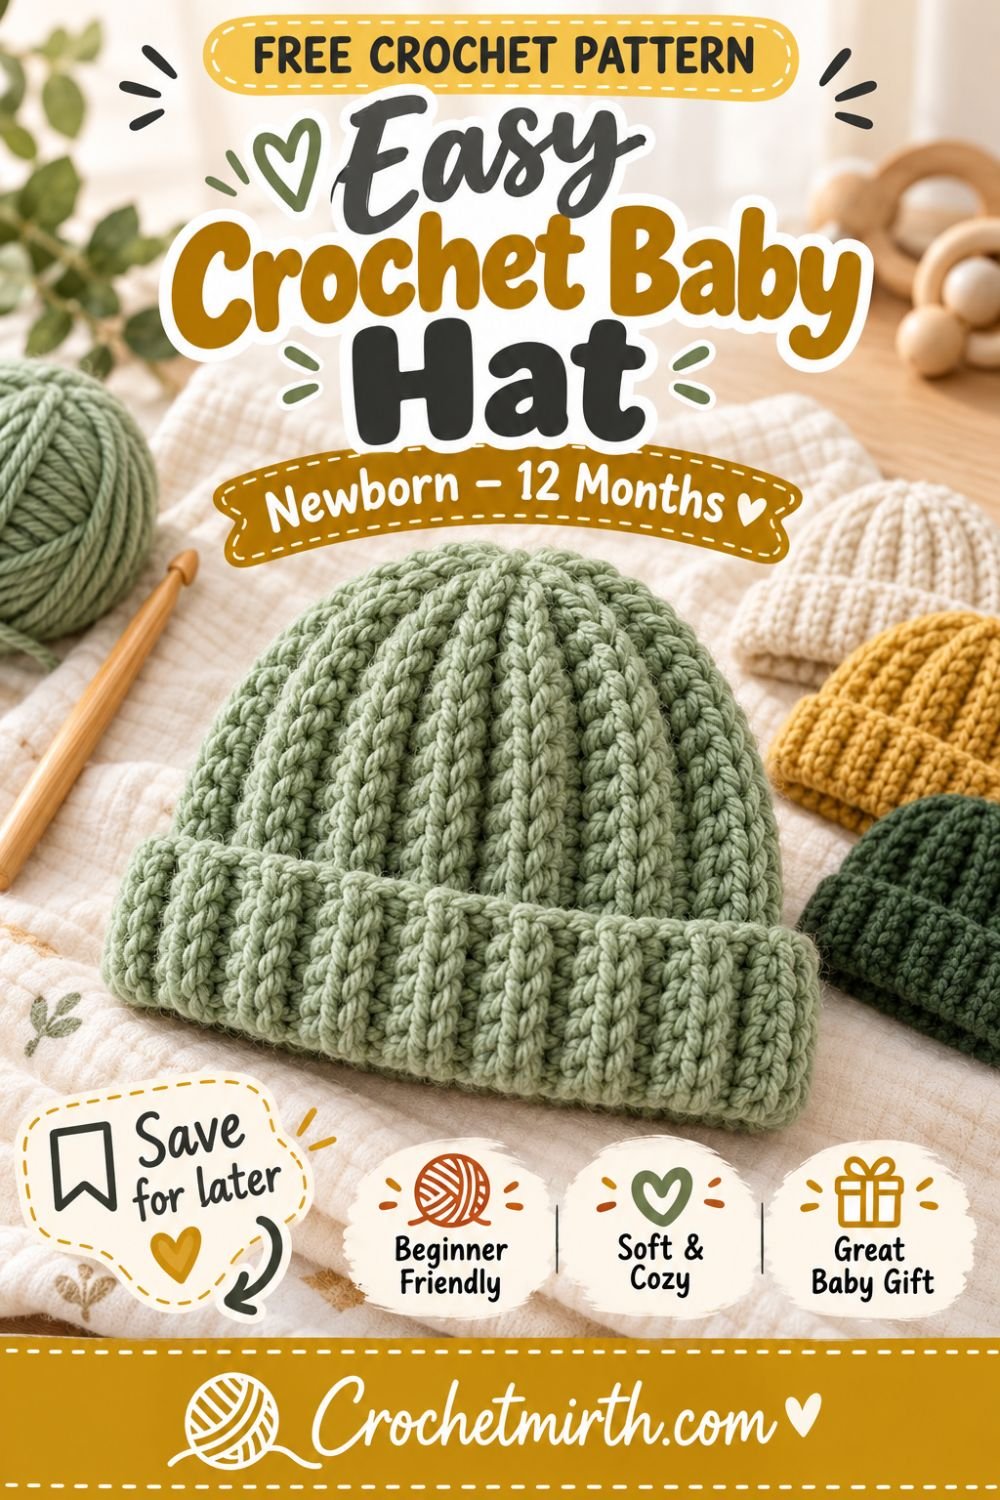
Crochet Baby Hat Pattern – Newborn to 12 Months
A tiny handmade hat is one of the sweetest crochet projects you can make for a new baby.
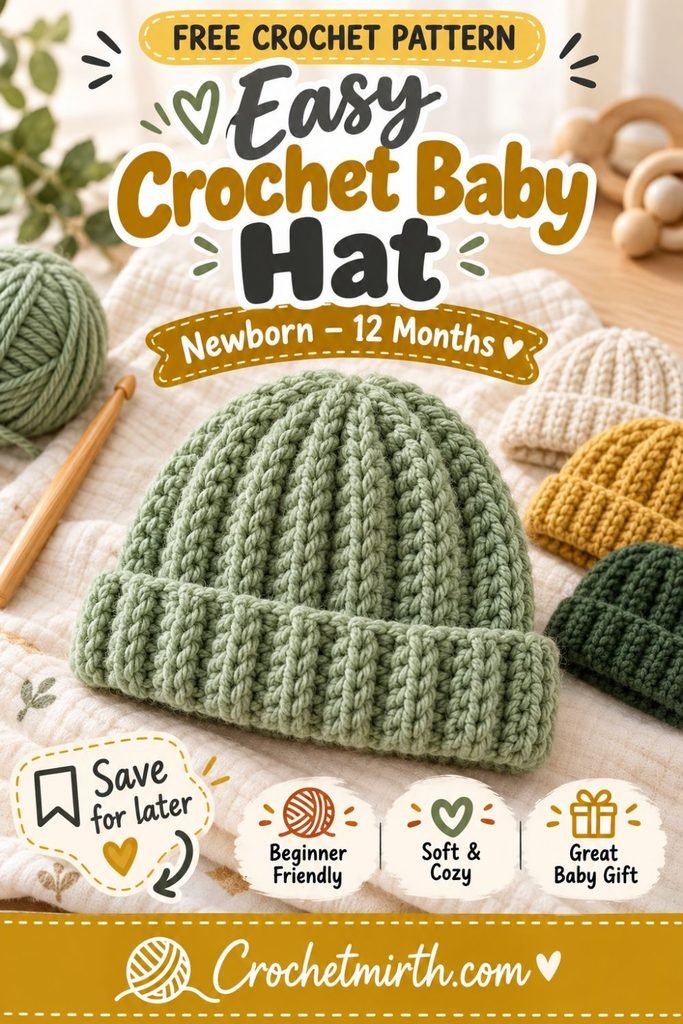
This crochet baby hat pattern is designed to keep the construction as simple as possible while giving you four useful sizes:
- Newborn
- 0–3 months
- 3–6 months
- 6–12 months
Instead of working complicated crown increases in the round, you’ll crochet one stretchy ribbed rectangle.
Then you’ll join the rectangle into a tube, gather one end to create the crown, and turn up the lower edge for a small cozy brim.
It’s an easy project for beginners and a lovely option for baby showers, newborn gifts, or winter outings.
Why You’ll Love This Baby Hat Pattern
This pattern is:
- Beginner-friendly
- Worked completely flat
- Available in four baby sizes
- Easy to customize
- Made with soft DK yarn
- Stretchy and comfortable
- Quick to crochet
- Made without complicated increases
- Made without crown decreases
- Easy to adjust using actual head measurements
The same basic construction works for every size.
Important Baby Hat Safety
Baby hats should be used thoughtfully.
For this pattern, avoid adding loose decorations such as buttons, beads, dangling cords, long ties, or unsecured pom-poms.
The hat should never cover the baby’s eyes, nose, or mouth.
For sleep, naps, or unsupervised rest, remove the hat.
The American Academy of Pediatrics advises against hats on infants indoors after the immediate newborn period because covering the head can contribute to overheating.
This crochet hat is best treated as a supervised cold-weather accessory rather than sleepwear.
Skill Level
Beginner
You should know how to:
- Make a slip knot
- Chain
- Half double crochet
- Work in the back loop only
- Turn your work
- Slip stitch or sew a seam
- Fasten off
- Weave in ends
Materials
Yarn
Use a soft Category 3 DK-weight baby yarn.
Approximate yarn needed:
Newborn: 60–75 yards
0–3 months: 70–85 yards
3–6 months: 80–95 yards
6–12 months: 90–110 yards
Choose yarn that is:
- Soft against delicate skin
- Easy to wash
- Smooth rather than scratchy
- Free from loose decorative fibers
Good choices include soft acrylic, merino blends specifically suitable for babies, or washable cotton blends.
Crochet Hook
4.0 mm crochet hook
Adjust the hook size if necessary to obtain gauge.
Other Supplies
- Yarn needle
- Scissors
- Measuring tape
- Stitch markers, optional
No buttons or other loose embellishments are needed.
Crochet Abbreviations
This pattern uses US crochet terminology.
ch – chain
hdc – half double crochet
sl st – slip stitch
st – stitch
sts – stitches
BLO – back loop only
Gauge
Approximately:
15 hdc = 4 inches
11 rows = 4 inches
Because baby heads grow quickly, measurements are more useful than exact row counts.
Make a small gauge swatch before beginning if you’re making the hat for a specific baby.
Baby Hat Size Chart
Age labels are only approximate.
Whenever possible, measure the baby’s actual head circumference.
| Size | Typical Head Circumference | Finished Hat Circumference | Hat Height |
|---|---|---|---|
| Newborn | 13–14 in / 33–36 cm | about 12½–13 in | about 5¼ in |
| 0–3 months | 14–15½ in / 36–40 cm | about 13½–14½ in | about 5½ in |
| 3–6 months | 15½–17 in / 40–43 cm | about 14½–15½ in | about 6 in |
| 6–12 months | 17–18 in / 43–46 cm | about 15½–16½ in | about 6½ in |
The finished hat is intentionally a little smaller than the head so the ribbing can stretch gently and stay in place.
Why Head Measurement Matters
Babies don’t all have the same head size at the same age.
Two six-month-old babies can require noticeably different hat sizes.
If you’re able to measure the baby, wrap a soft measuring tape around the widest part of the head:
Across the forehead, above the ears, and around the back of the head.
Do not pull the tape tightly.
Then make the hat approximately 1–2 inches smaller than the actual head circumference, depending on how stretchy your yarn and ribbing are.
How This Crochet Baby Hat Is Made
The construction has only three major steps:
- Crochet a ribbed rectangle.
- Join the two short edges into a tube.
- Gather one open edge to form the crown.
The opposite edge becomes the lower hat opening.
You can leave it flat or fold it upward slightly for a small brim.
Why Use Back-Loop Crochet?
After the first row, you’ll work every half double crochet stitch through the back loop only.
This creates raised ridges in the fabric.
When the rectangle is assembled, those ridges run vertically up the hat.
The result is a stretchy crochet fabric that resembles knitted ribbing.
Choose Your Size
Use the instructions below for your chosen size.
Newborn Size
Foundation Chain
Ch 21.
Row 1
Hdc in the second chain from the hook.
Hdc across.
20 sts
Ch 1 and turn.
Row 2
Working in the back loop only, hdc across.
20 sts
Ch 1 and turn.
Continue
Repeat Row 2 until the rectangle measures approximately:
12½–13 inches across
This will usually be around 34–36 rows, depending on your gauge.
Fasten off, leaving a long tail.
0–3 Month Size
Foundation Chain
Ch 22.
Row 1
Hdc in the second chain from the hook and across.
21 sts
Ch 1 and turn.
Row 2
Hdc BLO across.
21 sts
Ch 1 and turn.
Continue
Repeat until the rectangle measures approximately:
13½–14½ inches across
Approximately 37–40 rows may be needed.
Fasten off with a long tail.
3–6 Month Size
Foundation Chain
Ch 24.
Row 1
Hdc in the second chain from hook and across.
23 sts
Ch 1 and turn.
Row 2
Hdc BLO across.
23 sts
Ch 1 and turn.
Continue
Repeat until the rectangle measures approximately:
14½–15½ inches across
Approximately 40–43 rows is a useful starting point.
Fasten off, leaving a long tail.
6–12 Month Size
Foundation Chain
Ch 25.
Row 1
Hdc in the second chain from hook and across.
24 sts
Ch 1 and turn.
Row 2
Hdc BLO across.
24 sts
Ch 1 and turn.
Continue
Repeat until your rectangle measures approximately:
15½–16½ inches across
This may require approximately 43–46 rows.
Fasten off with a long tail.
Check Your Rectangle
Before sewing, measure your rectangle.
One dimension determines the hat height.
The other determines the circumference.
The ribbing should stretch easily sideways.
Test the Stretch
Gently stretch the rectangle.
It should expand without feeling rigid.
If your fabric feels stiff, try:
- A larger crochet hook
- Slightly looser tension
- A softer yarn
A baby hat should feel comfortably flexible.
Join the Hat
Fold the rectangle so the first and final rows meet.
Make sure the ribbed lines are aligned.
You can join the edges in one of two ways.
Option 1: Slip Stitch Seam
Insert your hook through corresponding stitches of both layers.
Slip stitch along the entire edge.
Keep the stitches loose enough that the seam can stretch.
Option 2: Sew the Seam
Thread your yarn tail through a yarn needle.
Use whip stitch or mattress stitch to join the edges.
Secure the yarn.
You now have a crochet tube.
Close the Crown
Choose one open end to become the top of the hat.
Thread a long piece of yarn through your yarn needle.
Work the needle in and out around the entire edge.
Keep the gathering stitches evenly spaced.
Gather the Top
Once you’ve worked around the complete opening, gently pull the yarn.
The opening will gather inward.
Pull until the crown closes.
Make several secure stitches across the small opening.
Weave the yarn tail securely into the inside.
Turn the Hat Right Side Out
Turn the beanie so the main seam sits inside.
Shape the crown gently with your hands.
The crochet ribs should now run vertically.
Make the Small Folded Brim
Fold the bottom edge upward approximately:
½–1 inch
for a small baby brim.
You can also leave the lower edge completely unfolded.
For the youngest sizes, keep the brim shallow so it doesn’t ride upward toward the baby’s eyes.
Check the Finished Fit
The hat should sit:
- Above the eyebrows
- Comfortably around the head
- Over or near the tops of the ears
- Without squeezing
- Without falling over the eyes
You should be able to fit a finger comfortably between the hat and the baby’s head.
Signs the Hat Is Too Small
The hat may be too tight if:
- It leaves deep pressure marks
- The brim feels difficult to stretch
- It rides upward immediately
- The baby appears uncomfortable
Make a larger size or add additional rows to the rectangle.
Signs the Hat Is Too Large
The hat may be too big if:
- It slides toward the baby’s eyes
- It repeatedly falls backward
- The brim has no gentle tension
- Large gaps appear around the sides
Remove a few rows before seaming or make the next smaller size.
How to Customize the Size
The beauty of a rectangle hat is that sizing is easy.
Change the Circumference
Add or remove rows.
More rows = larger circumference.
Fewer rows = smaller circumference.
Change the Height
Add or remove foundation chains.
More chains = taller hat.
Fewer chains = shorter hat.
What If the Baby Is Between Sizes?
Use the actual head measurement whenever possible.
For example, if the baby’s head measures:
16 inches
make the unstretched rectangle approximately:
14½–15 inches
depending on your yarn’s stretch.
Test the ribbing before sewing.
Best Yarn for Baby Hats
Softness matters.
Rub the yarn gently against the inside of your wrist or cheek.
If it feels rough to you, choose another yarn.
Baby Acrylic Yarn
Baby acrylic yarn is popular because it can be:
- Soft
- Affordable
- Easy to wash
- Widely available
Check the label for laundering instructions.
Cotton Blends
Cotton blends can work well for lighter hats.
They can be useful during milder weather when a heavy wool hat would be too warm.
Merino Wool
Soft washable merino can create a warm winter hat.
Make sure the specific yarn is comfortable and appropriate for baby garments.
Avoid Scratchy or Fuzzy Yarn
Very fuzzy novelty yarn can make it difficult to see your stitches.
Loose fibers may also be less practical around a baby’s face.
A smooth, soft yarn is usually the easiest option.
Baby-Friendly Color Ideas
Try:
- Sage green
- Cream
- Soft mustard
- Dusty blue
- Blush pink
- Warm beige
- Pale gray
- Forest green
- Lavender
- Soft rust
Neutral colors also make lovely baby shower gifts.
Simple Striped Baby Hat
Want to add color without attaching decorations?
Change yarn every:
4–6 rows
Because the hat is crocheted sideways, the stripes will run vertically after assembly.
Try:
Cream + sage
Mustard + cream
Dusty blue + gray
Forest green + beige
Color-Block Baby Hat
Another simple option is to crochet:
One-third of the rows in Color A.
One-third in Color B.
One-third in Color A again.
This produces an easy color-blocked design without adding anything loose to the hat.
Should You Add a Pom-Pom?
For an infant hat, the simplest option is to skip the pom-pom.
A clean ribbed crown is cute on its own and avoids adding a removable embellishment.
If you’re creating hats for older children later, decorative options can be reconsidered for that age group.
Avoid Buttons and Beads
For baby items, don’t attach:
- Buttons
- Beads
- Bells
- Loose charms
- Long cords
The simple ribbed texture gives the hat plenty of visual interest without them.
Baby Shower Gift Idea
A handmade baby hat can become part of a simple gift set.
Pair it with a handmade:
- Baby blanket
- Washcloth
- Simple cardigan
- Booties
Choose coordinating yarn colors to make the set feel intentional.
Make Several Sizes as a Gift
Because babies grow quickly, you could make:
- One Newborn hat
- One 3–6 month hat
- One 6–12 month hat
Use the same yarn in three coordinating colors.
The family will have a handmade hat ready as the baby grows.
Why This Pattern Is Good for Beginners
Top-down baby hats often require:
- Magic rings
- Several increase formulas
- Stitch-count changes
- Crown measurements
This rectangle method avoids most of those steps.
Every row is essentially the same.
You only need to remember:
Hdc BLO across.
Then repeat.
Common Beginner Mistakes
Losing Stitches
Your rectangle may become narrower if you skip the final stitch.
Count periodically.
Adding Stitches
If the rectangle gradually widens, you may accidentally crochet into the turning chain.
Forgetting the Back Loop
After the first row, work in the back loop only.
This creates the ribbing.
Making the Seam Too Tight
The ribbed fabric needs to stretch.
Keep your seam relaxed.
Pulling the Crown Too Aggressively
Gather the crown firmly but gently.
Make several securing stitches rather than relying on one very tight pull.
Washing the Baby Hat
Always follow the yarn manufacturer’s care instructions.
For washable yarn:
- Wash gently.
- Avoid excessive heat.
- Reshape while damp.
- Lay flat to dry if recommended.
- Check the hat after washing for loose yarn ends.
Check the Hat Regularly
Babies grow quickly.
A hat that fit well a few weeks ago may become too tight.
Check the fit before each season and move to the next size when needed.
Indoor Use and Sleep
A crochet baby hat is best used for supervised outings when weather conditions call for one.
Once indoors in a comfortably heated environment, remove the hat.
It should also be removed before naps and nighttime sleep.
This helps avoid covering the baby’s head unnecessarily and reduces the risk of overheating.
Frequently Asked Questions
Is this baby hat worked in the round?
No. The entire main hat is crocheted flat as a rectangle.
What stitch creates the ribbing?
Half double crochet worked in the back loop only.
What sizes are included?
Newborn, 0–3 months, 3–6 months, and 6–12 months.
Should I choose the size only by age?
No. Measuring the baby’s actual head circumference is more accurate.
Can I use worsted yarn?
Yes, but your stitch and row counts will change. Use the finished measurements rather than the written counts.
Can I add a pom-pom?
The safest and simplest version for an infant is the plain hat without loose embellishments.
Can I make a folded brim?
Yes. A small ½–1 inch fold works well. Keep it away from the baby’s eyes.
Final Thoughts
Baby crochet projects don’t have to be complicated.
With this crochet baby hat pattern, one simple ribbed rectangle becomes a soft little beanie in just a few finishing steps.
The same construction works from newborn through 12 months, and resizing is straightforward because you can adjust the rectangle using the baby’s actual head measurement.
Choose a soft washable yarn, keep the design free from loose embellishments, and make one in sage, cream, mustard, dusty blue, or any color you love.
It’s a sweet beginner project for baby showers, handmade gifts, and supervised chilly-weather outings.
Save this newborn-to-12-month crochet baby hat pattern for your next baby crochet project!